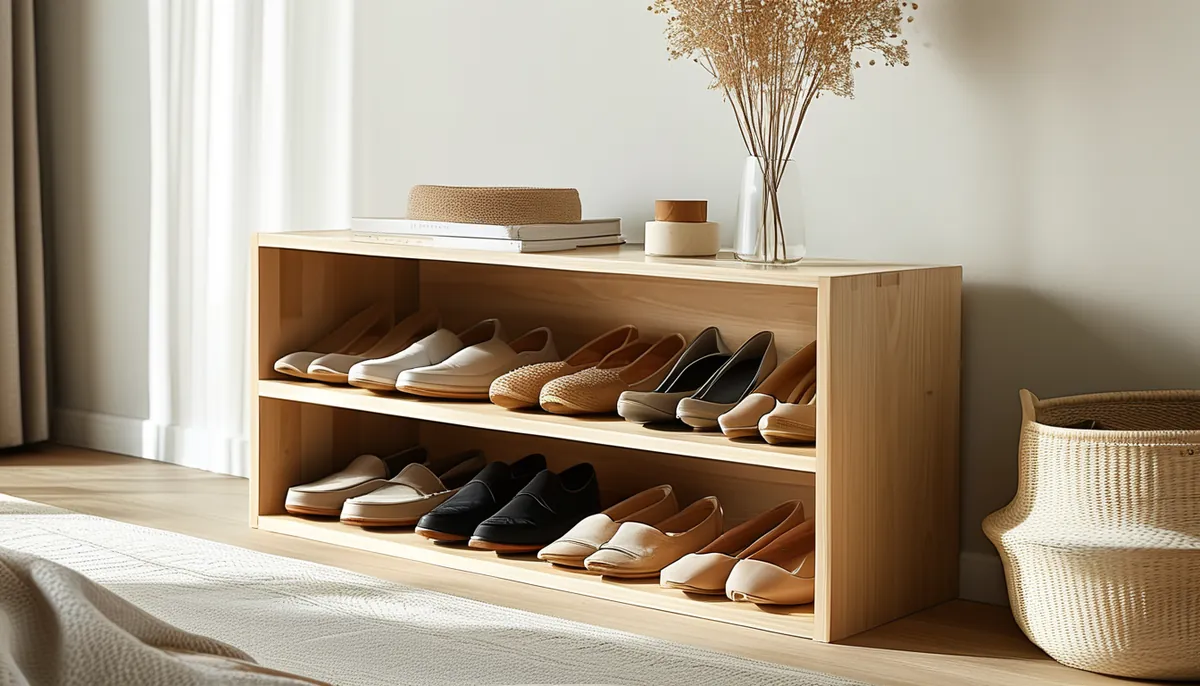
Two measurements drive every decision here: how many pairs you actually own, and the height of your tallest pair standing upright. Pull everything out of the closet, sort it into piles, and count. People routinely underestimate by 30 to 40 percent, and a shoe shelf built for the number you guessed is full the day it goes in.
Then measure the tallest thing you need to store standing: a knee-high boot is commonly 15 to 18 inches from sole to top, an ankle boot 7 to 9 inches, and a sneaker or dress shoe 4 to 5 inches. That range is why one uniform shelf spacing wastes so much space, and why the fix is almost always zoning rather than a single grid.
The dimensions that make a shoe shelf work
Depth. A women’s size 8 runs about 10 inches long; a men’s size 12 runs about 12 1/2 inches. A 12-inch deep shelf holds most women’s shoes with room to spare and clips the heel of large men’s shoes. A 14-inch shelf handles anything, including a men’s 14 and a sneaker with a thick toe box. If the closet is tight, 12 inches is the practical minimum and 14 is the safe default.
You can cheat depth two ways. Angling shoes toe-in on a 10-inch shelf gains you an inch or two of effective depth. Storing one shoe toe-out and its mate heel-out, nested, lets a pair fit in a narrower footprint, though you give up the ability to see both at a glance.
Vertical spacing. Measure clear opening, not shelf-to-shelf center, because the shelf material itself eats 3/4 inch.
- Flats, sandals and low sneakers: 6 to 7 inches clear.
- Most dress shoes and everyday sneakers: 7 to 8 inches clear.
- Heels up to about 4 inches, and high-top sneakers: 9 to 10 inches.
- Ankle boots: 10 to 12 inches.
- Tall boots standing upright: 18 to 20 inches, and most people are better off laying them on their sides or using boot shapers on a single tall shelf.
Set the spacing in zones. A run of five shelves at 7 inches for the bulk of the collection, two at 10 inches for heels and ankle boots, and one 18-inch bay at the end for tall boots uses the same wall far better than eight shelves at 9 inches each.
Width and capacity. A pair of shoes side by side occupies roughly 7 to 9 inches of shelf width, which comes out to about 1.5 pairs per linear foot for adult shoes and 2 pairs per linear foot for narrow flats or children’s shoes. Do the math before you build: a 4-foot wide shelf holds about 6 pairs, so a six-shelf tower 4 feet wide stores roughly 36 pairs. If you counted 60 pairs, you need a second tower or a different strategy.
Flat, slanted, or cubby
Flat shelves are the most flexible and the most space-efficient. They hold anything, including boxes, bags and folded items when your shoe collection shrinks. They are also the easiest to build. The drawback is that a shoe at the back of a deep flat shelf becomes invisible.
Slanted shelves tilt the shoes toward you, usually at 10 to 15 degrees, with a lip or a metal rod at the front to keep them from sliding off. You see the whole shoe from the doorway, which genuinely helps when you own a lot of similar-looking pairs. The costs are real: a slant eats vertical space, so you fit fewer shelves in the same height, and the shelves lose their flexibility for anything but shoes. Slant the display zone at eye level and keep the rest flat.
Cubbies divide the run into individual boxes, usually about 9 to 12 inches square. They keep pairs from migrating and they look tidy, but the vertical dividers waste an inch of width each, and a fixed cubby grid cannot adapt to a boot. Use them for a defined subset, like everyday shoes near the closet door, not for the whole collection.
Pull-out trays on drawer slides solve the deep-shelf visibility problem entirely and cost the most per pair. They earn their place in a deep closet where a fixed shelf would be 20 inches deep and the back row would never get worn.
Where the shelves go in the closet
Most closets waste three specific zones, and shoes fit all of them.
Under the hanging rod. Short-hang clothing, shirts, jackets, folded pants over a bar, needs about 40 inches of vertical space. In a standard closet with the rod at 66 to 72 inches, that leaves 26 to 32 inches of dead air above the floor. A three-tier shoe shelf fits there exactly, and it is the single highest-value shoe storage in any closet.
The end wall. The narrow wall at the end of a reach-in closet is almost always empty because a hanging rod cannot use it. A 12-inch deep, full-height shelf tower there adds 8 to 10 shelves in space that was doing nothing.
Above the shelf and rod. The zone above 84 inches is out of reach and therefore holds off-season shoes in labeled bins. It is not display storage and should not be treated as such.
The back of the door. An over-the-door rack holds 12 to 24 pairs and costs nothing structural. The two things to check: the door must have at least 1 3/4 inches of clearance at the top for the hooks, and hollow-core doors flex under the weight, so anchor the bottom of the rack to keep it from swinging and marking the door frame.
In a walk-in, corners are the trap. Two perpendicular shelf runs meeting in a corner create a dead 12-by-12-inch square that nothing can reach. Either run one shelf full to the corner and start the other 12 inches out, or put a rotating tray in the corner and accept that it holds fewer pairs than the same square footage in a straight run.
Materials, spans and the sag nobody plans for
Shoes are heavier than they look. Fifteen pairs of boots and sneakers on a 4-foot shelf can push 40 pounds, and unsupported shelf material bows under a fraction of that.
3/4-inch plywood with a hardwood edge band is the strongest common choice and holds a 32 to 36 inch span without noticeable deflection. Edge banding is not cosmetic here; it stiffens the front of the shelf considerably.
3/4-inch melamine or particleboard shelving is cheap, comes prefinished, and sags. Keep spans to 24 to 30 inches, or add a center support. Melamine that has bowed does not recover.
1×12 solid pine works to about 30 inches and looks better than melamine, but it is only 11 1/4 inches wide despite the name, which puts it right at the edge of usable depth for large shoes.
Wire shelving is inexpensive and ventilates well, but heels and thin soles fall through the gaps. If you are working with existing wire shelves, a sheet of acrylic or thin plywood laid on top converts them for a few dollars.
Support method matters as much as material. Cleats screwed into studs along the back and both side walls carry the load far better than shelf pins in a bookcase-style tower, and a 1×2 cleat under the front edge of a long shelf eliminates sag entirely at the cost of half an inch of clearance.
Building it: the sequence that avoids rework
Find the studs first and lay out the whole design around them. Studs in a closet are typically 16 inches on center, and a cleat that hits three studs is effectively permanent. Mark them floor to ceiling with a pencil line before anything else.
Level matters more than square. Closet floors slope, and a shelf leveled off the floor will read crooked against the ceiling. Use a laser level or a 4-foot level and set every shelf off a single reference line.
Build the cleats before the shelves. Screw a 1×2 or 1×3 cleat into the studs at each shelf height, check the top edge with a level, and set the shelf on top. Two screws per stud, 2 1/2 inch screws into framing, and the assembly holds several hundred pounds.
Leave the top of the shelf tower 1/2 inch shy of the ceiling. Ceilings are not flat, and a tower cut to an exact measurement will not slide into place.
Paint or finish everything before installation, including the edges you think nobody will see. Painting a built shelf tower inside a closet, on a ladder, with a brush, is a bad afternoon.
Details that separate good shoe storage from adequate
Light it. Closets are the darkest space in the house and a dark shelf makes navy and black indistinguishable. A battery or hardwired LED strip under the shelf above eye level, aimed down, solves it. Choose 3000 to 4000K here rather than warm 2700K, because you want accurate color when you are matching shoes to clothes.
Ventilate. Shoes come off feet damp. A closed shoe cabinet with no airflow concentrates that, and leather takes on odor and mildew. Leave a gap at the back of the shelves, or drill a row of 1-inch holes in the cleat, or simply leave the shelf front open rather than putting doors on it. Cedar strips help with odor; silica packets help in a humid climate.
Rotate seasonally. The reachable zone between about 24 and 60 inches off the floor should hold what you wear this season. Everything else goes high or low in labeled bins. Doing this twice a year effectively doubles the capacity of a small closet.
Store boots properly. Tall boots left standing collapse at the ankle and crease permanently. Boot shapers, rolled magazines or pool noodles cut to length keep the shaft upright, and they let you store boots on an 18-inch shelf instead of hanging them.
Skip the original boxes, unless you are storing something you rarely wear. Boxes triple the volume per pair and hide what is inside. Clear plastic shoe boxes are a compromise that keeps dust off and visibility up, at the cost of about 30 percent more shelf space than open storage.
When a shelf is the wrong answer
If you own fewer than about a dozen pairs, a shelf run is over-engineering. A single 12-inch shelf under the hanging rod plus a low bench does the job.
If the closet is a narrow reach-in under 24 inches deep, a front-facing shelf steals the depth you need to hang clothes. Wall-mounted racks that hold shoes on edge, or an over-the-door system, preserve the hanging space.
And if the real problem is that you own more shoes than the closet can hold at any spacing, the honest fix is a piece of furniture outside the closet, a bench with cubbies at the entry or a low cabinet in the bedroom, rather than compressing the closet until nothing in it is reachable.