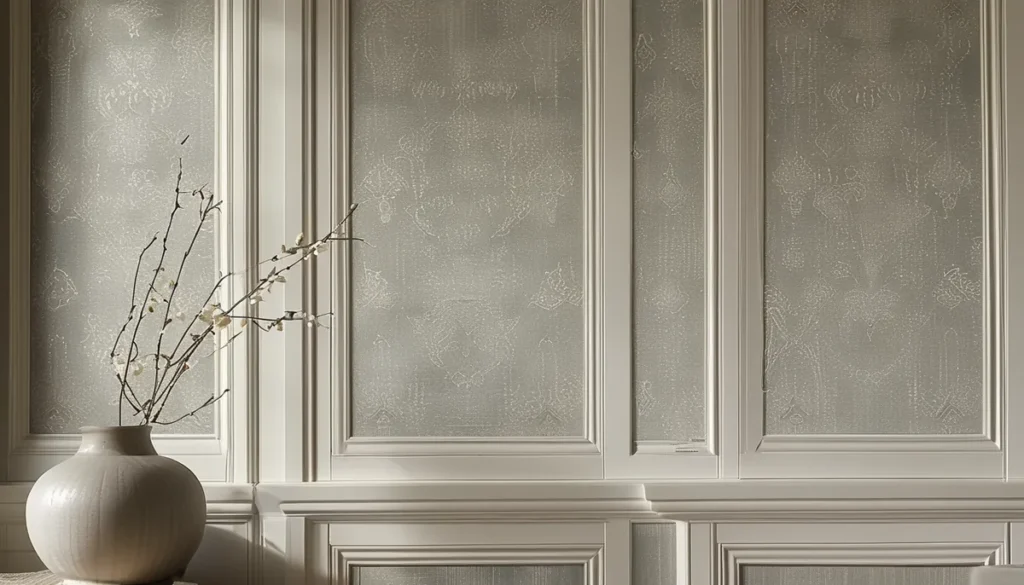
Measure the stripe before you look at the colorway. Stripe width is the single variable that dates a paper, sets the scale of the room and determines how much work the install becomes. Everything else is adjustable; the width is not.
Order samples and lay a tape measure across them. Vendors describe stripes as thin, awning, candy or regency, and none of those words mean a fixed dimension. A paper sold as a thin stripe can run anywhere from 1/4 inch to 1 1/4 inches depending on who printed it.
Stripe widths and the periods they belong to
Historic striped papers cluster into a handful of widths, and getting within about 1/8 inch of the right one is what makes a room read as authentic rather than themed.
- 1/8 to 1/4 inch, tightly repeated. Federal and Regency period ticking. At normal viewing distance it stops reading as a stripe and becomes a texture, closer to a woven fabric than a pattern. This is the safest historic stripe for a small room because it does not fight the furniture.
- 1/2 to 3/4 inch, alternating tones of one color. The classic English parlor stripe. Often printed with a subtle satin band next to a matte band, which gives it depth under lamplight and almost disappears in flat daylight.
- 1 to 1 1/2 inches, two clear colors. Victorian and Colonial Revival. This is the width most people picture when they say vintage striped wallpaper, and it is the width that most needs a period ceiling height to work.
- 2 to 3 inches, awning stripe. Reads early twentieth century and mid-century equally. Wide enough that the stripe becomes architecture rather than pattern, so the furniture in front of it has to be simple.
- 4 to 8 inches, high contrast. The 1960s and 1970s. Genuinely hard to live with in a room you sit in every day, and excellent in a powder room, a stair hall or a closet interior where you pass through instead of lingering.
Uneven stripes, where a wide band alternates with two or three hairlines, are the most forgiving group of all. The irregular rhythm hides seams and small out-of-plumb errors that a repeating even stripe would broadcast.
The ground color is what makes it look old
New striped paper on a bright optical white ground looks new no matter how period the layout is. Antique papers aged toward warm ivory, oyster, and a slightly greenish parchment tone. If you want a wall that passes for old, chase that ground first and worry about the stripe color second.
The same logic applies to the stripe itself. Historic pigments were duller and dirtier than modern printing inks. A dusty rose, a faded indigo, an olive with brown in it and a soft ochre all read as aged. A saturated primary red or a clean cobalt does not, regardless of how correct the width is.
Finish matters as much as color. Original block-printed and distemper papers had a chalky, light-absorbing surface. A modern vinyl with a satin sheen bounces light and gives itself away, particularly on a wall that catches raking sun in the afternoon. If you have a choice between a matte substrate in an approximate colorway and a shiny substrate in the exact colorway, take the matte one.
Where stripes help the room and where they hurt it
Vertical stripes add apparent height and subtract apparent width. In a room with 8-foot ceilings, a narrow vertical stripe genuinely helps. In a room with a 9 or 10-foot ceiling, that same stripe can make the space feel like a shaft, and a wider awning stripe balances it better.
Horizontal stripes do the reverse, and they are a much bigger commitment. Hanging a vertical stripe sideways means every seam becomes a horizontal line across the room, and any variation in your ceiling height shows up as a stripe that tapers. Older houses settle, and a ceiling that drops 3/4 inch across 12 feet is common. Check with a laser level before you consider it.
Stripes are unforgiving on walls that are not flat. Every bulge over a drywall seam, every ripple in old plaster, bends the stripe visibly. Rake a work light across the wall at a low angle before ordering. If the shadows show more than about 1/8 inch of relief across a 4-foot span, skim coat the wall or choose a pattern with movement in it instead.
Rooms where a stripe consistently earns its keep: entry halls, stair walls, powder rooms, dining rooms, and the inside of a closet or a butler’s pantry where the surprise pays off. Rooms where it usually fails: open-plan spaces with many door and window openings, because every opening interrupts the rhythm and the eye keeps trying to reconnect the lines.
Hanging a stripe without a visible drift
Nothing exposes a sloppy install like a stripe. Three rules govern the whole job.
Never trust a corner as your starting line. Snap a plumb line with a laser or a chalk line about one strip width in from your starting corner, and hang the first strip to that line. Interior corners in a house are almost never plumb, and if you use one as a reference, the error compounds across every strip until the stripes visibly lean.
Plan where the pattern will die. You will end up back where you started with a mismatch, because room perimeters are rarely an exact multiple of the roll width. Decide in advance where that seam lands. Behind a door, in the least visible corner, or above a doorway are the standard choices. Pick before the first strip goes up, not after.
Split the stripe at inside corners. Wrap no more than about 1/4 inch of paper around an inside corner, then start a fresh plumb strip on the new wall and overlap. Trying to carry a full strip around a corner guarantees a wrinkle and pulls the stripe out of vertical on the second wall.
Two more details specific to stripes. Trim your strips so a stripe edge, not the middle of a color band, falls at the seam whenever you can; a slight gap or overlap disappears at a color change and screams in the middle of a wide band. And check each strip against the previous one with a level before you smooth it down, because a stripe drifting 1/16 inch per strip becomes a half inch of lean after eight strips.
Reproductions, salvage rolls and what to actually buy
There are three ways to get a vintage striped wallpaper on a wall, and they behave very differently.
Reproduction papers from documentary archives are the most practical. They are printed on modern substrates, come in current roll widths, are available in quantity, and can be reordered if you damage a strip. The trade-off is that the printing is cleaner than the original, so look for lines that photograph slightly soft rather than razor sharp.
Genuine old stock, bought as leftover rolls, gives you the real surface and the real aging. It also gives you a fixed quantity with no reorder, unknown adhesive behavior on the back, and paper that may tear along a fold line. Buy 30 percent more than your calculated need, test one strip on a hidden wall, and reserve the material for a small room where the total footage is low.
Peel-and-stick versions are the renter answer. The pattern registration on the better ones is fine, but the substrate is a plastic film with a sheen, so a stripe with a strong period colorway will still read modern. They work best when the stripe is narrow enough that the surface texture matters less than the rhythm.
Whichever route you take, order all rolls from a single run and check the run number printed on each label. Color drifts between print runs, and on a stripe that shift shows up as one strip in the middle of the wall reading warmer than its neighbors.