Forget soaking wallpaper in a messy paste trough. Paste the wall wallpaper uses a different hanging technique: you apply the adhesive directly to the wall, not the paper. This makes the process significantly faster and cleaner, reducing the risk of tearing or over-soaking.
The key difference lies in the material. Most paste the wall wallpapers are made from non-woven material. This means the paper pulp is bonded together with synthetic fibers, giving it strength and stability. Unlike traditional paper-backed wallpapers, non-woven options don’t expand or contract much when wet, preventing seam gaps or bubbling after the paste dries.
Understanding the benefits of paste the wall wallpaper
Choosing paste the wall wallpaper offers several advantages over traditional methods:
- Speed: Applying paste directly to the wall eliminates the time-consuming step of booking the paper (allowing it to absorb paste). You can hang strips much more quickly.
- Cleanliness: No paste table means less mess. You avoid dripping paste onto floors and furniture.
- Ease of Removal: Most non-woven paste the wall wallpapers can be stripped dry from the wall, leaving minimal residue. This is a huge advantage when it’s time for a change.
- Durability: The strong non-woven fibers resist tearing during installation.
- Less Expansion: The material is more stable, so seams stay tight.
When to choose paste the wall wallpaper
This wallpaper type is ideal for:
- Beginners: The forgiving nature and straightforward application make it a great choice for DIYers new to wallpapering.
- High-Traffic Areas: Its durability and ease of cleaning make it suitable for hallways, living rooms, and kids’ rooms.
- Rental Properties: The easy removal is a major plus for tenants.
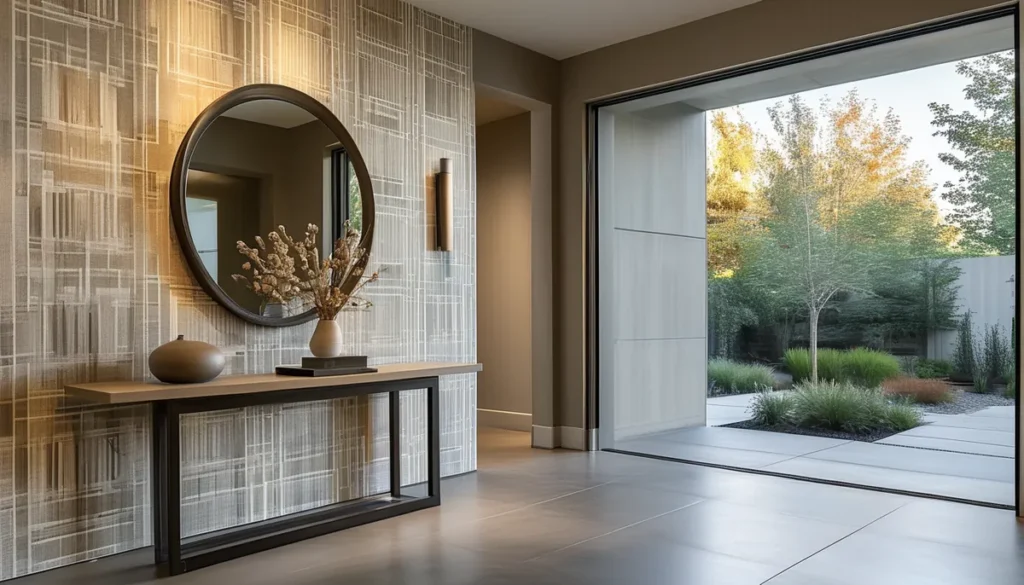
- Statement Walls: From intricate geometric patterns to vibrant floral designs, the clean finish allows intricate designs like paste the wall floral wallpaper to stand out beautifully.
How to install paste the wall wallpaper
Proper preparation is crucial for a flawless finish. Ensure your walls are clean, dry, and smooth. Fill any holes, sand down rough patches, and clean off dust. You may need to prime the walls, especially if they are glossy or a dark color, to ensure good adhesion.
1. Measure and cut your wallpaper
Measure the height of your wall, from the ceiling to the baseboard, and add 4-6 inches for trimming. Cut your wallpaper strips to this length. If your pattern requires matching, pay close attention to the pattern repeat indicated on the roll.
2. Apply the adhesive
Using a dedicated non-woven wallpaper paste, such as Roman PRO-880, apply a generous, even layer directly to the wall. Cover an area slightly wider than your wallpaper strip. Use a pasting brush or roller. For best results with Roman PRO-880, follow the manufacturer’s instructions carefully.
3. Hang the first strip
Align the edge of the first strip with the corner of the ceiling or a plumb line you’ve drawn. Gently press the wallpaper onto the paste using a wallpaper brush or smoother. Work from the center outwards to smooth out air bubbles and ensure good contact with the paste.
4. Smooth and trim
Use your wallpaper brush or smoother to push out any air bubbles towards the edges. For stubborn bubbles, you might need a wallpaper repair tool to inject a small amount of paste. Once the strip is smooth and adhered, use a sharp utility knife and a straight edge (like a metal ruler or a T-square) to trim the excess wallpaper at the ceiling and baseboard.
5. Continue with subsequent strips
Apply paste to the next section of the wall, ensuring you butt the edges of each strip together tightly. Do not overlap. Smooth each strip as you did the first. Continue this process across the wall.
6. Handle corners and obstacles
For inside corners, wrap the wallpaper around the corner by about 1/2 inch and adhere it. Then, start the next strip in the new corner, overlapping the edge of the first strip slightly. For outside corners, wrap the wallpaper around the corner by about 1 inch and smooth it down. Trim any excess carefully.
7. Clean up
Immediately wipe away any excess paste that seeps onto the surface or trim with a damp sponge or cloth. This is crucial to prevent the paste from drying and becoming difficult to remove, which could affect the wallpaper’s appearance.
What to look for in paste the wall wallpaper
When selecting your wallpaper, consider these factors:
- Material: Ensure it’s explicitly labeled as ‘non-woven’ or ‘paste the wall’.
- Design and Color: Choose a pattern that complements your room’s style. Bold prints, subtle textures, and vibrant colors are all available. For example, paste the wall floral wallpaper can add a touch of nature and elegance to any space. Consider how light will interact with the finish – matte, satin, or even subtle metallic sheens.
- Durability and Washability: Check if the wallpaper is scrubbable or washable, especially if you’re installing it in a kitchen or bathroom.
- Pattern Repeat: Note the pattern repeat size. A larger repeat means you’ll need more paper to achieve pattern matching, especially with complex designs.
- Roll Size: Standard rolls are typically 20.5 inches wide and 33 feet long, covering about 56 square feet. Always calculate carefully to avoid running short.
Common mistakes to avoid
Even with an easier system, mistakes can happen:
- Insufficient Paste: Not applying enough adhesive to the wall can lead to bubbles and peeling edges.
- Uneven Paste Application: Thick or thin spots in the paste can cause uneven drying and visible imperfections.
- Over-working the Paper: Excessive smoothing can stretch the wallpaper, leading to distortion or tears, especially if the paste is too wet.
- Not Cleaning Tools: Dried paste on your smoother or brush can create marks on the wallpaper.
- Ignoring the Pattern Repeat: Failing to match the pattern correctly will result in visible misalignments and a unprofessional look.
- Using the Wrong Paste: Always use a paste specifically designed for non-woven or paste the wall wallpapers. Using standard wallpaper paste might not provide adequate adhesion or could damage the material. Refer to a non woven wallpaper paste buying guide if you’re unsure.
Paste the wall vs. prepasted wallpaper
Prepasted wallpaper comes with a dry adhesive layer on the back. To activate it, you submerge the strip in water. While simpler than traditional methods, it still involves soaking and can lead to over-wetting or stretching if not handled carefully. Prepasted wallpaper for bathrooms is a common choice, but paste the wall offers a cleaner application with less risk of water-related issues.
Paste the wall wallpaper for every room
The versatility of paste the wall wallpaper makes it suitable for any room. In a bedroom, you might opt for a calming floral print or a subtle texture. For a living room, a bold geometric or a sophisticated damask pattern can make a statement. Even a busy hallway can benefit from a durable, scrubbable design. For inspiration on color palettes, explore options like pastel bedroom wallpaper to find shades that enhance your personal style.
The ease of application and the professional finish achievable with paste the wall wallpaper make it a top choice for both seasoned decorators and DIY enthusiasts. Its modern approach simplifies the wallpapering process, allowing you to achieve beautiful results with less stress and mess.