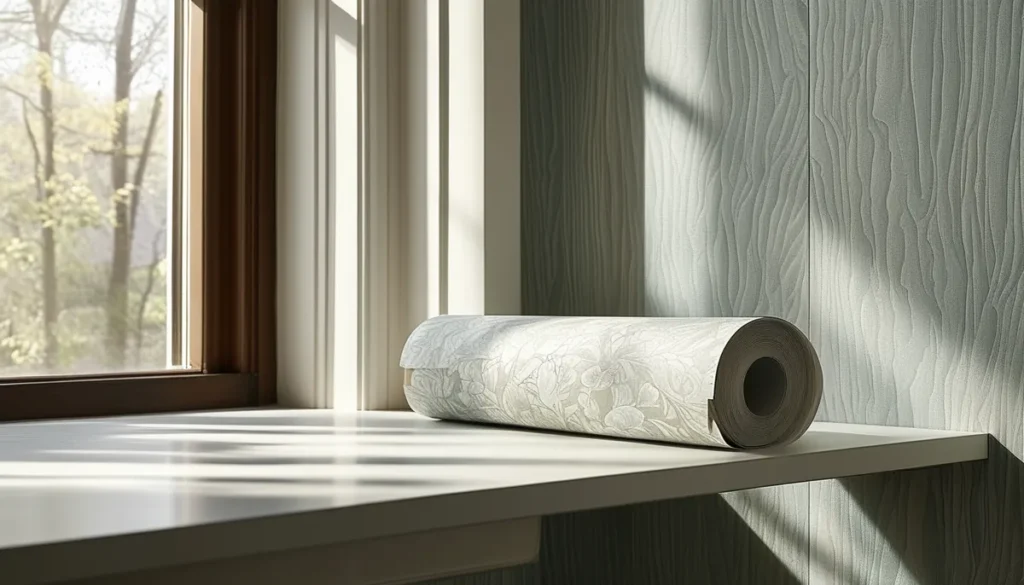
Choosing the right teenage bedroom wallpaper means balancing your teen’s evolving tastes with durability and ease of application. Forget the flimsy, disposable options of the past; modern wallpapers offer a range of materials and finishes that can stand up to daily life and reflect a unique sense of style.
Consider the primary material and its properties. Vinyl-backed wallpapers are a solid choice for durability and washability, making them ideal for a busy teen’s room. They can withstand scuffs and are easy to wipe clean, which is a major plus. Peel-and-stick options, often made from PVC or similar materials, offer the ultimate in DIY-friendliness. They are forgiving, allowing for repositioning during installation, and can be removed without damaging the underlying drywall when it’s time for a change. Traditional paper-backed wallpapers are generally less expensive but require more care during installation and are less resistant to moisture and wear.
Design trends and what teens actually want
What’s trending for teen spaces? Geometric patterns, abstract designs, and subtle textures are popular. Many teens gravitate towards bold statements, so don’t shy away from vibrant colors or large-scale prints. Darker themes, like black bedroom wallpapers that make a statement, are also gaining traction for creating a sophisticated, moody atmosphere. For a softer aesthetic, consider pastels or watercolor effects; find your perfect shade with our guide on pastel bedroom wallpaper. Natural elements, such as forest scenes or botanical prints, can bring a calming vibe to the space, reminiscent of forest bedroom wallpaper.
When consulting with your teen, ask them about their favorite colors, hobbies, and overall aesthetic. Do they prefer a minimalist look, a maximalist explosion of color, or something in between? Showing them samples of different patterns and textures can help narrow down their preferences. It’s also worth discussing whether they envision the wallpaper as a full room transformation or as an accent wall, similar to techniques used for master bedroom wallpaper accent walls.
Measuring and calculating how much you need
Accurate measurements are crucial to avoid running out of material mid-project or buying too much. Measure the height of your walls from the baseboard to the ceiling and the width of each wall. Add these widths together to get the total linear footage of your walls. For wallpaper, you’ll typically buy it by the roll, which has specific dimensions (e.g., 20.5 inches wide by 33 feet long). Most rolls cover about 56 square feet, but this can vary significantly based on the pattern repeat.
To calculate the number of rolls needed:
- Measure the total square footage of your walls (total width x height).
- Divide this by the square footage coverage of one roll.
- Add 10-15% to this number to account for pattern matching and potential mistakes. This buffer is especially important for patterned wallpapers where you need to align repeats.
Always check the manufacturer’s specifications for roll coverage and pattern repeat. It’s better to have a little extra than to be short, as dye lots can vary between batches, making it difficult to match future purchases perfectly.
Installation essentials: tools and preparation
Proper preparation is the most critical step for a professional-looking wallpaper installation. Start by clearing the room as much as possible. Remove outlet covers and switch plates.
The wall surface must be clean, dry, and smooth. Clean off any dirt, grease, or old adhesive. If there are imperfections, such as holes or cracks, fill them with spackling paste and sand them smooth once dry. For glossy paint, lightly sanding the surface can improve adhesion. If you’re wallpapering over existing wallpaper, ensure it’s securely adhered or consider removing it entirely. Some vinyl wallpapers can be applied over old, well-adhered wallpaper, but it’s generally not recommended for the best long-term results.
You’ll need the following tools:
- Wallpaper adhesive (if not pre-pasted)
- Smoothing tool or plastic smoother (a wide putty knife or squeegee works)
- Sharp utility knife or razor blade
- Measuring tape
- Pencil
- Straight edge or T-square
- Plumb bob or laser level
- Ladder or stepladder
- Bucket for water (if needed for paste or cleaning)
- Drop cloths to protect the floor
Applying your chosen teenage bedroom wallpaper
If your wallpaper is pre-pasted, follow the manufacturer’s instructions for soaking the paper. If you’re using separate adhesive, apply it evenly to the back of the wallpaper or directly to the wall, depending on the product. Work in manageable sections.
Start by hanging your first strip. Use a plumb bob or laser level to draw a perfectly vertical guideline on the wall. This is crucial for ensuring your entire pattern aligns correctly. Hang the first strip, allowing a slight overlap at the ceiling and a small amount to trim at the baseboard.
Use your smoothing tool to work from the center outwards, pushing out air bubbles and excess paste. Be firm but avoid tearing the paper. Trim the excess at the ceiling and baseboard with your sharp utility knife, using a straight edge as a guide. For subsequent strips, align the edges carefully, matching the pattern repeat. If you’re working with a busy pattern, a slight overlap might be acceptable, but for most designs, a butt joint (edges meeting without overlap) provides a cleaner finish.
Pay close attention to corners. For inside corners, allow the paper to wrap around slightly, then trim excess. For outside corners, wrap the paper around and score it lightly with your knife to help it lie flat, then trim. If you encounter stubborn air bubbles after the paper has set, you can sometimes pierce them with a pin and gently smooth them down.
Dealing with outlets and windows
Outlets and windows require careful cutting. For outlets, flatten the wallpaper over the opening and make a small X-cut in the center. Then, trim away the excess paper around the opening, working outwards. Reinstall the outlet cover once the wallpaper is dry. For windows, hang the wallpaper over the frame, making diagonal cuts from the center of the window towards each corner. Trim the excess, then carefully cut around the frame itself.
Maintenance and longevity
The longevity of your teenage bedroom wallpaper depends on the material and how well it’s maintained. Vinyl and washable wallpapers can be cleaned with a damp cloth and mild soap. Avoid abrasive cleaners, as they can damage the print or finish. For removable wallpapers, follow the manufacturer’s instructions for removal. Typically, they peel off easily, sometimes in large sheets, leaving little to no residue.
Proper installation, especially ensuring good adhesion and minimizing air bubbles, will contribute significantly to how long the wallpaper lasts. For teens, whose styles can change rapidly, removable or peel-and-stick options offer the flexibility to redecorate without the hassle and expense of traditional wallpaper removal.