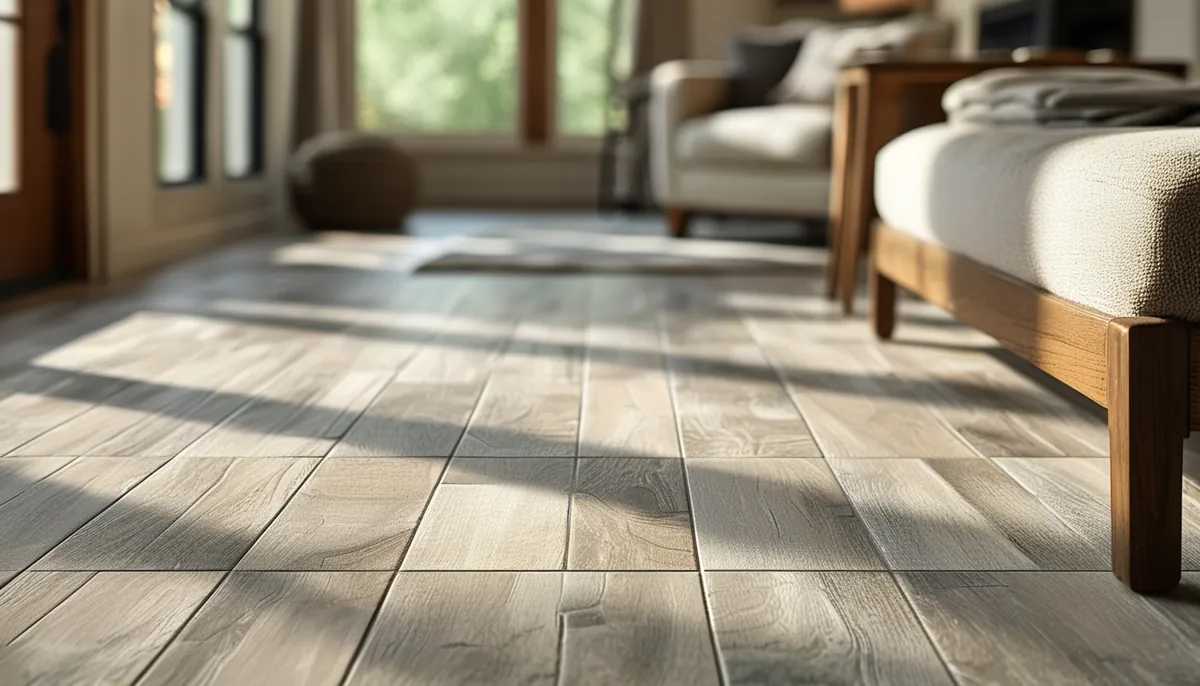
Self-adhesive vinyl tile is the only hard-surface floor a first-timer can install in a weekend with a utility knife and a chalk line. It is also the floor most likely to have curling edges in eighteen months, and the difference is almost never the tile. It is the subfloor and the layout.
What you are actually buying
Three numbers on the box tell you most of what matters, and the marketing copy on the front tells you almost nothing.
- Overall thickness. Self-adhesive tiles typically run about 1.2 mm to 2.5 mm, roughly 0.05 to 0.10 inch. Thin tile telegraphs every ridge and screw pop in the subfloor. Thicker tile hides a little more and feels less hollow underfoot, but nothing in this category bridges a real defect.
- Wear layer. This is the clear film over the print, measured in mils. Around 6 mil is a light-use spec for a closet, a guest bath or a laundry nook. Around 12 mil handles a normal household kitchen or entry. Around 20 mil is what you want in a rental unit or a mudroom that sees boots and grit. The wear layer, not the total thickness, is what determines whether the pattern survives.
- Format. Squares are usually 12 by 12 inches or 18 by 18 inches. Planks run around 6 by 36 inches. A 12 by 12 tile equals exactly one square foot, which makes the ordering math trivial. Larger formats mean fewer seams but demand a flatter subfloor, because a long rigid tile cannot follow a dip.
Groutable versions exist: the tiles install with a deliberate 1/8 or 1/4 inch gap and take an acrylic-modified grout. They look far closer to ceramic and they cost more time. Standard tiles butt tight, edge to edge, with no gap at all.
The subfloor decides the outcome
Adhesive-backed tile is fully bonded, which means it inherits every flaw underneath it and cannot move independently.
- Flatness. Most manufacturers want the floor flat within about 3/16 inch over a 10-foot span. Drag an 8-foot straightedge across the room in several directions and mark the gaps. Fill low spots with a cementitious patch or self-leveler and grind or sand the high ones. This step is boring and it is the whole job.
- Wood subfloors. Plank or board subfloors need a 1/4 inch underlayment-grade plywood over the top, fastened on a tight schedule, with the seams offset from the boards below and filled. Do not stick tile directly to OSB or particleboard: the surface is too rough and too absorbent, and particleboard swells if it ever gets wet.
- Concrete. It has to be clean, cured and dry. Fresh slabs release moisture for months. Old slabs can still push vapor if there is no vapor retarder underneath. Tape a 2-foot square of clear plastic to the slab, leave it 24 to 48 hours, and if you see condensation or a dark patch, deal with the moisture before you open a box.
- What to never install over. Carpet, of course. Cushioned or perimeter-bonded sheet vinyl, which flexes and lets the tile shear. More than one existing layer of resilient flooring. Textured or embossed vinyl, unless you skim it flat first. And any old adhesive residue that is soft, gummy or unidentifiable in a pre-1980 house, where the safe move is to leave it undisturbed and cover it with underlayment rather than sand it.
Old tile and its mastic in homes built before the mid-1980s can contain asbestos. Do not sand, grind or dry-scrape it. Test it or encapsulate it.
Rooms where it works and rooms where it does not
Good candidates: powder rooms, laundry rooms, closets, home offices, finished basements with a dry slab, entries, and kitchens where you accept a shorter service life. The material is waterproof itself, so a spill is a non-event as long as water does not sit in the seams for hours.
Bad candidates: sunrooms and any room with unshaded south or west glass, where surface temperatures swing enough to soften adhesive and shift tiles. Unconditioned garages and three-season porches, for the same reason. Full baths where a shower puts standing water on the floor daily and it wicks into the seams around the toilet flange. Rooms with radiant heat, unless the tile is specifically rated for it and you respect the surface temperature limit.
Keep the room between roughly 55 and 85 degrees F permanently, not just on install day. The adhesive is pressure-sensitive, which means it stays slightly soft forever by design.
Acclimation and layout
Bring the unopened boxes into the room and leave them flat for 48 hours at normal living temperature. Vinyl expands and contracts with heat, and tile installed cold will open gaps at the seams once the room warms up.
Find the working center rather than a wall. Measure the room, snap a chalk line down the middle in one direction, then square a second line off it with the 3-4-5 method: 3 feet along one line, 4 feet along the other, 5 feet across the diagonal. Walls in most houses are not square or parallel, and lining the first row up on a wall pushes the error into a visible taper at the far side.
Dry-lay a full row in each direction from the center without peeling anything. If the last tile at either wall lands narrower than half a tile, shift the whole center line by half a tile width. A 3-inch sliver against a doorway is the single most obvious mistake in a DIY floor, and it costs nothing to avoid at this stage.
Cutting and setting
Straight cuts: score the face two or three times with a fresh utility blade against a metal straightedge, then flex the tile and it snaps. Change blades often, because a dull blade tears the wear layer and leaves a ragged edge you will see.
Curves around a toilet flange, a pipe or a door jamb: make a cardboard template first, trace it, then cut. Warming the tile with a hair dryer for 30 seconds makes it far more willing to follow a curve without cracking. Undercut door casings with a jamb saw and slide the tile beneath rather than scribing around them.
Peel and set in one motion, edge first, then drop the field of the tile. Once the adhesive touches, you get one chance to nudge it. Butt each tile tight against its neighbors without forcing, because forced tiles bow up at the seam.
After a section is down, roll it. A 75 to 100 pound floor roller run in both directions is what actually transfers the adhesive; foot pressure alone bonds maybe the middle of each tile. For a small bathroom, a rented hand roller or a rolling pin with real weight behind it works, but the full-size roller is what makes the difference in a kitchen. Stay off the floor for the first 24 hours and keep heavy furniture off for 48.
How much to order
Measure the room in feet and multiply length by width. Add the doorway alcoves and any area under a toe kick that will be exposed. A 12 by 14 foot room is 168 square feet.
Add waste on top of that. Straight, grid or brick layouts need about 10 percent. Diagonal layouts, herringbone with planks, or a room with lots of jogs and closets need 15 percent, sometimes 20. That 168 square foot room becomes 185 square feet at 10 percent, which is 185 tiles at 12 by 12 inches.
Buy whole boxes and buy them all at once, from the same production run if the box lists one. Dye lots shift between runs, and a replacement box bought next year will not match. Keep the leftovers flat in a closet: the repair method for a damaged tile is to warm it, lift it, scrape the old adhesive and set a new one, and that only works if you still have a matching tile.
Living with it
Sweep or vacuum on a hard-floor setting before you mop, because grit under a shoe is what abrades a wear layer. Damp mop with plain water or a pH-neutral cleaner. Skip steam mops entirely, since the heat softens the adhesive and drives moisture into the seams. Skip wax and acrylic finishes, which build up and yellow.
Put felt pads under every chair and table leg, and hard wheels on office chairs will still cut it, so use a chair mat. Walk-off mats at exterior doors do more for the lifespan of this floor than any product you can buy for it.
Expect five to ten years in a dry, moderate-traffic room with good prep, and less in a kitchen. Failure shows up first as a lifted corner at the doorway or in front of the sink. Catch it early, warm it, add a dot of vinyl flooring adhesive under the corner and weight it overnight, and you buy years. Ignore it and the edge picks up dirt, stops bonding for good, and takes the neighboring tile with it.