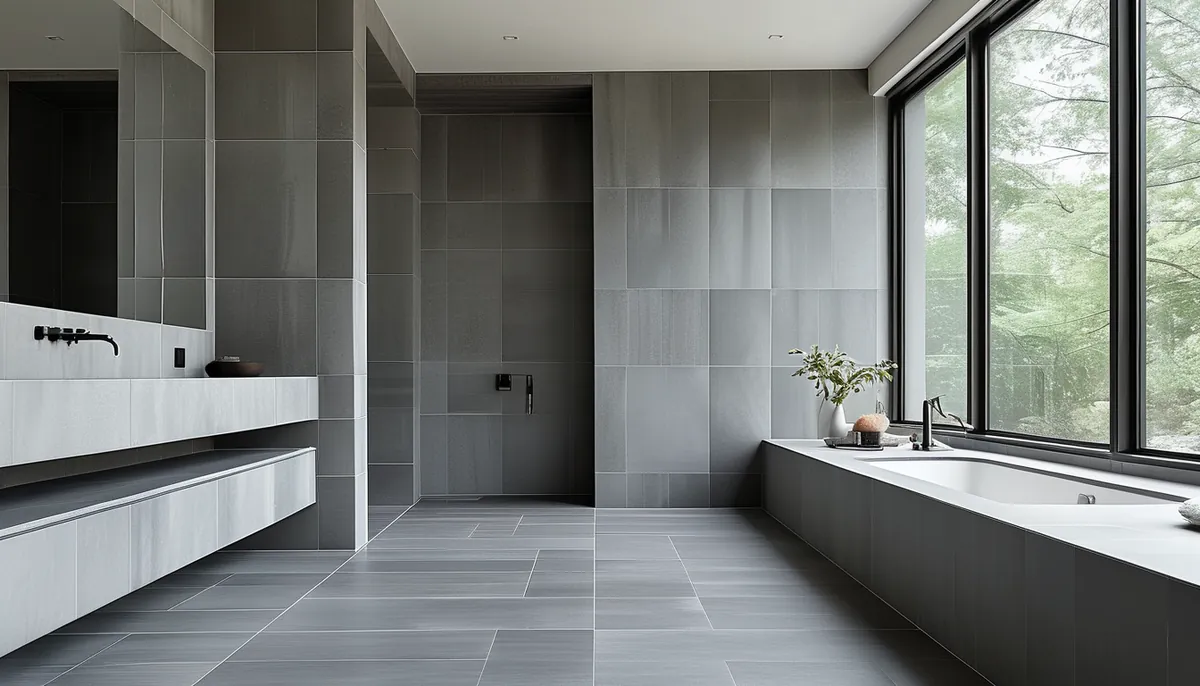
A bathroom with tiles is really four decisions stacked on top of each other: which surfaces get tiled, what size each surface takes, how slip-resistant the floor has to be, and how wide the grout joints run. Style follows from those. Pick a tile you love before answering them and you end up with a 24-by-48-in slab on a shower floor that will not slope to the drain.
Decide what gets tiled before you shop
Tiled area drives both the material budget and the labor budget, and labor is the larger of the two on most jobs. Four common scopes, in ascending order of cost:
- Floor plus shower enclosure only. The minimum that makes waterproofing sense. Everything else is painted drywall.
- Floor, shower, and a wainscot band at 36 to 48 in around the rest of the room. The 36-in line matches most vanity heights and reads deliberate; 48 in gives more splash protection behind a toilet and sink.
- Floor, shower, and one full-height wet wall — usually the vanity wall or the wall behind a freestanding tub. High visual return per square foot.
- Full-height everywhere. Cleanable, durable, and acoustically hard. Small rooms handle this better than large ones, which start to feel institutional.
One structural note before scope: a mortar-set tile floor plus backer board adds meaningful weight and about 1/2 to 1 in of height. That height change has to be resolved at the door threshold and at the toilet flange, which may need an extender ring so the flange sits at or slightly above finished floor.
Tile sizes and where each one earns its place
Size is not a style choice on wet surfaces. It is a geometry choice.
- 1-by-1 in and 2-by-2 in mosaics: the only correct choice for a shower floor. A shower pan slopes toward the drain from every direction, and small tiles on a flexible sheet backing conform to that compound slope. Large tiles cannot, and forcing them creates ponding.
- Penny round and hex mosaics: same conforming behavior, plus a dense grout matrix that adds grip underfoot.
- 3-by-6 in subway: forgiving on out-of-plumb walls because the short length hides deviation, and cheap to cut. Works on shower walls and wainscot.
- 4-by-4 in and 4-by-12 in: the middle ground. Fewer joints than subway, still tolerant of an imperfect wall.
- 12-by-24 in: the workhorse for bathroom floors and full-height walls. Big enough to cut down joint count, small enough that substrate flatness is manageable.
- 24-by-48 in and larger: beautiful and unforgiving. The substrate must be flat within about 1/8 in over 10 ft, and installation needs a leveling clip system to control lippage. Budget for the extra prep or do not order the tile.
Porcelain, ceramic and stone: read the absorption number
Porcelain is defined by a water absorption rate at or below 0.5 percent. That is why it works on shower floors, on bathroom floors, and outdoors in freezing climates. Standard ceramic absorbs more, which is fine on a wall that only sees splash and wrong on a floor that sees standing water.
For floors, check the abrasion rating as well. A rating suitable for residential floor traffic is the minimum; wall-only tiles are thinner and will crack underfoot.
Natural stone is a different maintenance contract. Marble is calcium carbonate and etches — a dull ring, not a stain — from anything acidic, including many bathroom cleaners and a splash of toilet bowl product. Honed marble hides etching far better than polished. Slate is dense and grippy but flakes at the surface on some varieties. Travertine has natural voids that get filled at the factory, and those fills pop out over time in a shower. All stone needs a penetrating sealer, reapplied on a schedule the fabricator specifies, and none of it likes acidic cleaners.
Glass tile is a wall material. It is non-porous and gorgeous in a niche, but it shows every trowel ridge behind it, so it needs a white thinset applied with a fine-notch trowel and a very flat wall.
Slip resistance is a published number
Do not judge a floor tile by rubbing a thumb across a sample in the showroom. Wet-floor traction is measured as dynamic coefficient of friction, and the accepted benchmark for level interior floors expected to get wet is 0.42 or higher. That figure is on the manufacturer’s spec sheet. If a tile does not publish one, treat it as a wall tile.
Two design levers add real traction beyond the number. Smaller tiles mean more linear feet of grout per square foot, and grout is rougher than glaze. A matte or structured surface finish outperforms a polished one by a wide margin. Polished porcelain on a bathroom floor looks superb and is genuinely dangerous next to a shower.
Layout: where the cuts land is the whole job
Amateur installations are recognizable at a glance because the layout started at a corner. Professional layouts start from a centerline and push the cuts to the edges, where they can be balanced.
Find the center of the visual field — usually the wall the door faces, or the shower back wall — and dry-lay from there. If the resulting edge cut is less than half a tile wide, shift the whole grid by half a tile so both edges get a decent piece. Slivers under about 2 in read as errors and are also the pieces most likely to crack.
Offset patterns have a rule that is regularly ignored. On any tile longer than 15 in, a 50 percent running bond exaggerates lippage, because the high point of one tile’s crown meets the edge of its neighbor. Use a 1/3 offset, or a straight stack, on 12-by-24 and larger. Many manufacturers state this on the box.
Other layout decisions with lasting consequences:
- Put the cut row at the floor, not at the ceiling. Baseboard, a tub deck, or a vanity hides a floor cut; nothing hides a ceiling cut.
- Align the top of the shower niche with a grout line, and set the niche width to a whole number of tiles plus joints. A niche that lands mid-tile forces cuts on all four sides.
- Vertical stack bond adds perceived height in a room with an 8-ft ceiling. Horizontal stack widens.
- Herringbone consumes 15 to 20 percent more material in waste and roughly doubles cut count. Price the labor before committing.
Waterproofing and substrate, the part nobody sees
Tile is not waterproof and grout is not waterproof. The waterproofing is a separate assembly behind them, and it is the only thing standing between a shower and the framing.
Two accepted approaches: a sheet membrane bonded over cement backer board or foam board, or a liquid-applied membrane rolled on in two coats to the manufacturer’s wet film thickness. Whichever you use, all corners, changes of plane, and pipe penetrations get reinforcing fabric or preformed corners. Green drywall is not a shower substrate; it is moisture-resistant, which is a different claim than waterproof.
A shower floor slopes 1/4 in per foot toward the drain. That slope is built into the pre-slope and mortar bed, not created by pressing tiles down. A linear drain against one wall lets the floor slope in a single direction, which is what makes large-format shower floor tile possible at all — the exception that proves the mosaic rule.
Recessed niches fit between studs, which gives about 14.5 in of clear width in standard 16-in on-center framing. Slope the niche sill 1/8 to 1/4 in toward the shower so water drains out rather than standing on the ledge. A curb runs roughly 4 to 6 in tall and gets waterproofed on all three faces, top included.
Grout: width, type and color
Joint width is dictated by the tile. Rectified tile — mechanically cut to a precise size after firing — can go down to 1/16 or 1/8 in. Non-rectified tile has slightly variable edges and needs 1/8 to 3/16 in to absorb the variation. Large-format tile should not go below 1/8 in regardless, because a narrow joint gives the assembly nowhere to move.
Sanded grout is for joints 1/8 in and wider; unsanded for anything narrower, and for polished marble and glass, which sand can scratch. Cement grout is porous and needs sealing. Epoxy grout is non-porous, resists staining, holds color, and costs more in both material and labor because it sets fast and has to be worked quickly. Epoxy is worth it on a shower floor and around a niche; it is optional elsewhere.
Every inside corner, every change of plane, and the joint where tile meets a tub or shower pan gets flexible sealant, not grout. These are movement joints. Grout them and they will crack within a year, every time.
Color is a design lever. Grout matched to the tile makes the surface read as one continuous plane, which is how you make a small bathroom feel larger. Contrasting grout turns a plain white subway wall into a graphic pattern for the price of a different bag. Mid-tone grays hide soil best on floors; brilliant white on a shower floor is a maintenance commitment.
Trim, transitions and the small bathroom playbook
Exposed tile edges need a finish. Options are bullnose tile from the same series, a metal or PVC edge profile set into the thinset, or a 45-degree mitered edge cut on site. Mitered edges look best and cost the most in labor; profiles are the reliable middle path and come in finishes that can match the faucet and hardware.
At the doorway, a threshold or transition strip resolves the height difference to the adjacent floor. Handle it during layout, not after the last tile is set.
In a bathroom under about 40 sq ft, four moves consistently make the room read larger: run the same tile on the floor and up at least one wall, use larger tile to cut joint count, match the grout to the tile, and keep the finish matte so the surfaces do not fracture into reflections. Continuous vertical elements — a full-height tiled wall behind the vanity, or a floor-to-ceiling niche column — pull the eye up.
What fails first, and the mistakes that cost real money
The sealant at inside corners is the first thing to go, typically within five to seven years, sooner in a shower without ventilation. Cut it out and replace it rather than caulking over it. Stone needs resealing on the fabricator’s schedule. Grout haze left on the surface at install dulls the entire job and gets much harder to remove after a week.
Ventilation is not a finishing detail. An exhaust fan sized for the room and ducted to the outside — not into the attic — is what keeps a tiled bathroom from growing mold in the grout. The common residential benchmark is 50 cfm of intermittent exhaust or 20 cfm running continuously, and the fan should run 20 minutes past the end of a shower.
The expensive mistakes are consistent across jobs: skipping the waterproofing membrane because the tile looked watertight; setting large-format tile on a substrate nobody checked for flatness; grouting a movement joint; putting a polished floor tile next to a shower; and ordering exactly the square footage on the plan with no allowance. Order 10 percent extra for a straight layout and 15 to 20 percent for herringbone or diagonal, and keep the leftovers with the dye lot number written on the box.