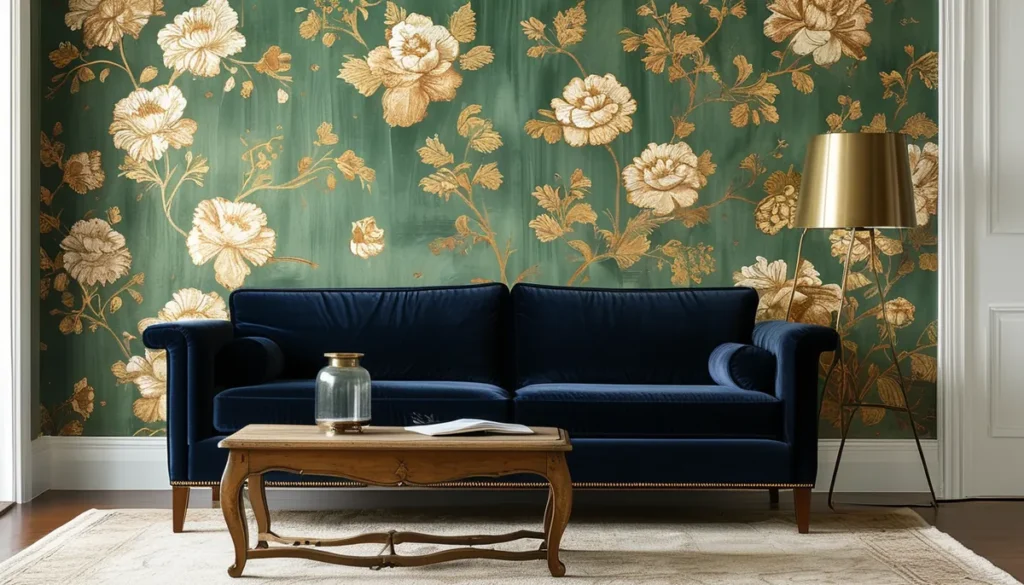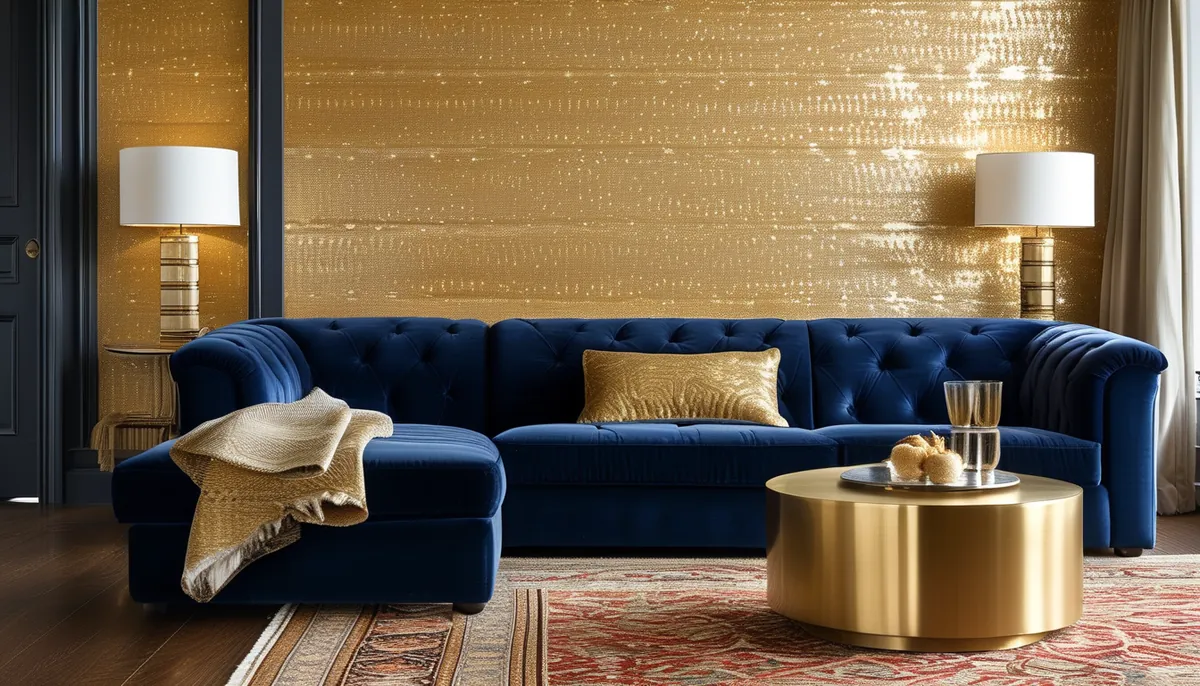
Gold textured wallpaper offers a sophisticated way to enhance your walls, adding warmth, depth, and a hint of opulence. Unlike flat finishes, textures catch the light and create visual interest, making a significant impact on your room’s ambiance. When selecting gold textured wallpaper, consider the specific type of texture and material, as these factors influence durability, appearance, and ease of installation.
Understanding different types of gold textured wallpaper
The world of textured wallpaper is diverse, with options ranging from natural fibers to synthetic materials. Each brings unique characteristics to your space. For gold finishes, the texture plays a crucial role in how the metallic sheen is perceived.
Vinyl wallpapers
Vinyl wallpapers are a popular choice for their durability and moisture resistance, making them suitable for kitchens and bathrooms. Gold vinyl textured wallpapers often feature embossed patterns that mimic materials like silk, linen, or even stucco. The vinyl layer provides a protective surface that can be wiped clean, a significant advantage in high-traffic areas or rooms prone to spills. Look for heavy-duty vinyl for maximum durability. These can sometimes feel less ‘premium’ than other options but offer excellent value and longevity.
Non-woven wallpapers
Non-woven (or ‘fleece’) wallpapers are made from a blend of synthetic fibers and cellulose. They are breathable, allowing moisture to escape, which helps prevent mold and mildew. Gold non-woven textured wallpapers often have a softer, fabric-like feel and can provide a matte or subtly metallic finish. Their installation is generally easier than traditional paper, as they are more stable and less prone to tearing. You can often apply adhesive directly to the wall, which simplifies the process. This is a good option if you’re aiming for a softer, more organic look.
Textured paper wallpapers
Traditional textured paper wallpapers use pulp or paper as the base. While they might not offer the same moisture resistance as vinyl, they can provide rich, deep textures like flocking, grasscloth, or embossed patterns. Gold flocked wallpapers, for instance, have a velvety texture applied to the surface, creating a luxurious feel. Grasscloth, made from natural plant fibers, offers a unique, organic texture that can be surprisingly durable and beautiful in a gold finish, though it requires careful handling during installation and is best suited for low-moisture environments. These are often the most challenging to clean but can offer a distinct artisanal quality.
Peel and stick wallpapers
Peel and stick options have gained popularity for their DIY-friendly nature. Gold textured peel and stick wallpapers are typically made from vinyl or a similar plastic material with an adhesive backing. They are ideal for renters or those who like to redecorate frequently, as they are removable without damaging the underlying wall. Textures can range from smooth embossed designs to more pronounced patterns. While convenient, ensure the adhesive is strong enough for your wall type and that the texture doesn’t compromise the material’s ability to adhere over time.
Choosing the right texture and finish
The ‘gold’ in gold textured wallpaper isn’t just about color; it’s about the interplay of light and shadow created by the texture. Different textures will reflect light differently, impacting the overall mood of your room.
Metallic sheen vs. matte gold
A bright, metallic gold finish will reflect a lot of light, making a space feel larger and more vibrant. This works well for bold, glamorous designs. A matte gold finish, however, absorbs light, offering a more subtle, sophisticated, and understated elegance. It can feel warmer and more inviting. For textured wallpapers, the depth of the texture can enhance the metallic quality. For example, a deep embossed pattern on a metallic gold vinyl will create strong highlights and shadows, adding a dramatic effect. Conversely, a subtle linen texture on a matte gold non-woven paper will offer a refined, understated luxury.
Depth and pattern scale
The depth of the texture is critical. Deeply embossed or raised textures can add significant dimension and character, almost acting as a sculptural element on your wall. Shallow textures might offer a tactile sensation but less visual drama. Consider the scale of the pattern in relation to your room size. Large, bold textures and patterns can overwhelm a small room, while a small, intricate texture might get lost in a large space. Think about how the texture will interact with your furniture and decor. A busy texture might clash with patterned upholstery, while a subtle texture can complement it.
Application areas and durability
Your choice of texture should also align with the room’s function. For high-traffic areas like hallways or living rooms, opt for durable, scrubbable materials like heavy-duty vinyl. Kitchens and bathrooms benefit from moisture-resistant options, again pointing towards vinyl. In bedrooms or formal living rooms, where durability might be less of a concern, you could explore more delicate textures like flocking or grasscloth for a touch of elegance. Always check the manufacturer’s specifications regarding cleanability and durability.
Installation guide for gold textured wallpaper
Proper installation is key to achieving a flawless, professional look with gold textured wallpaper. The process can vary slightly depending on the wallpaper type, but some general steps apply.
Preparation is crucial
Before you begin, ensure your walls are clean, dry, and smooth. Remove old wallpaper, fill any holes or cracks with spackle, and sand them smooth once dry. For a professional finish, prime your walls with a wallpaper primer. This creates a uniform surface, improves adhesion, and makes future removal easier. If using paste-the-wall non-woven wallpaper, a primer is essential. For most vinyl and paper-backed wallpapers, a quality primer is still highly recommended.
Measuring and cutting
Measure the height of your wall and add about 4-6 inches to each strip for trimming. This allows for adjustments at the ceiling and baseboard. Unroll your wallpaper and cut the first strip. If the pattern needs to match, unroll subsequent strips and align the pattern before cutting. It’s wise to cut a few extra strips to account for errors or tricky areas. Always check for manufacturing defects before cutting.
Applying the adhesive
For paste-the-wall wallpapers, apply a generous, even coat of wallpaper paste to the wall using a roller or brush, covering an area slightly wider than your strip. For paste-the-paper options, spread the paste evenly on the back of the wallpaper strip, following the manufacturer’s instructions regarding booking time (allowing the paste to soak in). Ensure edges are well-coated to prevent lifting.
Hanging the wallpaper
Starting in a corner or a prominent vertical line (like next to a window), align the first strip of wallpaper with the ceiling and let it hang straight down. Use a wallpaper smoothing tool or a clean, dry brush to smooth out air bubbles and wrinkles, working from the center outwards. Overlap subsequent strips slightly if recommended by the manufacturer, or butt them tightly together to avoid gaps. Use a seam roller to press down seams for a neat finish.
Trimming and finishing
Once a strip is smoothed and in place, use a sharp utility knife and a straight edge (like a metal ruler or a trowel) to carefully trim the excess wallpaper at the ceiling and baseboard. For outlets and switches, turn off the power, remove the cover plates, and carefully cut an ‘X’ in the wallpaper over the opening. Push the wallpaper through and trim away the excess. Repeat for all strips, ensuring patterns align and seams are tight. Allow the wallpaper to dry completely before reattaching cover plates.
Common mistakes to avoid
Even with the best intentions, installation can go awry. Being aware of common pitfalls can save you time, money, and a lot of frustration.
- Not cleaning walls thoroughly: Dust, grease, or old paste can prevent proper adhesion, leading to peeling.
- Skipping primer: A primer creates a uniform surface and is vital for adhesion and future removal.
- Improper pattern matching: This is especially critical with bold gold textures, as misaligned patterns are very noticeable. Take your time and cut accurately.
- Over-stretching or pulling wallpaper: This can distort the pattern or texture, and may cause seams to open up as the adhesive dries and the material contracts.
- Using too much or too little paste: Too little paste leads to poor adhesion, while too much can cause bubbling or bleed-through. Follow manufacturer guidelines.
- Not allowing for expansion/contraction: Some materials need ‘booking’ time for the paste to activate and the paper to relax. Skipping this can lead to issues.
- Using a dull knife for trimming: A dull blade will tear the wallpaper rather than cut it cleanly, leaving ragged edges. Change blades frequently.
By understanding the types of gold textured wallpaper available, selecting the right finish and texture for your space, and following a careful installation process, you can achieve a stunning and durable result that elevates your home’s interior design. Consider exploring textured wallpaper options to find the perfect match for your style.