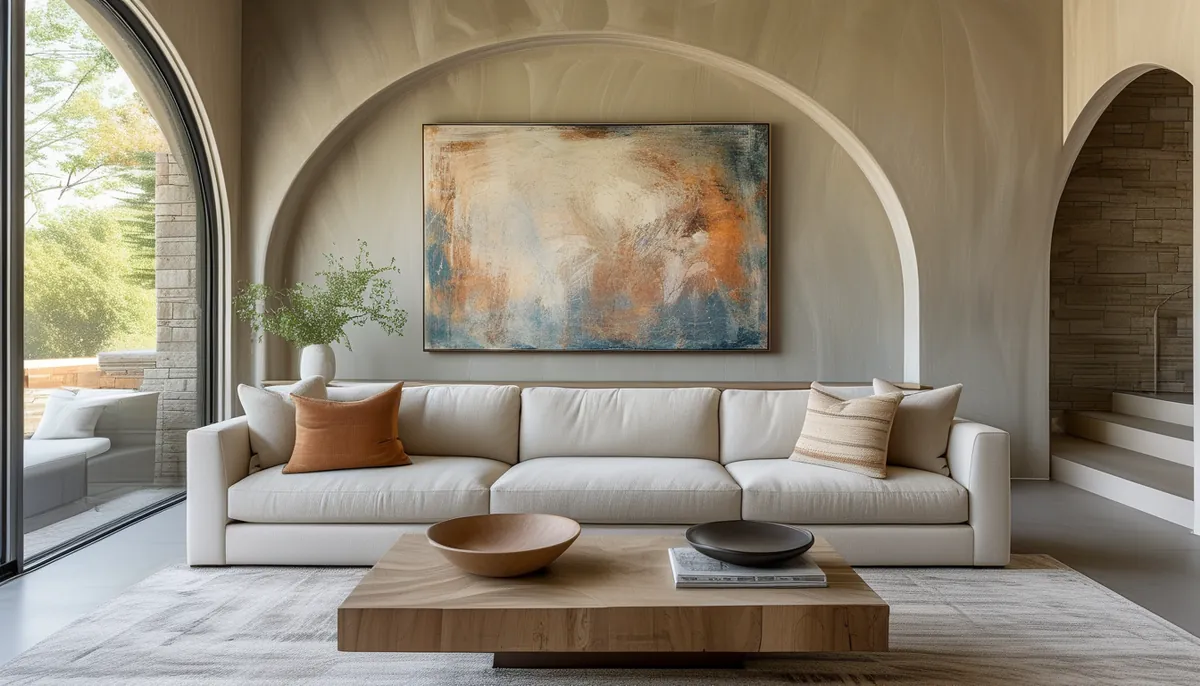
An arch mural is a printed panel set, not a repeating wallpaper. The design is drawn once at a fixed size, so the arch lands where the printer put it and you cannot slide the pattern up or down to hide a short wall. That single fact drives every decision below: measuring, ordering, seam placement, and whether the wall you have in mind is even a candidate.
Product description: what you are actually ordering
A mural ships as a set of vertical panels, usually 24 to 27 inches wide, that assemble into one continuous image. A 108-inch-wide mural is four 27-inch panels; the seams fall at fixed points in the artwork, and on an arch design at least one seam almost always crosses a curve. That is the hardest part of the install and the reason a rushed arch mural looks wrong from across the room.
Substrates vary and they are not interchangeable:
- Peel-and-stick vinyl. Self-adhesive, repositionable for the first hour, removable later. Best for renters and for anyone installing alone. Needs a smooth wall.
- Prepasted non-woven. Dimensionally stable, does not expand when wet, forgiving at seams. Activate with water and hang.
- Paste-the-wall non-woven. The professional default. You roll adhesive on the wall, hang dry panels, and slide them into alignment for several minutes.
Most murals are printed to order, which means no returns and no reprint of a panel you cut short. Order the trim allowance the maker specifies, generally 2 inches on each side and 2 to 4 inches on the height, and check the printed panel numbers against the layout sheet before a drop of adhesive touches the wall.
Measure the wall three times, then add
Measure the height at the left edge, the center, and the right edge. Houses settle, and a 15-year-old wall commonly varies 1/2 to 1 inch across 12 feet. Order to the tallest measurement plus the trim allowance.
Measure the width the same way, corner to corner, and decide in advance whether the mural stops at the corner or wraps. Wrapping an arch around an inside corner distorts the curve, and the eye reads a bent arch instead of a design choice. If a doorway or a return interrupts the wall, treat the usable field as the wall.
Deduct nothing for a chair rail, baseboard, or crown you plan to leave in place, but do note their heights. A mural whose arch base sits 6 inches off the floor collides with a 7-inch baseboard, and there is no fixing that after printing.
Scale the arch to the ceiling, not to the furniture
Arch designs live or die on proportion. Three ratios that hold up in real rooms:
- In an 8-foot room (96 inches), keep the top of the arch 10 to 14 inches below the ceiling. Any higher and the curve reads as a squashed oval.
- In a 9- or 10-foot room, the arch can rise to within 18 to 24 inches of the ceiling and still breathe, and a taller, narrower arch suits the wall better than a wide one.
- Against furniture: a queen headboard is 60 to 62 inches wide, a king 76 to 80. An arch that matches the headboard exactly looks accidental. Go 8 to 12 inches wider on each side, or make the arch clearly narrower and center it.
Multi-arch designs need horizontal room. Three 30-inch arches with 6-inch gaps need 108 inches of clear wall before you count trim. On a 96-inch wall, that design gets cropped at both edges and the outer arches lose their legs.
More colorways in this design, and how they behave in real light
The same arch mural in four colorways gives you four different rooms.
North-facing rooms get cool, steady light all day. Blue and gray colorways go flat and slightly gloomy there; terracotta, ochre, and warm sage hold their character.
South-facing rooms get warm, strong light that pushes beige toward yellow and washes out low-contrast designs. High-contrast colorways survive. A tonal cream-on-cream arch disappears by 2 p.m.
Rooms with one small window lose real brightness with every step darker the mural goes. A deep navy or forest colorway on the wall opposite the window will need lamps in the evening no matter what the ceiling fixture does.
Finish is part of the colorway. A matte print reads as painted plaster and hides wall imperfections; a satin print bounces light and shows every roller ridge underneath. In a hallway with raking light from a doorway, matte is the only sensible choice.
Order samples of two colorways, not one, and tape them to the actual wall for two days. Judge them at 8 a.m., at 3 p.m., and under the lamp you actually use at night.
Where an arch mural earns its place
Behind a bed. The most common placement and the most forgiving, because the headboard covers the bottom 24 to 30 inches where seam alignment is fussiest.
In an entry. A single arch on the wall facing the door works at close range, which raises the bar on print quality and seam work. Small entries also take the most scuffs, so a wipeable vinyl substrate pays off here.
In a nursery. Arch designs scale down well. A 48-inch arch behind a crib is a full design gesture in a 10 by 10 room.
In a dining niche or on a stair landing. Both give you a framed, uninterrupted field, which is exactly what a non-repeating design wants.
Install: where arch murals go wrong
Wall prep is not optional. Fill and sand every nail pop and taped seam; a mural stretched over a 1/16-inch ridge shows a hard line under raking light. On a textured wall, skim-coat and sand smooth or hang lining paper first. Prime with a wallcovering primer over new drywall or glossy paint, and let fresh paint cure 3 to 4 weeks before hanging.
Hang the panel holding the arch apex first, plumb it against a level line, and work outward in both directions. Going straight across the wall left to right pushes all accumulated drift into the last panel, which is exactly where the arch curve picks up a visible step.
Butt the seams on non-woven, do not overlap. On peel-and-stick, a 1/16-inch overlap on the panel facing away from the main light source hides the joint best. Check the curve at every seam before smoothing: get the arc lined up, then work the panel outward from the seam with a smoothing tool, never toward it.
Trim at ceiling and baseboard using a broad knife as a guide, with a fresh blade every few feet. For outlets, cut an X over the box, then trim back to the opening.
You might also like: what to pair with it
Pull a paint color from the mural’s quietest tone, not its loudest, and use it on the adjacent walls. Matching the accent color puts two things in competition. Trim in the same white as the rest of the house keeps the mural from looking like a decal.
Picture-frame molding on the flanking walls picks up the arch geometry without repeating it. If the mural is busy, keep the floor plain: wide-plank vinyl in a single tone rather than a heavily varied one. Textiles are where you echo the colorway, in one or two pillows, not five.
When to skip it
Skip the arch mural on a wall under 60 inches wide, where the design gets cropped into a shape nobody drew. Skip it on a wall broken by two windows and a door, because most of the panels end up as offcuts and you paid for that artwork. Skip it on heavy texture if you cannot skim-coat. And skip it if you cannot commit to plumb: an arch is a curve with a visible axis, and half a degree off vertical shows in a way that a floral repeat never does.