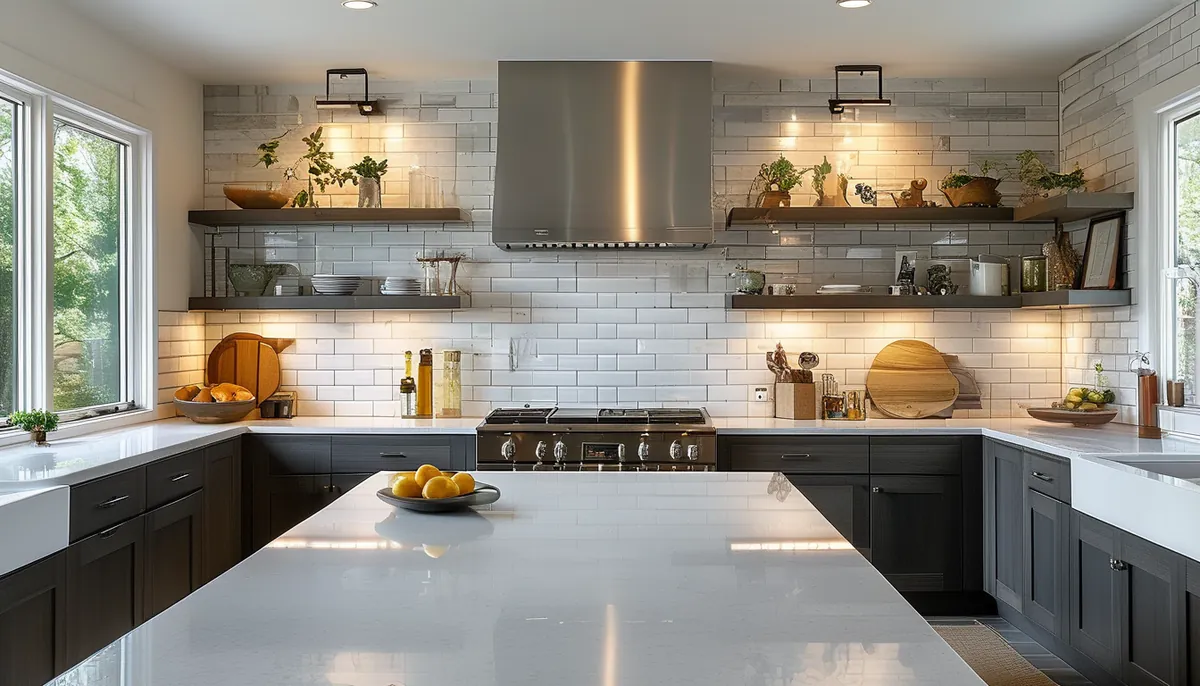
The backsplash is the one surface in a kitchen you look at from two feet away, every day, while standing still at the sink. It is also the smallest material order in the room, which is why people leave the decision until the cabinets are hung and then discover that the field they have to fill is 18 inches tall in one place, 30 inches in another, and ends in mid-air over the refrigerator.
The dimensions your cabinets already fixed
Almost nothing about a backsplash is a free choice. Standard base cabinets are 34 1/2 inches tall, and a 1 1/2 inch countertop puts the finished surface at 36 inches off the floor. Wall cabinets typically hang with their bottom edge 54 inches off the floor. That leaves an 18-inch band between counter and cabinet, and that band is your backsplash on every run with uppers above it.
Kitchens vary. Some designers hang uppers at 20 inches above the counter for headroom over a work zone, some drop to 15 inches over a sink run to keep a cabinet reachable. Measure your own gap in three places along each run before you order anything. Old houses in particular are rarely consistent from one end of a wall to the other, and a half-inch of drift over 12 feet becomes a tapered cut line you cannot hide.
Then measure the exceptions. The wall behind a range with a hood above it. The wall over the sink if there is a window instead of a cabinet. The end of a run where the tile meets open wall. Each one is a separate decision, not a continuation of the 18-inch band.
Full height, standard height, or a 4-inch splash
The 4-inch splash is a short piece of the countertop material stood up against the wall. It comes from the fabricator, matches the counter perfectly, and costs the least of any option. It also dates a kitchen instantly and leaves a horizontal seam at eye level that collects grease. Use it in a rental turnover or a utility kitchen, not in a room you are remodeling by choice.
The standard 18-inch band from counter to cabinet is the default and the safest. It reads as intentional, uses the least material, and keeps the pattern in a proportion most tiles were designed for.
Full height means running the material from the counter to the ceiling, or from the counter to the underside of a hood, wherever there is no cabinet. It costs more and looks better in exactly one situation: when the wall is a feature rather than a filler. A single stretch of wall behind a range, or a sink wall with no uppers, carries full height well. Running full height on every wall in a small kitchen with heavy pattern gets loud fast.
The range wall is a different problem
Behind a cooktop or range you are dealing with heat, grease and a hood. Three rules keep it out of trouble.
- Follow the hood manufacturer clearance for the mounting height above the cooking surface, and set the top of the tile to meet the hood rather than stopping short of it. A 2-inch band of painted drywall between tile and hood is a permanent grease trap.
- Pick a material that takes a scrub. Glazed ceramic, porcelain, glass and quartz all wipe clean. Unsealed natural stone, unglazed terracotta, cement tile and anything porous will stain from oil aerosol within a year and the stain does not come out.
- If the range wall gets a different treatment from the rest of the kitchen, make the transition land at an inside corner or a cabinet edge, never in the open middle of a wall.
Choosing material by how the kitchen gets used
Ceramic and porcelain tile is the default for good reasons: waterproof, heat-tolerant, cheap in common formats, and repairable one piece at a time. Formats that show up constantly are 3 by 6 inch subway, 2 by 8 inch, 4 by 4 inch, 12 by 12 inch mosaic sheets and large-format 12 by 24 inch. Rectified tile has machine-cut edges and can take a 1/16 inch joint. Pressed tile needs 1/8 inch or more because the edges are not perfectly straight.
Glass tile gives depth and reflects light into a dark kitchen, but it shows every trowel ridge behind it, so it needs a white setting mortar and a flatter wall than ceramic does. Handmade tile like zellige has irregular edges and needs a 1/8 to 3/16 inch joint plus a tolerant installer.
A stone or quartz slab backsplash removes grout entirely, which is the real argument for it. Fewer seams, nothing to scrub. It is a fabrication job rather than a tile job, priced by the square foot with the countertop, and it wants a flat, plumb wall because a slab cannot follow a bow.
Stainless is functional behind a commercial-style range and cold everywhere else. Beadboard, shiplap and painted wall panel work in a farmhouse kitchen away from the range, provided the paint is a scrubbable semi-gloss and the seams are caulked at the countertop.
Peel and stick in a kitchen: the honest limits
Self-adhesive vinyl and gel tiles have a legitimate place: a rental where you cannot alter the wall, a fast refresh on a kitchen you plan to gut in three years, or a coffee station away from the range. They install in an afternoon with scissors and no mortar, and good ones look convincing from four feet.
The limits are real. They need a smooth, clean, satin or semi-gloss painted wall that has cured at least three weeks, and they will not bond to flat paint, textured drywall or old grout lines. Adhesive softens near heat, so keep them off the wall directly behind a burner and off the wall beside a slide-in range body. They cannot be scrubbed with an abrasive. And they read as thin at an outside corner or a raw edge, so plan every termination to die into a cabinet, a trim piece or an inside corner.
Outlets, switches and where the tile stops
Countertop outlets sit in the backsplash zone, so every one of them becomes a tile cut. Two things follow from that.
First, tile adds thickness. Tile plus setting mortar commonly adds 1/4 to 1/2 inch to the wall face. Electrical boxes have to end up flush with the finished surface, which means box extenders and longer device screws. Order both before the tile goes up rather than discovering it at trim-out.
Second, layout around outlets is worth planning. Center a cut so the plate covers a symmetric pair of cuts rather than a full tile on one side and a 1/2 inch strip on the other. If you are choosing outlet locations during a remodel, horizontal orientation or placement under the wall cabinets keeps the field of tile clean.
Terminations need the same attention. Good stopping points are an inside corner, the outside edge of a cabinet, a window casing, or a door casing. If the tile has to end on open wall, finish it with a bullnose piece, a metal edge profile, or a returned mitered edge, and pick that trim before you order the field tile, because not every tile line makes a matching trim.
Grout, sealing and the seam at the counter
Joint width follows the tile: 1/16 inch for rectified porcelain, 1/8 inch for standard pressed tile, 1/8 to 3/16 inch for handmade. Unsanded grout goes in joints up to 1/8 inch, sanded above that.
Cement grout is cheaper and easier to work, and it needs sealing and reseals over time. Epoxy grout costs more, sets faster and is unforgiving to install, and it does not stain or need sealing. In a kitchen that cooks daily, epoxy behind the range earns its cost even if the rest of the room gets cement grout.
The joint where the backsplash meets the countertop is not a grout joint. It is a movement joint and it gets flexible sealant matched to the grout color. Grout it and it cracks the first time the counter deflects, which will be the first time someone leans on it.
Working out the order
Convert the height to feet and multiply. An 18-inch band is 1.5 feet, so 14 linear feet of counter run gives 21 square feet. Measure the range wall separately: 30 inches tall over a 36-inch range is 2.5 by 3 feet, or 7.5 square feet. Add them, then subtract nothing for outlets, since those cuts produce scrap rather than savings.
Add waste. A straight stack or grid needs about 10 percent. A running bond or offset pattern needs 15 percent. Herringbone, diagonal and any pattern with a lot of angle cuts needs 20 percent. Mosaic sheets need 15 percent because you will cut sheets apart to close out rows.
Order all of it in one shipment and check that every box carries the same lot or batch marking. Shade varies between production runs, and there is no fixing that once half the wall is up.