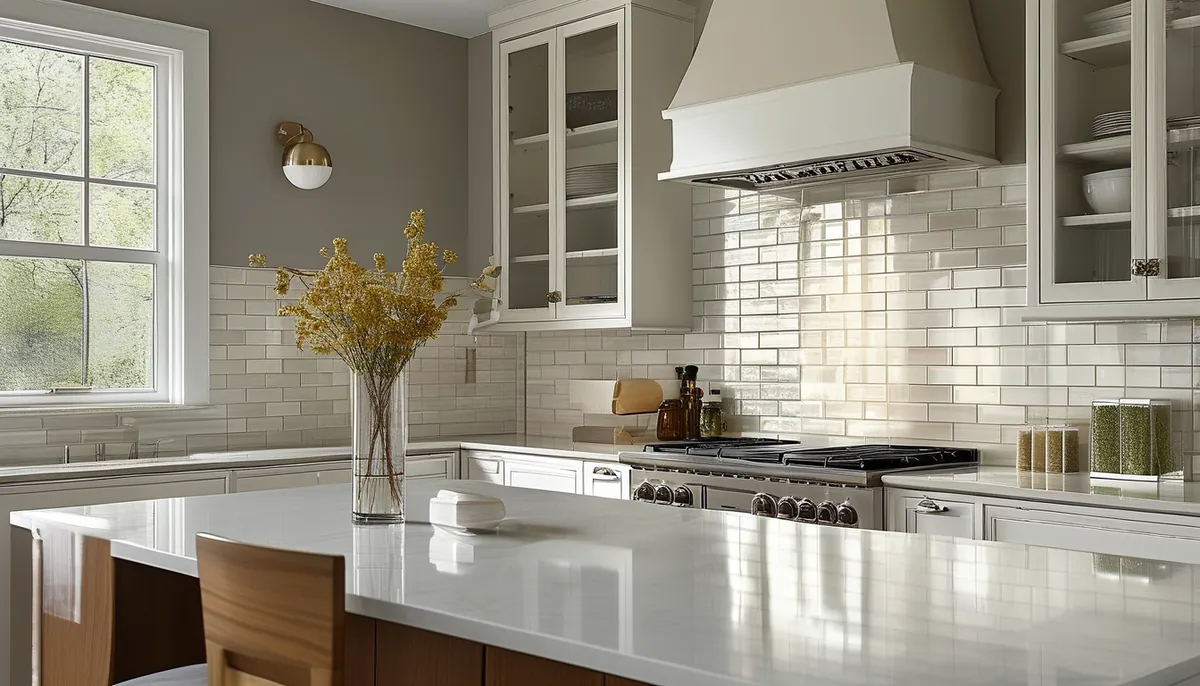
A backsplash that looks off from across the kitchen almost never failed during the setting. It failed twenty minutes earlier, when someone put the first tile at the left end of the counter and started walking it to the right. Layout is the whole job. Everything after it is technique you can learn in an afternoon.
Set the layout before you open a bag of anything
Find the visual center of the wall, which is usually the range or the sink, not the geometric center of the run. That is where the eye goes, so that is where a full tile or a clean joint belongs.
Dry-lay a row on the countertop with your spacers in place and measure how the run lands at each end. If it ends in a sliver under about half a tile, shift the layout by half a tile so both ends get a similar, larger cut. Two 4-inch cuts at the ends look intentional; a full tile on the left and a 3/4-inch splinter on the right does not.
Do the same vertically. Measure from the countertop to the underside of the upper cabinets at several points; that dimension is rarely constant, because countertops are not perfectly level and cabinets were hung to their own line. If the field height varies by more than about 1/8 inch across the run, plan for the cut row to be at the top, hidden in the shadow under the cabinets, not at the bottom.
Countertops are also not level enough to tile off directly. Find the highest point of the counter along the run with a level, then snap a level line one tile height above it. Screw a temporary ledger board, meaning a straight piece of 1-by-2, on that line and set the first full course on the ledger. The gap left below gets a scribed cut row at the end, and that gap is where the counter’s variation disappears.
Mark your outlet locations on the wall and see where they land in the layout. Cutting a rectangular notch out of the corner of a tile is easy. Cutting a hole in the middle of a tile is much harder. Shifting the whole layout an inch to move an outlet from the middle of a tile to a joint is a free improvement.
Materials: what to buy and why
For mortar, a polymer-modified thin-set is the general-purpose choice for ceramic and porcelain on drywall or cement board. For glass tile, use a mortar the manufacturer lists as suitable for glass, and use white rather than gray, because gray telegraphs through translucent tile and shows every trowel ridge. Read the tile manufacturer’s instructions; they will tell you what the tile needs and they override any generic advice.
Trowel size follows tile size. A 1/4-by-3/16-inch V-notch or a 1/4-inch square notch handles small mosaics and thin tile. Larger format tile, meaning anything over about 8 inches on a side, wants a 1/4-by-3/8-inch square notch. Too small a notch leaves voids; too large means mortar squeezing out through the joints and a long cleanup.
Grout choice matters in a kitchen. Cementitious sanded grout is standard for joints 1/8 inch and wider and unsanded for narrower joints, though sanded grout can scratch soft polished stone and some glass. High-performance or epoxy grouts cost more and are harder to work, but behind a range they stay clean far longer because they do not absorb grease.
Buy 10 percent extra tile for a straight layout and 15 percent for a herringbone or diagonal pattern, where the offcuts are less reusable. Check that all your boxes carry the same lot number; shade variation between lots is real and it shows across a single wall.
Tools that make the difference: a wet saw for anything harder than glazed ceramic, a manual snap cutter for straight cuts in soft tile, a diamond hole saw for faucet and pipe penetrations, a grout float, two buckets, and a stack of clean sponges. A margin trowel earns its cost in the first hour.
Prep the wall properly
Kill the circuits at the panel and remove every cover plate. Loosen the outlet and switch screws so the devices can be pulled forward later, because the finished tile adds thickness and the device has to come forward to sit flush.
Degrease the wall. Every kitchen wall carries a film of cooking oil, and thin-set does not bond to it. Wash with a degreaser, rinse with clean water, let it dry.
Sand any glossy paint to break the sheen, and fill nail holes and gouges. Remove wallpaper entirely; tiling over wallpaper means the paper’s bond is the only thing holding the tile up.
Check flatness with a 4-foot straightedge. Deviations over about 1/8 inch in 4 feet need to be floated with a setting compound. Thin-set is an adhesive, not a leveling material, and building up thick spots to flatten a wall causes lippage and slumping tiles.
Standard drywall in good condition is an acceptable substrate for a kitchen backsplash. Behind a sink where splashing is heavy, or in a wet area, use a cement backer board or a waterproof board per its manufacturer’s instructions instead.
Tape off the countertop with plastic sheeting and painter’s tape. Thin-set that dries on a stone counter takes a razor blade and patience to remove.
Setting the tile
Mix mortar to a peanut-butter consistency, let it slake for the time on the bag, usually 5 to 10 minutes, then remix. Skipping the slake gives you mortar that seems fine and loses strength.
Work in sections you can cover before the mortar skins over, roughly 3 to 4 square feet at a time in a normal kitchen, less in a hot dry room. Press mortar to the wall with the flat side of the trowel, then comb it at a consistent angle with the notched side. Combing all ridges in one direction lets air escape as the tile is pressed in.
Set each tile with a slight sliding motion perpendicular to the ridges to collapse them, then press. Pull one tile back off the wall early in the job and look at the back; you want mortar contact across at least 80 percent of it, and full coverage in the corners. If the back shows ridges with bare valleys, your trowel is too small or the mortar is too stiff.
Use spacers and check with a level every two or three courses. Small errors compound: a joint that is 1/32 inch wide at one end grows into a visibly tapered course by the far side of the kitchen.
Clean the joints as you go with the edge of a margin trowel or a spacer. Mortar that squeezes up into a joint and cures there leaves no room for grout, and it shows as a hard-edged shadow.
For outlet cutouts, mark the box on the tile, cut the notch with a wet saw by making repeated passes and snapping out the waste, or use a grinder with a diamond blade for interior cuts. Leave a small gap at the box; the cover plate laps over it.
Finish the exposed outside edges deliberately. Options are a metal or PVC edge trim set into the mortar as you tile, a bullnose tile if the line is made in that shape, or a mitered edge if you have the tools. An unfinished cut edge left exposed at the end of a run is the detail that marks a job as amateur.
Grout, caulk and the first week
Wait for the mortar to cure per the bag, typically 24 hours, before grouting. Grouting early traps moisture and can cause efflorescence and color variation you cannot fix.
Remove all spacers. Hold the float at about 45 degrees and work grout diagonally across the joints so you fill rather than drag out. Then hold the float nearly on edge and strike off the excess, again diagonally.
Wait for the grout to firm up, usually 15 to 30 minutes, then clean with a damp, well-wrung sponge in circular passes, rinsing constantly in clean water. A sopping sponge pulls pigment out of the joints and leaves them blotchy. The haze that remains gets buffed off with a dry cloth after a couple of hours.
Do not grout the joint where tile meets countertop, or the inside corner where two tiled walls meet. Those are movement joints and they get color-matched silicone. Grout there will crack, every time, usually within the first heating season.
Seal cementitious grout after it cures, typically 48 to 72 hours, and again annually behind the range. Epoxy grout does not need sealing.
Reinstall outlets with box extenders if the tile brought the wall surface forward past the front edge of the box. That is a code requirement in most jurisdictions and it is also the only way the cover plate sits flat.