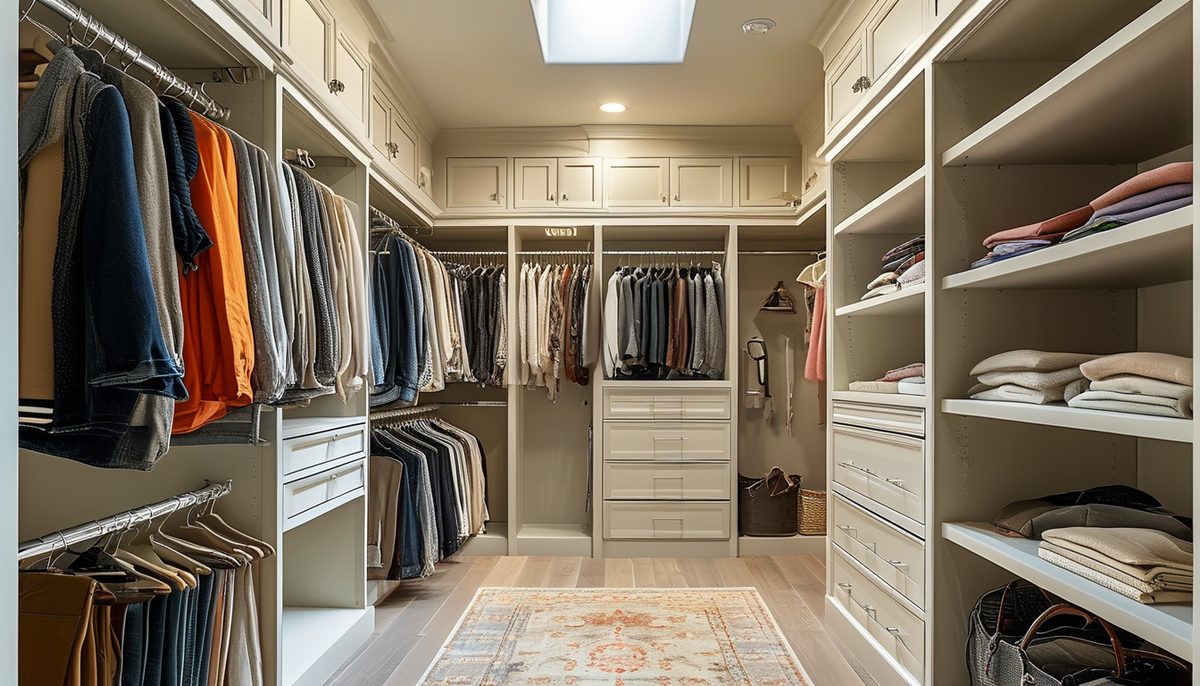
Ventilated wire shelving is the default in American closets for three reasons: it is cheap per linear foot, it cuts to length with a hand tool, and air moves through it so folded cotton does not smell like a closet. It also has real limits. Small items tip over, sweaters pick up ridge marks, and a shelf installed with the wrong anchors comes off the wall with a season of winter coats on it. Knowing which failure applies to your closet is most of the job.
Depths, and which one belongs where
Ventilated shelving comes in a handful of standard depths, and picking the wrong one is the most common planning error.
- 12 inches. Linen closets, pantries, laundry rooms, and shelves stacked above a hanging rod where you only store bins and folded goods. Too shallow for a hanging rod with adult clothes.
- 16 inches. The workhorse for reach-in closets. Deep enough that a shirt on a hanger clears the wall, shallow enough that a 24-inch-deep closet still has walking room in front.
- 20 inches. Walk-in closets and any run where you want a shelf above the rod that actually holds a folded stack plus a bin. In a reach-in under 24 inches deep, a 20-inch shelf leaves no room for the door track.
Hangers need about 12 inches of clearance from the wall to hang square. A rod mounted on a 12-inch shelf pushes shoulders against the drywall and creases everything on the end of the run.
Hanging heights that fit real clothes
Measure your longest garment before you commit to a layout. Typical hanging lengths, from the top of the hanger hook:
- Shirts, blouses, folded pants over a bar: 38 to 42 inches
- Suits and short jackets: 40 to 45 inches
- Long coats and most dresses: 52 to 68 inches
- Full-length gowns and long robes: up to 72 inches
That gives you three usable configurations:
Single hang. One rod at 66 to 70 inches above the floor, shelf immediately above it. Handles everything, wastes the bottom 24 inches of the closet unless you put shoes or a dresser there.
Double hang. Lower rod at 40 to 42 inches, upper rod at 80 to 84 inches, with a shelf above the upper. This doubles hanging capacity for shirts and folded pants and fits nothing long. In an 8-foot room with a standard 96-inch ceiling, an 84-inch upper rod leaves 12 inches of dead space above the top shelf, which is where luggage goes.
Long hang. One rod at 68 to 72 inches with nothing below. Reserve one 24- to 36-inch section for this and double hang the rest.
Keep the top shelf at or below 84 inches. Above that, most adults cannot see the back of the shelf, and anything stored there stops existing.
Capacity math, so you buy the right amount
One linear foot of rod holds roughly 10 to 12 shirts on slim velvet hangers, or 6 to 8 on bulky plastic ones. Coats and suits run 4 to 6 per foot. Count your actual clothes in inches on the rod they currently occupy and add 20 percent for the fact that a jammed closet wrinkles everything.
A 6-foot reach-in laid out as 4 feet of double hang plus 2 feet of long hang gives you 8 feet of shirt-length rod and 2 feet of long, plus 6 feet of top shelf. That covers one adult’s full wardrobe in most climates. Two adults in a cold state need closer to 14 feet of hanging.
The hardware is what fails, not the shelf
A wire shelf itself will carry more than most people load onto it. The connection to the drywall is the weak link, and this is where DIY installs go wrong.
Three components carry the load in a standard ventilated shelf install:
- Back wall clips that support the rear edge along its length. Space them no more than 12 inches apart, and hit a stud wherever the layout allows. Studs are 16 inches on center in nearly all US framing, so a 6-foot wall gives you four or five stud hits.
- End brackets at each side wall, anchored into framing or a heavy-duty anchor.
- Diagonal support braces that carry the front edge back to the wall. Add one every 24 to 36 inches on any shelf carrying a hanging rod, and at any point where you plan to stack.
Anchor ratings decide the outcome. Plastic conical anchors are rated in the range of 10 to 20 pounds in 1/2-inch drywall and have no business under a clothes rod. Toggle bolts and steel self-drilling anchors carry substantially more, often 50 pounds and up in the same drywall. Read the package rating, then divide it by two for a real-world safety margin, because the load on a closet shelf is not static: it swings every time you pull a coat off.
Find studs with a magnet if the stud finder is unreliable. Drywall screws are magnetic and mark the framing line for free.
Cutting and fitting a wire shelf
Measure the opening at the height where the shelf will sit, not at the floor. Closet side walls are rarely parallel; a wall-to-wall difference of 3/8 inch across 6 feet is normal in a framed closet.
Cut the shelf 1/4 to 1/2 inch short of the measurement. A shelf cut to the exact number will not drop into the wall clips.
Cut with a bolt cutter for speed or a hacksaw with a 24-tooth blade for control. Cut the front rail last, since it is the thickest wire and it is what holds the shelf square. File every cut end and cap it: a burred wire end shreds sleeves and cuts hands, and the epoxy coating on the cut face will rust in a humid closet.
Level matters more than it looks. Ventilated shelving is designed to sit with a slight backward pitch so hangers slide toward the wall instead of off the front. Do not shim the back edge up to make the shelf dead level.
Fixing what people hate about wire shelving
Things tip over. Cut a shelf liner from clear acrylic, thin hardboard, or a sheet of vinyl flooring plank to the shelf dimensions. A 1/8-inch liner turns a wire shelf into a flat shelf without giving up airflow underneath.
Hangers slide to one end. That is the pitch doing its job on an underloaded rod. Section the run with a divider, or add a second short rod rather than one long one.
Sweater ridges. Store knits folded in a bin or on a liner. Nothing about a bare wire shelf will stop this.
Dust falls through. Shelves above eye level need liners or lidded bins; the shelf below catches everything otherwise.
Sagging middle. Almost always a missing diagonal brace. Add braces before you add a second shelf.
Wire versus laminate shelving
Melamine and laminate closet systems cost several times more per linear foot and take longer to install, and in two situations they are worth it: a walk-in closet you look at every day, and any run where you want drawers, shoe cubbies, or a solid surface for folding. Laminate also holds a straight sightline that wire never will.
Wire wins on ventilation, on cost, on retrofit into an odd-shaped closet, and on weight. A 20-inch laminate shelf spanning 4 feet needs a center support or it bows within a year in a humid climate. A wire shelf with proper bracing does not.
A practical hybrid: wire shelving for the hanging sections and the top shelf, one laminate or plywood unit in the middle for drawers and shoes. You get the storage variety without paying for a full system.
Before you drill anything
Tape out the layout on the wall with painter’s tape at the exact rod and shelf heights, then hang three real garments on a temporary rod at each height. Five minutes of that catches the problem no plan catches: the drawer front that will not open under the low rod, the door casing that eats 2 inches of the run, and the light fixture 6 inches above the top shelf.
Then mark your stud lines in pencil, set the top shelf first and work down, and check level on every run with a 4-foot level rather than a torpedo. Two shelves that are each level over 24 inches can still be a visible 3/8 inch apart over 6 feet.