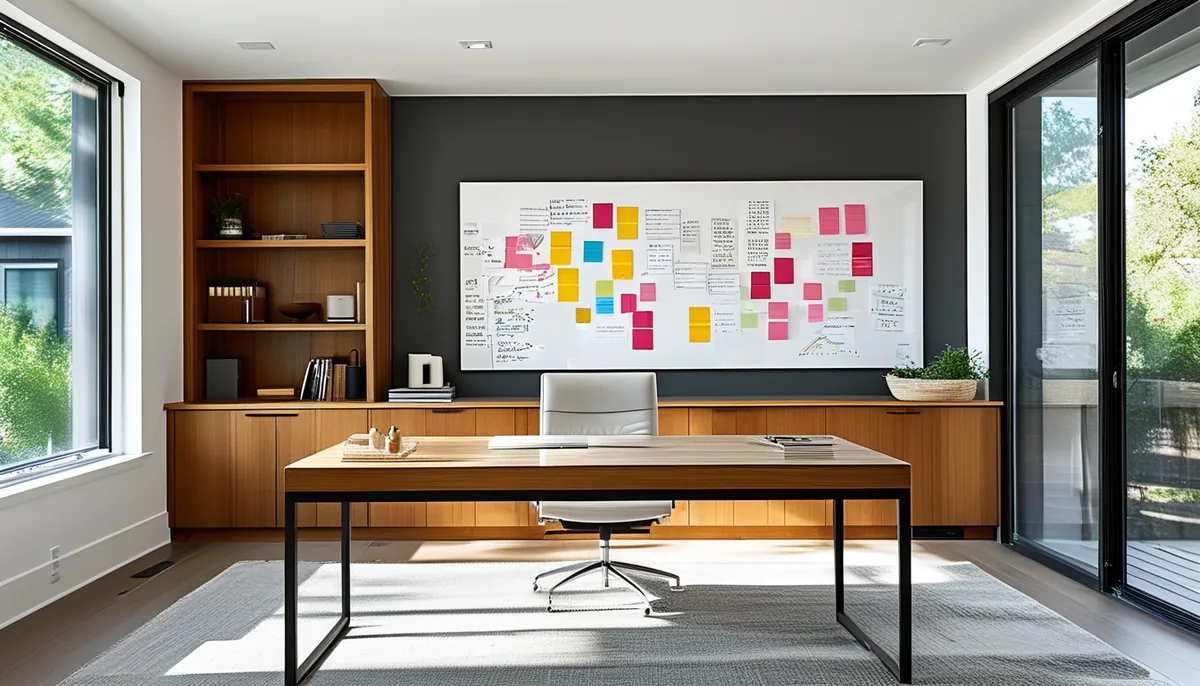
You need a whiteboard, but you don’t want to drill holes or commit to a permanent fixture. A peel and stick whiteboard is your solution. These products transform smooth surfaces into erasable writing areas, offering flexibility for home offices, kids’ rooms, kitchens, or any space where you need to jot down notes, brainstorm ideas, or leave messages.
Choosing the right peel and stick whiteboard
Not all peel and stick whiteboards are created equal. The primary difference lies in the surface material and how it performs over time. Understanding these distinctions helps you pick a product that meets your needs and budget.
Vinyl-based dry erase surfaces
This is the most common type. Typically made from PVC (polyvinyl chloride), these sheets offer a smooth, glossy finish that’s easy to wipe clean. They come in various thicknesses, but for a good balance of durability and ease of application, look for a material that’s at least 3-4 mil thick. Thinner films can be prone to scratching and may not erase cleanly after repeated use. The adhesive is usually a strong, repositionable acrylic that allows for some adjustment during installation without damaging the underlying surface. Consider a matte finish if glare is a concern, though glossier finishes generally offer better erasability.
Laminated paper-based dry erase
Some products use a paper backing with a dry erase laminate on top. These can be more affordable but often lack the durability of vinyl. The paper can absorb moisture, and the laminate may peel or scratch more easily, especially in high-traffic areas. Erasability can degrade faster, and ghosting (faint marks left behind after erasing) is a common issue. These are generally better suited for low-use applications where budget is the main factor.
Specialty whiteboard films
Beyond standard vinyl, you might find specialty films. Some are designed for use with dry-erase markers but also accept wet-erase or even permanent markers (which can then be erased with a special solution). Others might have integrated magnetic properties, allowing you to attach notes and photos directly to the whiteboard surface. These specialty options often come at a higher price point but offer added functionality.
Installation: DIY friendly but requires care
Applying a peel and stick whiteboard is straightforward, but success depends on proper surface preparation and careful application. Follow these steps to ensure a smooth, bubble-free finish.
Surface preparation is key
The surface you apply the whiteboard to must be perfectly clean, dry, and smooth. Dust, grease, or textured walls will prevent the adhesive from bonding correctly, leading to peeling or an uneven finish. Use a mild detergent and water to clean the area, then dry it thoroughly. If you’re applying to painted drywall, ensure the paint is fully cured. For previously painted surfaces, a light sanding might help improve adhesion, but wipe away all dust afterward.
Applying the film
Start by peeling back a small section of the backing paper, about 6-12 inches. Align the edge of the whiteboard film with the edge of your desired application area. Slowly begin to press the film onto the surface, using a squeegee or a credit card to smooth it down as you go. Work from the center outwards to push out any air bubbles. As you apply more of the film, continue to peel back the backing paper and smooth the surface. If you notice a bubble, you can often lift the film back up carefully and reapply it. For larger areas, having a second person can be very helpful to keep the film straight and prevent creases.
Trimming excess material
Once the main surface is covered, use a sharp utility knife or a craft knife to trim any excess material along the edges. Cut slowly and deliberately to get a clean line. For outlets or light switches, you can cut an ‘X’ in the film and then trim outwards to create an opening.
Maintenance for longevity
To keep your peel and stick whiteboard looking and functioning its best, regular cleaning and proper erasing techniques are essential.
Daily erasing
For daily use, a clean microfiber cloth is usually sufficient. Erase marks immediately after you’re done with them. Leaving writing on the surface for extended periods, especially in warm or humid conditions, can lead to ghosting.
Deep cleaning
Every few weeks, or when you notice ghosting or stubborn marks, a deeper clean is needed. Use a whiteboard cleaner spray or a solution of isopropyl alcohol (rubbing alcohol) diluted with water. Apply the cleaner to a soft cloth and wipe down the surface. For very tough stains, you might need to let the cleaner sit for a moment before wiping. Always dry the surface thoroughly with a clean cloth afterward.
What to avoid
Never use abrasive cleaners, scouring pads, or harsh chemicals like acetone or ammonia. These can damage the dry erase coating and make the surface unusable. Also, avoid using permanent markers unless the product specifically states it’s safe for them, and even then, be cautious.
Where to use your peel and stick whiteboard
The versatility of peel and stick whiteboards opens up numerous applications around your home and office.
Home office and study areas
Transform a section of your wall or a cabinet door into a brainstorming space. It’s perfect for planning projects, creating to-do lists, or even for kids to do homework.
Kitchen and command center
Use it for grocery lists, meal planning, or as a family message board. It can be a central point for organizing schedules and reminders.
Kids’ rooms and play areas
Let your children unleash their creativity without worrying about them drawing on walls. It provides a dedicated space for drawing and learning.
Craft rooms and workshops
Keep track of project steps, sketch designs, or write down measurements. This is an excellent way to keep your creative process organized.
Organizing spaces
Apply it to the inside of closet doors for planning outfits, or to the side of a refrigerator for quick notes. You can even cut it into smaller pieces to label bins or drawers.
Considerations before buying
Before you click ‘add to cart’, think about these practical points:
- Surface compatibility: Ensure the surface you intend to cover is smooth and suitable for adhesive application. Textured, porous, or unfinished wood surfaces are generally not ideal.
- Size and quantity: Measure the area you want to cover. Peel and stick whiteboards often come in rolls of varying lengths and widths. Calculate how many rolls you’ll need, adding a little extra for mistakes or future repairs.
- Adhesive strength: If you plan to remove the whiteboard later, check reviews or product descriptions for information on how easily it removes and if it leaves residue. Most good quality vinyl options are designed for residue-free removal, especially from painted walls.
- Durability and erasability: Read reviews from other users about how well the surface erases over time and its resistance to scratching.
A peel and stick whiteboard offers a practical, flexible, and affordable way to add a functional writing surface to almost any room. By understanding the material options and following proper installation and maintenance, you can create a dynamic space that boosts productivity and creativity.