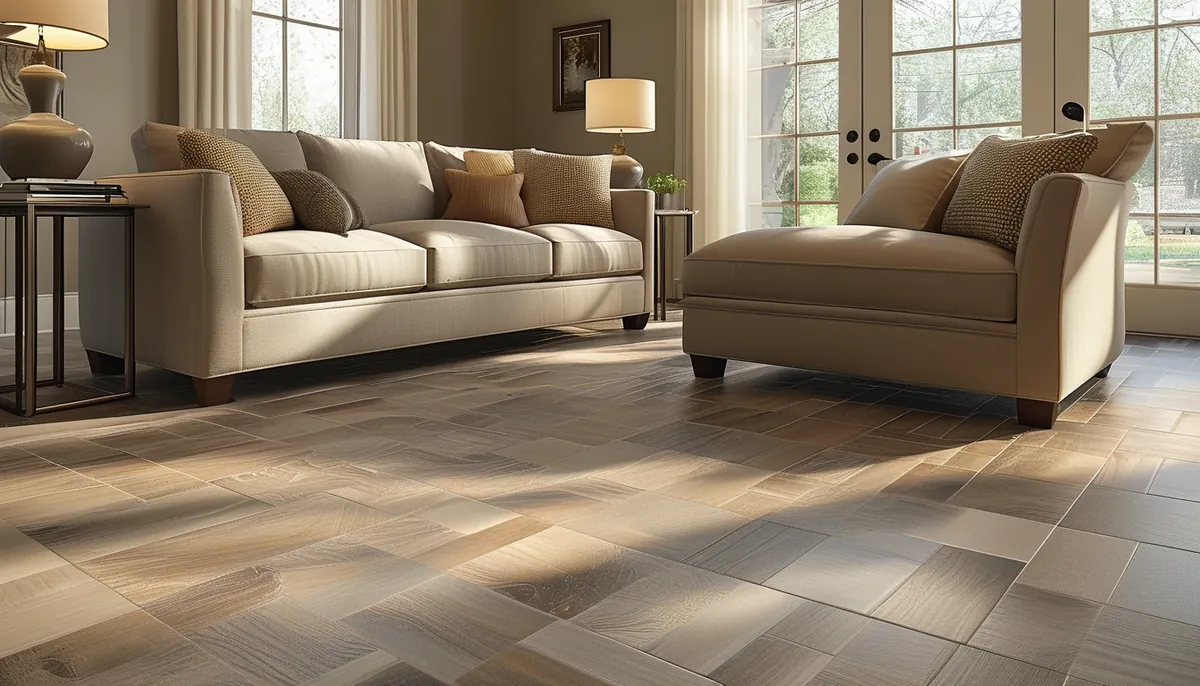
Peel-and-stick vinyl tile fails for one of three reasons: the subfloor was not flat, the subfloor was not clean, or water got under an edge. The tile itself is rarely the problem. Get those three right and a mid-grade tile will run five to eight years in a hallway; get them wrong and you will have curling corners by the second summer.
What is actually in the box
These are thin vinyl tiles with a pressure-sensitive adhesive on the back, protected by a paper release liner. The common format is 12 by 12 inches. You will also find 18 by 18 inch squares and 6 by 36 inch planks, which cover faster but are harder to keep straight over a long run.
Total thickness usually lands between 1.2 and 2.0 millimeters, so roughly a sixteenth of an inch. That thinness is why the subfloor matters so much: the tile telegraphs every ridge, screw head and seam underneath it.
The number to look for is the wear layer, quoted in mils, meaning thousandths of an inch. It is the clear film over the printed layer and it is the only thing standing between grit and the pattern. Under 6 mil belongs in a closet or under a bed. Around 12 mil handles a hallway or a small kitchen. If a product sheet does not state a wear layer at all, assume it is thin.
Also check the edge. Some tiles are square-cut for tight butt joints, some have a grout-line printed into the face, and some are groutable, meaning they sit with a 1/8 inch gap that you fill with acrylic grout. Groutable tiles look far more convincing at close range and take about twice as long to install.
The subfloor decides everything
Flatness first. Most manufacturers ask for flat within about 3/16 inch over 10 feet. Pull a straight 8-foot level or a snapped chalk line across the room in several directions and mark the dips. Fill low spots with a cementitious patching compound and feather the edges; grind or sand down high spots on concrete.
Then clean. Adhesive sticks to nothing that has wax, silicone, drywall dust or old mastic residue on it. Scrape, then damp-mop with a residue-free cleaner, then let it dry fully. Skip household floor cleaners that leave a polish behind.
Over plywood, the safe base is a 1/4 inch underlayment-grade panel screwed every 6 inches through the field and 4 inches at the edges, with the seams filled and sanded flush. Do not lay tile directly over the grain and gaps of construction-grade subfloor plywood; the joints show through within a season.
Over an existing resilient floor, the rules tighten. A well-bonded, flat, smooth sheet vinyl is an acceptable base. Cushioned vinyl is not, because the tile flexes and the seams open. Embossed or textured vinyl is not, because the texture prints straight through. And if the existing floor predates 1980, do not sand, grind or dry-scrape it. Older resilient flooring and its adhesive can contain asbestos; cover it or have it tested and removed by someone licensed.
Over concrete, test for moisture before you buy anything. Tape a 24 by 24 inch square of plastic sheeting tightly to the slab on all four sides, leave it 24 to 48 hours, then lift it. Condensation on the underside or a dark patch on the slab means vapor is moving through, and pressure-sensitive adhesive will let go. That is a slab problem to solve first.
Dry-lay the whole floor before you peel anything
Find the center of the room by measuring each pair of opposite walls and snapping two chalk lines that cross at 90 degrees at the midpoint. Then dry-lay a full row in each direction from the center line to the wall, without removing any liner.
Look at what happens at the walls. If the border piece comes out narrower than half a tile, which is 6 inches on a 12 inch tile, shift the whole layout by half a tile so the cut pieces at both ends are wider and roughly equal. Slivers at the wall look like a mistake and they lift first.
Check your room for square while you are down there. Older houses run out badly, and a wall that drifts an inch over 12 feet will produce a tapered cut row. Decide now which wall gets the taper, and pick the one under cabinets or behind a door.
Buy 10 percent extra for a straight layout and 15 percent for a diagonal one. Order it all at once and check that the batch numbers match; print runs shift in color.
Installing so they stay down
Let the boxes sit flat in the room for 48 hours at 65 to 85 degrees Fahrenheit before you start, and keep the room in that range for another 48 hours after. Adhesive laid cold never fully bonds.
Work outward from the center intersection in a pyramid pattern rather than filling one row at a time, so any drift gets caught early. Peel the liner completely, set the tile down by hinging one edge into the corner of the two placed tiles beside it, then press. Do not slide a tile once the adhesive touches the floor; you will smear adhesive into the joint.
Cut with a sharp utility knife: score the face along a straightedge, then snap. For a curve around a toilet flange or a pipe, make a paper template first. Warming a tile with a hair dryer for 20 seconds makes tight curves cut cleanly.
Then roll the floor. A 75 to 100 pound floor roller, rented for a few hours, is what actually makes the bond, and it is the step most people skip. A hand J-roller works in a small bath. Roll in both directions and roll again at the end of the day.
Leave a 1/8 inch gap at the walls and cover it with base or quarter round rather than caulking tile to wall.
Kitchens, baths, basements and sunrooms
Kitchens are fine if you keep water off the seams and put a mat at the sink. Refrigerators and heavy ranges are the risk: rolling a loaded fridge across thin vinyl gouges it and can drag a tile out of position. Lay plywood or hardboard down and walk appliances over it.
Bathrooms work in a powder room and are marginal in a full bath. The failure point is the perimeter at the tub and the flange at the toilet. Set the tile under the toilet, not around it, seal the cut edges at the flange, and run a bead of silicone where the floor meets the tub apron.
Basements need the plastic-sheet moisture test and a dehumidifier that keeps relative humidity under 60 percent. Sunrooms and any floor in direct sun are the worst case: the adhesive softens above roughly 85 degrees Fahrenheit at the tile surface, and edges curl and stay curled. If a stripe of afternoon sun crosses that floor every day, choose something else. Over radiant heat, confirm the manufacturer allows it and cap the surface temperature where they say to.
Cleaning, repairs and how long it lasts
Damp mop only, with a neutral cleaner. No steam mops, ever; steam drives moisture straight into the seams and softens the adhesive. Skip wax, polish and anything labeled as a stripper. Put felt pads under every chair leg and a hard-caster mat under a rolling office chair.
A damaged tile is the one genuine advantage this product has over sheet vinyl or click plank. Warm it with a heat gun on low, work a putty knife under a corner, lift it, scrape the residue, wipe with mineral spirits, let it flash off, and press in a replacement from your leftovers. Keep at least a full box.
Realistic service life: two to four years in a heavy entry, five to eight in a bedroom or hallway, with the wear layer thickness driving most of that range.
When to buy click-lock vinyl plank instead
Skip peel-and-stick and spend more on rigid core plank if the room gets sun, if the slab has any moisture question, if the subfloor is uneven and you are not prepared to level it, or if you want the floor to still look right in 12 years. Rigid core planks float over minor imperfections, tolerate temperature swings, and can be pulled up and relaid.
Peel-and-stick is the right call for a rental you cannot alter permanently, a laundry room or closet, a small budget with a flat and dry floor, or a room you plan to redo again soon. Bought for what it is, it does that job well.