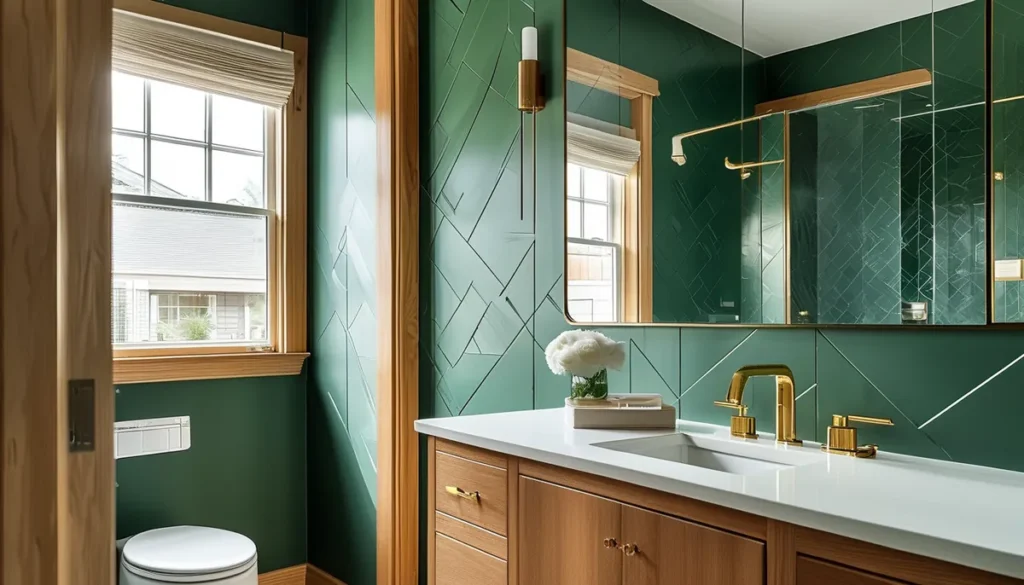
Peel and stick removable wall art offers a way to refresh your walls quickly without permanent changes, but not all options perform the same. Understanding the material, adhesive, and application is key to a successful installation and removal.
Types of removable wall art
Removable wall art generally falls into a few main categories, each with distinct characteristics affecting installation, durability, and removal.
Removable wall decals
Decals are typically made from vinyl or PVC. They are the most common form of removable wall art and are excellent for adding smaller graphics, quotes, or patterns to a wall. Vinyl decals are often thin and flexible, allowing them to conform to slight wall imperfections. The adhesive is usually a water-based or acrylic type designed to stick firmly but release cleanly.
Thickness: Vinyl decals can range from 3 to 10 mil in thickness. Thicker decals may offer better opacity and easier handling, while thinner ones can appear more painted on. For a truly removable experience, ensure the product specifies a ‘removable’ adhesive, not ‘permanent’.
Removable wall murals
Murals are essentially large-scale graphics or patterns printed on a wallpaper-like material. They are designed to cover a significant portion of a wall, creating a focal point. Most modern removable murals use a peel-and-stick material, often a fabric-like vinyl or a non-woven paper with a repositionable adhesive.
Material comparison: Fabric-based murals are generally more forgiving during installation, as they are less likely to stretch or tear and can be repositioned multiple times. Vinyl-based murals offer excellent print quality and durability but require more care during application to avoid bubbles and wrinkles.
Peel and stick wall stickers
This term often overlaps with ‘decals’ but can also refer to designs printed on a thicker, more opaque material, sometimes with a matte finish. They can include intricate designs, illustrations, or even faux textures. The key differentiator is the ‘peel and stick’ application, meaning they have an integrated adhesive backing that you simply peel off to apply.
Adhesive quality: Look for stickers that explicitly state they are ‘removable’ or ‘repositionable’. Some stickers use a low-tack adhesive that might not hold up well in humid environments or on textured surfaces, while others have a stronger adhesive that still promises clean removal.
Choosing the right material and finish
The material and finish of your removable wall art will impact its look, feel, and how it performs over time.
Vinyl
Vinyl is a popular choice for decals and stickers due to its durability, water resistance, and ability to hold vibrant colors. It’s also relatively easy to clean. For removable applications, the type of vinyl and its adhesive are crucial. Matte vinyl finishes tend to look more integrated with the wall, mimicking paint, while glossy finishes can add a subtle sheen but may highlight imperfections.
Fabric-based materials
Often used for larger murals, these materials have a texture similar to fabric. They are typically thicker than vinyl decals, making them more forgiving for DIY installers. They adhere well to most smooth surfaces and are known for their excellent removability without damaging the underlying paint. The matte finish is common and provides a sophisticated look.
Paper-based (non-woven)
Some removable wallpapers and murals are made from non-woven paper. These are breathable and can be more environmentally friendly. They often have a smooth, matte finish and can be repositioned, but they might be more prone to tearing than vinyl or fabric options if handled roughly during installation.
Adhesive types
The adhesive is arguably the most critical component for a truly ‘removable’ product. Look for terms like ‘repositionable adhesive,’ ‘low-tack adhesive,’ or ‘clean-release adhesive.’ These are formulated to create a strong bond for the intended lifespan but break down cleanly upon removal, preventing damage to your drywall and paint. Avoid products that don’t specify the adhesive type, as they might use permanent adhesives that will cause damage.
Installation considerations for removable wall art
Proper installation is crucial for both the appearance and the eventual removal of your wall art. Follow these steps to ensure a smooth process.
Surface preparation
Your wall must be clean, dry, and smooth. Dust, grease, or moisture will prevent the adhesive from bonding correctly, leading to premature peeling or difficult removal. Use a mild soap and water solution or a degreaser, rinse thoroughly, and allow the wall to dry completely for at least 24-48 hours before applying any wall art. Lightly textured walls are often acceptable, but heavily textured or uneven surfaces can be challenging.
Tools and supplies
You’ll typically need:
- A squeegee or credit card (for smoothing and removing air bubbles)
- A utility knife or scissors (for trimming excess material)
- A level and measuring tape (for accurate placement)
- A stepladder (for taller applications)
- A spray bottle with a little water (optional, for some repositionable materials)
Application steps
- Plan your layout: Use a level to mark guidelines if needed, especially for large murals or multiple decals.
- Peel a small section: Start by peeling about 6 inches of the backing paper from the top edge.
- Align and adhere: Carefully position the top edge of the art onto the wall. Smooth down this initial section using your squeegee, working from the center outwards.
- Gradually peel and smooth: Slowly peel the backing paper down while simultaneously smoothing the art onto the wall with the squeegee. Work in small sections to prevent wrinkles and bubbles. If you encounter an air bubble, you can often lift the art slightly and reapply, or gently prick the bubble with a fine needle and smooth it out.
- Trim excess: If necessary, use a sharp utility knife to trim any excess material along edges or around outlets.
- Final smoothing: Once fully applied, go over the entire piece with the squeegee to ensure a secure bond.
Tips for perfect application
For best results, work in good lighting so you can see air bubbles easily. If the material allows for repositioning, don’t hesitate to lift and reapply if you’re not satisfied with the placement or if a bubble forms. Proper installation can make the difference between a professional look and a DIY mishap.
When to avoid certain types of removable wall art
While versatile, removable wall art isn’t suitable for every situation or wall type.
Freshly painted walls
If you’ve recently painted your walls, wait at least 4-6 weeks for the paint to fully cure. Applying removable wall art too soon can cause the paint to peel off with the decal or sticker, even with a gentle adhesive.
Textured or uneven surfaces
Walls with heavy textures (like popcorn ceilings or heavily embossed wallpaper) or significant imperfections can prevent the adhesive from making full contact. This can lead to the art not sticking properly, lifting at the edges, or being difficult to remove cleanly.
High humidity or temperature areas
In bathrooms, saunas, or kitchens directly exposed to steam, the adhesive might weaken, causing the art to peel. Similarly, extreme temperature fluctuations can affect adhesion. While many vinyl products offer some resistance, persistent humidity is a common enemy.
Damaged or poorly prepared walls
If your drywall is damaged, has peeling paint, or was not properly primed and sealed, removable wall art may not adhere correctly, or it could further damage the wall upon removal.
Removing removable wall art cleanly
The promise of ‘removable’ means it should come off without leaving residue or damaging the paint. Here’s how to ensure a clean exit.
Gentle removal technique
Start at a corner or edge. Slowly and steadily pull the art away from the wall at a sharp angle (close to 180 degrees, pulling parallel to the wall, rather than 90 degrees straight out). If you encounter resistance or feel the paint starting to lift, stop. You can try gently warming the adhesive with a hairdryer on a low heat setting to soften it, which can make removal easier and less damaging.
Dealing with residue
Most reputable removable wall art brands will not leave residue. If a slight sticky residue remains, it can usually be removed with a soft cloth dampened with a small amount of mild soap and water, or a specialized adhesive remover (test in an inconspicuous area first). Avoid harsh chemicals, as they can damage the paint.
When removal damages paint
If the paint does lift, it indicates an issue with either the quality of the wall art’s adhesive or the condition of the paint on your walls. In such cases, you may need to touch up the paint after removal. If the wall art was particularly difficult to remove and caused significant damage, contact the manufacturer. For extensive damage, consider it a lesson learned about your wall’s surface and repaint.
Choosing the right removable wallpaper or decal involves understanding materials, adhesives, and proper application. By following these guidelines, you can confidently update your space with removable wall art.