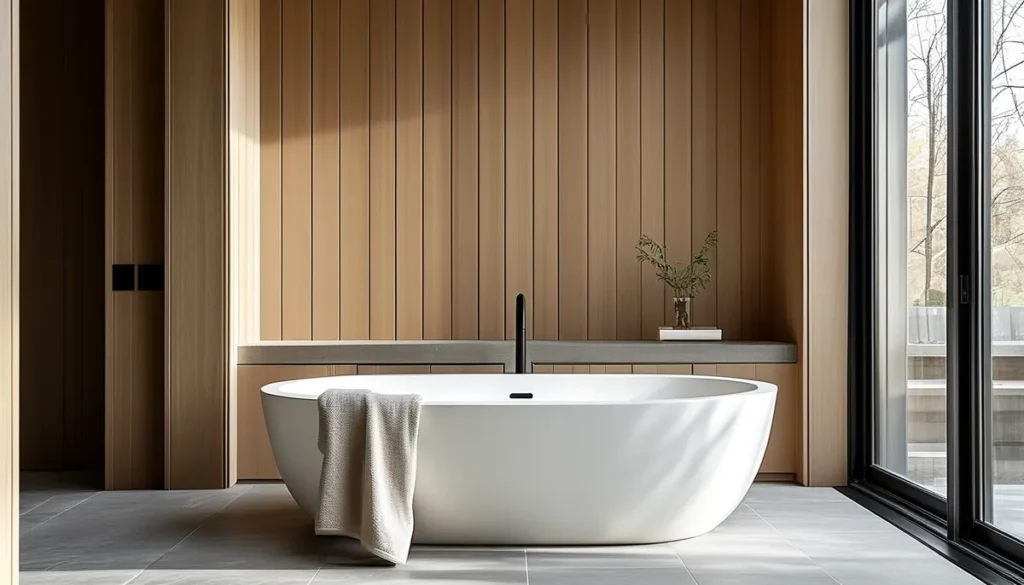
How to hang wainscoting
To hang wainscoting, meticulously plan your layout and mark your walls. Locate and mark studs for secure fastening. Cut panels precisely to fit each section, then install using construction adhesive and finish nails. Finally, add trim, caulk all seams for a seamless finish, and paint for a professional, updated look.
Hanging wainscoting can dramatically upgrade a room’s aesthetic, adding architectural detail and a custom feel. Whether you’re using beadboard, raised panels, or a simpler plank style, the process involves careful measurement, precise cuts, and secure installation. This guide breaks down the process into manageable steps, assuming you’re working with standard drywall walls.
Before you begin, decide on the style and height of your wainscoting. Common heights are around 32 inches, 48 inches (chair rail height), or full wall coverage. Measure the total linear footage of the walls where you plan to install it. This helps you calculate the amount of material needed, including panels, baseboards, and chair rail or crown molding if applicable. Always buy about 10% more material to account for cuts and potential mistakes.
Prepare your walls
Proper preparation is crucial for a professional finish. Start by removing any existing baseboards. If you plan to reuse them above the wainscoting, carefully pry them off. If not, you’ll install new baseboard after the wainscoting. Clean the walls thoroughly to remove dust, grease, or old wallpaper residue. Any imperfections on the wall will be more noticeable once the wainscoting is installed.
Next, you need to locate and mark the wall studs. Use a stud finder and mark the center of each stud along the height where your wainscoting will be installed. These marks are essential for securely fastening the panels and any applied trim. If you’re installing a chair rail, find its height and snap a level chalk line around the room. Do the same for the top of your wainscoting if it’s not full height. Ensure these lines are perfectly level; a slight error here will be magnified.
Cut and install the wainscoting panels
Measure and cut your wainscoting panels to fit the length of each wall section. If you’re using beadboard or panels with a specific pattern, pay attention to the repeat and ensure consistent alignment. For cuts around windows, doors, or outlets, measure carefully and use a jigsaw or oscillating tool. Always test-fit pieces before applying adhesive or nails.
Apply a generous bead of construction adhesive to the back of each panel. Position the panel against the wall, aligning it with your chalk lines or the floor. Press firmly to set the adhesive. For added security, especially with heavier panels, use a finish nailer to drive 16-gauge or 18-gauge nails through the panel and into the studs you marked earlier. If you’re installing beadboard, the nails should go into the tongue or groove where possible, or directly into studs. Ensure panels are butted tightly against each other or fit into the grooves of the previous panel according to the manufacturer’s instructions.
Install chair rail and baseboard
If your wainscoting design includes a chair rail, install it now. Position the chair rail along the top edge of your installed panels or at the pre-marked height. Secure it with construction adhesive and nails driven into the studs. Ensure the rail is level and flush with the front of the panels. For a clean look, the nails should be as hidden as possible.
Once the panels and chair rail are in place, it’s time for the baseboard. If you removed the old baseboard, you can reinstall it above the wainscoting. If you’re installing new baseboard, position it at the bottom of the wainscoting panels. Use construction adhesive and nails to secure it to the wall and into the studs. Make sure the top edge of the baseboard sits snugly against the bottom of the wainscoting panels, creating a seamless transition.
Finishing touches: caulk, fill, and paint
This is where the magic happens and your wainscoting starts to look professionally installed. Fill all nail holes with wood filler. Allow it to dry completely, then sand smooth. Apply a bead of paintable caulk along all seams where the wainscoting meets the ceiling, the chair rail, the baseboard, and where panels join. This seals gaps and creates a smooth, uniform surface.
Once the caulk is dry, it’s time to paint. Apply a coat of primer, especially if you’re painting over a dark color or using a dark paint. After the primer dries, apply your chosen paint color. Two coats are usually sufficient for good coverage. Ensure you use a high-quality paint and brush or roller for a smooth, durable finish. Allow adequate drying time between coats and before placing furniture back in the room.
Common Mistakes When Hanging Wainscoting
| Step/Tool | Typical Mistake | How to Avoid It |
|---|---|---|
| Planning & Measurement | Incorrectly calculating material needs or not accounting for waste. | Measure walls twice and add 10-15% for cuts and errors. Account for door openings and window sills. |
| Leveling | Not ensuring the top and bottom lines, or chair rail, are perfectly level. | Use a long level (4ft or more) and a chalk line. Double-check with a laser level if available. Slight errors become very obvious. |
| Stud Finding | Failing to locate and mark wall studs accurately. | Use a reliable stud finder and mark each stud. For critical areas, test with a small nail or drill bit to confirm you’re hitting solid wood. |
| Cutting Panels | Making inaccurate cuts, especially around outlets or corners. | Measure twice, cut once. Use a straight edge and a sharp blade (circular saw or miter saw for straight cuts, jigsaw for curves). Create templates for complex cuts. |
| Adhesive & Nailing | Using too little adhesive or not nailing into studs. | Apply a continuous bead of construction adhesive. Ensure every panel and trim piece is secured to studs with finish nails. |
| Caulking | Skipping caulk or using it sparingly at seams. | Apply a consistent, thin bead of paintable caulk at all joints (wall-to-panel, panel-to-trim, panel-to-panel) for a seamless finish. |
FAQ
How to hang wainscoting panels
Begin by marking your layout lines and locating studs. Apply construction adhesive to the back of each panel and press it into place, aligning with your marks. Secure panels with finish nails into the studs. Ensure panels are tight against each other or fit the grooves correctly.
Can I hang wainscoting over wallpaper?
It’s generally not recommended to hang wainscoting directly over wallpaper, especially if the wallpaper is loose or peeling. The adhesive may not bond well, and the wallpaper’s texture can show through. It’s best to remove the wallpaper and prepare the drywall surface for optimal adhesion and a smooth finish.
How do I handle corners when hanging wainscoting?
For outside corners, miter the edges of the panels at a 45-degree angle so they meet cleanly. For inside corners, you can either miter the last panel or cut it straight and caulk the gap. Ensure your cuts are precise for a tight fit.