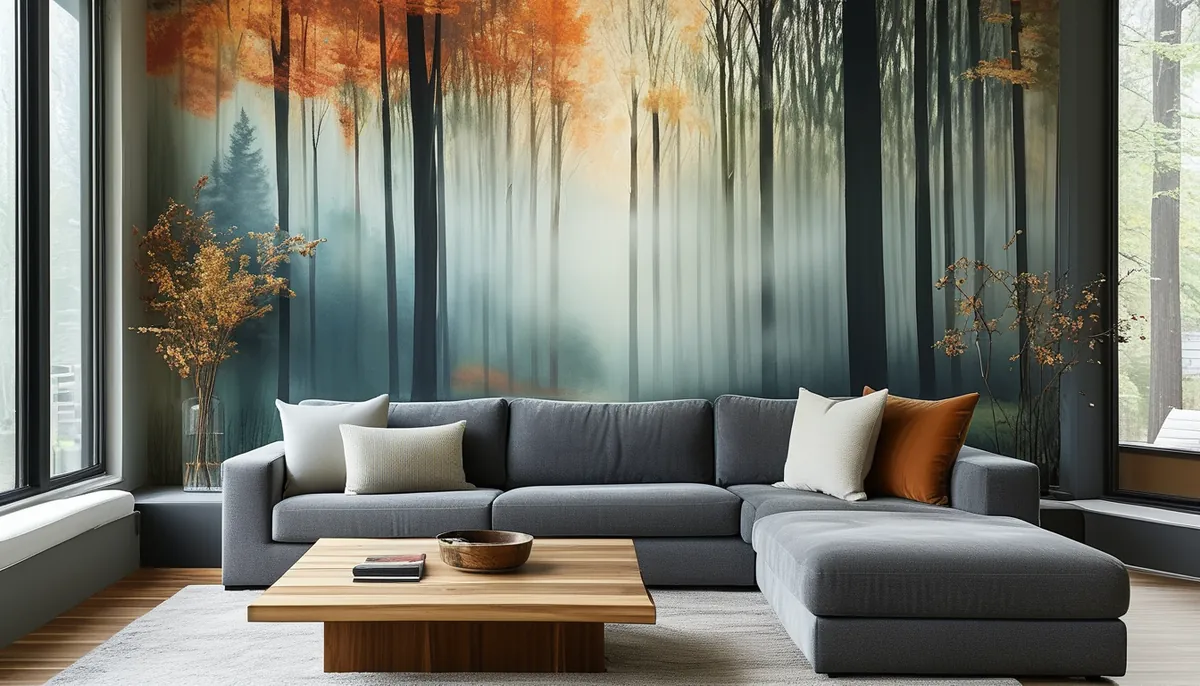
A picture mural instantly adds personality and a focal point to any room. Unlike traditional wallpaper, which repeats a pattern, a mural is a single, large-scale image designed to cover an entire wall or a significant portion of it. When selecting a picture mural, consider the scale of the image, the detail level, and how it will integrate with your existing decor.
Understanding mural materials
Murals come in various materials, each with pros and cons affecting durability, installation, and appearance. The most common types are:
Peel-and-stick murals
These are vinyl-based and have an adhesive backing, making them the easiest type to install and remove. They are ideal for renters or for those who like to redecorate frequently. The vinyl material is generally durable and can be wiped clean. However, peel-and-stick murals may not adhere well to heavily textured walls, and the adhesive can sometimes damage drywall upon removal if not done carefully.
Traditional wallpaper murals
These are made from paper or vinyl-coated paper and require wallpaper paste for installation. They offer a vast range of finishes, from matte to high-gloss, and can be very detailed. Traditional murals are generally more durable and offer a more seamless look than peel-and-stick options once installed. The downside is the more involved installation process, which requires precise application of paste and careful alignment of panels. Removal can also be more challenging and may require steaming.
Fabric murals
Less common for typical home use but found in high-end applications, fabric murals are often made from materials like canvas or textured cloth. They offer a rich, tactile finish and can provide acoustic benefits. Installation is usually professional, involving paste or specialized mounting techniques. These are typically the most expensive option and are best suited for permanent installations where their unique aesthetic is desired.
Choosing the right image and style
The subject matter of your picture mural is crucial. Consider the room’s function and the mood you want to create. For a living room, a scenic landscape or an abstract design can set a relaxing or sophisticated tone. A bedroom might benefit from a serene nature scene or a calming artistic print. For a child’s room, a playful cartoon or an adventure-themed mural works well.
Scale is another critical factor. A mural with too much detail in a small room can feel overwhelming, while a simple design on a large wall might look lost. Measure your wall carefully and ensure the mural’s dimensions are proportionate. Many online providers allow you to customize mural sizes. A good rule of thumb is to ensure the mural doesn’t have elements that are too small to be appreciated from a typical viewing distance.
Popular picture mural themes
- Landscapes: From serene forests and dramatic mountains to bustling cityscapes, landscapes offer a sense of depth and escape.
- Nature: Think floral patterns, wildlife, or serene water scenes for a calming effect.
- Abstract art: Bold colors, geometric shapes, or fluid designs can make a modern statement.
- Cityscapes: Iconic skylines or street views can bring urban energy into your space.
- Vintage/Historical: Old maps, architectural drawings, or retro scenes add a unique character.
- Faux finishes: Trompe-l’oeil effects like brick, wood, or marble can create an illusion of texture.
If you’re looking to make a significant impact, explore what are wall murals and their transformative power. For a more specific aesthetic, the intricate beauty of Chinoiserie mural wallpaper might be your perfect choice.
Preparing your walls for a mural
Proper wall preparation is the most critical step for a successful mural installation, regardless of the material. Skipping this will lead to adhesion issues, visible imperfections, and a less professional finish.
Cleaning the walls
Start by thoroughly cleaning the walls. Remove any dust, grease, cobwebs, or grime. Use a mild detergent and water solution, and ensure the walls are completely dry before proceeding. For kitchens or areas prone to grease buildup, a degreaser might be necessary.
Repairing imperfections
Fill any holes, cracks, or dents with spackling compound. Sand these areas smooth once dry, and wipe away the dust. Any bumps or rough patches will be highly visible once the mural is applied, especially on smooth or glossy finishes.
Sanding and priming
Lightly sand the entire wall surface, especially if it’s glossy or has been previously painted with a high-sheen paint. This creates a better surface for the adhesive or paste to grip. Wipe down the walls again to remove any sanding dust. If you’re applying a traditional wallpaper mural, priming the wall with a wallpaper primer is highly recommended. Primer seals the wall, prevents the paste from soaking into the drywall too quickly (which can cause bubbling), and makes future removal easier. For peel-and-stick murals, some manufacturers recommend a primer, while others state it’s not necessary on properly prepared, painted drywall. Always check the manufacturer’s instructions.
Removing old wallpaper
If you have old wallpaper, it must be completely removed. Leftover wallpaper or adhesive residue will interfere with the new mural’s adhesion. Use a wallpaper steamer or a commercial stripper solution for this task.
Installing your picture mural
The installation process varies slightly depending on whether you have a peel-and-stick or traditional wallpaper mural. Always follow the specific instructions provided by the manufacturer, as materials and adhesives can differ.
Peel-and-stick mural installation
- Plan your layout: Most peel-and-stick murals come in numbered panels. Lay them out on the floor in order to visualize the final image and confirm you have all the pieces.
- Start at a corner: Typically, you’ll start in a corner of the wall, aligning the first panel as straight as possible. Use a level to ensure it’s plumb.
- Peel and stick: Slowly peel back the backing paper a few inches at a time. Press the mural onto the wall, smoothing it out from the center towards the edges with a squeegee or a soft cloth to eliminate air bubbles.
- Overlap or butt joints: Some murals have slightly overlapping edges, while others are designed to butt up perfectly against each other. Follow the manufacturer’s guide.
- Trim excess: Use a sharp utility knife or craft knife to trim any excess material at the ceiling, baseboard, or corners.
- Work panel by panel: Continue applying subsequent panels, ensuring they align correctly with the previous one.
Traditional wallpaper mural installation
- Measure and cut: If your mural comes on a roll, measure and cut the panels according to the wall dimensions. Many murals are pre-cut.
- Apply paste: If using paste-the-wall paper, apply the paste directly to the wall using a roller. If using paste-the-paper, apply paste evenly to the back of the wallpaper panels using a paste brush or roller, letting it ‘book’ (fold onto itself) for the time specified by the manufacturer.
- Hang the first panel: Starting at a corner or a designated starting point, hang the first panel, using a level to ensure it’s perfectly plumb. Smooth it out with a wallpaper brush or seam roller to remove air bubbles and ensure good contact.
- Align subsequent panels: Hang the next panel, butting the edges tightly against the previous one (or overlapping slightly if instructed). Ensure the pattern matches precisely.
- Trim edges: Trim excess wallpaper at the ceiling, baseboards, and around windows or doors with a sharp knife.
- Clean up: Wipe away any excess paste with a damp sponge immediately.
Tips for avoiding common installation mistakes
- Don’t rush: Take your time, especially when aligning panels.
- Use a level: A crooked mural is very noticeable.
- Work out air bubbles: Small bubbles can often be pushed out with a squeegee. For stubborn ones, you might be able to prick them with a fine needle and smooth them down.
- Sharp blades: Use a fresh, sharp blade for trimming to avoid tearing the material.
- Check for damage: Inspect each panel for printing defects or damage before applying it to the wall.
For a truly seamless and professional look, consider the expertise offered in this guide to wall mural wallpaper.
Maintaining your picture mural
Most modern picture murals are designed for durability and ease of maintenance. However, the specific care instructions will depend on the material.
Cleaning
For vinyl and vinyl-coated traditional murals, a soft, damp cloth is usually sufficient for light cleaning. For more stubborn marks or smudges, a mild soap solution can be used, followed by wiping with a clean, damp cloth and then drying with a soft, dry cloth. Avoid abrasive cleaners, harsh chemicals, or excessive moisture, as these can damage the print or the material.
Peel-and-stick murals can typically be cleaned in the same way as vinyl wallpaper. Always test any cleaning solution in an inconspicuous area first. Avoid scrubbing, as this can damage the surface or lift the edges.
Protection
Keep your mural away from direct, prolonged sunlight, which can cause fading over time. If your mural is in a high-traffic area or is prone to getting bumped, consider placing furniture strategically to protect it. Be cautious with steam from cooking or showers if the mural is in a kitchen or bathroom; ensure good ventilation.
Repairs
Minor scuffs or damage can sometimes be touched up. For small tears or dents in traditional wallpaper, a bit of wallpaper paste might be used carefully. For peel-and-stick, if a small section is damaged, it might be possible to carefully remove and replace that specific panel if you kept a spare piece. However, significant damage often means replacing the entire mural.
Choosing and installing a picture mural is a rewarding project that can dramatically enhance your home’s aesthetic. By understanding the materials, preparing your walls diligently, and installing with care, you’ll achieve a stunning result that you can enjoy for years to come. If you’re looking for inspiration, remember that the art and impact of murals can redefine any living space.