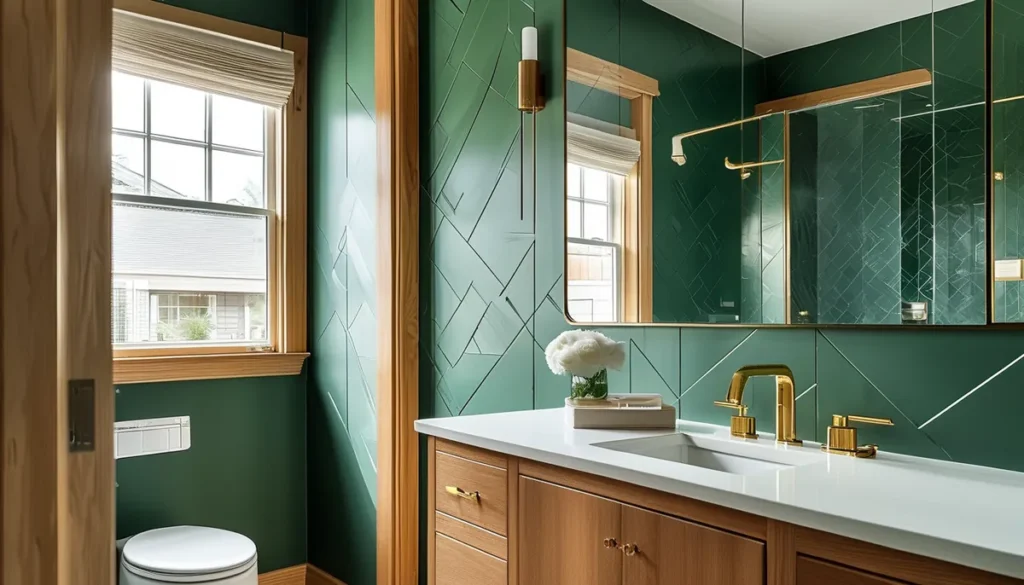
Measure your wall precisely before ordering your do it yourself wall mural. Note down the height and width, accounting for any baseboards or crown molding that might interfere with the design. Always add a few extra inches to your measurements for trimming. Most murals come in panels, so understanding how many panels you need and their orientation is crucial. This avoids costly mistakes and ensures the image aligns correctly.
Choosing the right material for your DIY wall mural
The material of your wall mural significantly impacts its appearance, durability, and ease of installation. Most DIY wall murals are made from vinyl or a vinyl-coated paper. Consider the surface you’re applying it to and the room’s conditions.
Peel-and-stick vinyl murals
These are the most user-friendly option for a do it yourself wall mural. The adhesive is on the back, allowing you to peel off the backing and stick it directly to your wall. They are forgiving, meaning you can reposition them during installation if you make a mistake. However, ensure your wall surface is smooth and clean; dirt or texture can prevent proper adhesion. They are also relatively easy to remove, making them a great choice for renters.
Traditional paste-the-wall murals
These require wallpaper paste, applied directly to the wall or the mural’s back, depending on the specific product. They offer a more permanent bond and can be more durable than peel-and-stick options. Installation is slightly more involved, requiring careful alignment of panels and a steady hand with the paste. Once applied and dried, they are generally more resistant to moisture and easier to clean, making them suitable for kitchens or bathrooms, provided they are not in direct splash zones.
Non-woven murals
Often considered a premium option, non-woven materials are breathable and more resistant to tearing than standard paper. They also tend to be easier to hang as they don’t expand or contract as much with moisture. Paste is usually applied directly to the wall, simplifying the process.
Preparing your wall for a do it yourself wall mural
Proper wall preparation is non-negotiable for a professional finish. Skipping this step is a common mistake that leads to bubbles, peeling, and an uneven appearance.
Clean the surface
Your wall must be clean, dry, and free of dust, grease, and any loose debris. Use a mild detergent and water solution, then rinse thoroughly and allow the wall to dry completely. For stubborn grease, a de-glosser or TSP (trisodium phosphate) substitute might be necessary, followed by a good rinse.
Repair imperfections
Fill any holes or cracks with spackling paste. Once dry, sand the area smooth to match the surrounding wall. A perfectly smooth surface is key, especially for thinner vinyl murals that can show every bump.
Prime the wall
Priming is essential, especially if you’re applying a mural over a dark color, a glossy finish, or a previously wallpapered surface. A good quality primer seals the wall, ensures even adhesion, and prevents the underlying color from showing through. Use a water-based primer and allow it to dry completely, usually 24 hours, before proceeding.
Remove obstacles
Take down any light switch plates, outlet covers, or wall fixtures. This ensures a clean edge and prevents you from having to cut around them later, which rarely looks neat.
Tools you’ll need for installation
Gathering the right tools before you start will make the installation process much smoother. Having everything on hand prevents interruptions and potential mistakes.
- Measuring tape
- Pencil
- Level (a laser level is ideal for long walls)
- Utility knife or sharp scissors
- Straight edge or T-square
- Smoothing tool (plastic smoother or squeegee)
- Wallpaper paste (if not using peel-and-stick)
- Paste brush or roller (if using paste)
- Bucket for paste and water
- Drop cloths to protect your floor
- Ladder or step stool
- Rag or sponge
Step-by-step installation of your do it yourself wall mural
Follow these steps carefully for a successful DIY wall mural application. Patience and precision are your best allies.
Step 1: Dry fit the mural
Before applying any adhesive or peeling any backing, lay out your mural panels on the floor in the order they will be applied. This allows you to visualize the final image and confirm that the panels align correctly. Check that the pattern matches across the seams.
Step 2: Mark your starting point
Using your level, draw a faint vertical plumb line on the wall where the edge of your first panel will go. This line should be perfectly straight and will guide your entire installation. For peel-and-stick murals, you might start from the center of the wall or a prominent feature, depending on the mural’s design and how it’s intended to be centered.
Step 3: Apply the first panel
For peel-and-stick murals:
Carefully peel back a few inches of the backing paper from the top of the first panel. Align the edge of the mural with your plumb line. Once aligned, press the top edge firmly onto the wall. Working from the top down, slowly peel off the backing paper while simultaneously using your smoothing tool to press the mural onto the wall. Use overlapping, firm strokes to push out any air bubbles. If you get a bubble, gently lift the panel and reapply. Don’t rush this process.
For paste-the-wall murals:
Apply the wallpaper paste evenly to the wall section where the first panel will go, following the paste manufacturer’s instructions. Hang the first panel, aligning its edge with your plumb line. Use the smoothing tool to press it firmly onto the wall, working from the center outwards to eliminate air bubbles and ensure good adhesion. Trim any excess at the top and bottom with a sharp utility knife against a straight edge.
Step 4: Apply subsequent panels
Continue applying the remaining panels, ensuring each panel butts up tightly against the previous one. For patterned murals, pay close attention to matching the design across the seams. Overlapping seams is generally not recommended for modern murals as it can create a visible ridge. Use your smoothing tool to press down all edges and seams firmly. If any paste seeps through the seams, wipe it away immediately with a damp sponge or rag.
Step 5: Trimming and finishing
Once all panels are in place, use a sharp utility knife and a straight edge to trim any excess material at the ceiling, baseboard, and around any windows or doors. Be patient and make clean, single cuts. For outlets and switches, you can carefully cut an ‘X’ in the material over the opening, then trim the excess around the box, or remove the cover plates entirely and trim flush.
Step 6: Allow to cure
For paste-applied murals, allow the paste to cure according to the manufacturer’s instructions. Avoid touching or disturbing the mural during this time. Peel-and-stick murals are typically ready immediately, but it’s wise to wait at least 24 hours before cleaning around the edges.
Common mistakes to avoid
Even with detailed instructions, DIYers can fall into common traps. Being aware of these pitfalls can save you time and frustration.
- Not cleaning the wall: As mentioned, this is the number one cause of failure. Dirt and oils prevent adhesion.
- Skipping primer: A primer ensures better adhesion and prevents the wall color from showing through.
- Using a dull blade: A dull utility knife will tear the mural material, leaving ragged edges that are impossible to fix neatly. Always use a fresh blade.
- Over-pasting or under-pasting: Too much paste can cause mess and damage; too little means poor adhesion. Follow the product instructions precisely.
- Rushing the process: Take your time, especially when aligning panels and smoothing out bubbles. Rushing leads to misalignments and visible imperfections.
- Not using a level: A slightly crooked first panel can throw off the entire mural. Use a level for that initial crucial plumb line.
- Ignoring the pattern repeat: If your mural has a repeating pattern, ensure you align it correctly between panels. This is more critical for complex designs.
Transforming your space with a do it yourself wall mural can be a rewarding project. By selecting the right material, preparing your walls meticulously, and following these installation steps, you can achieve stunning results that rival professional work. For more inspiration and options on transforming your walls, explore our guides on what are wall murals and our selection of mural wallpaper.