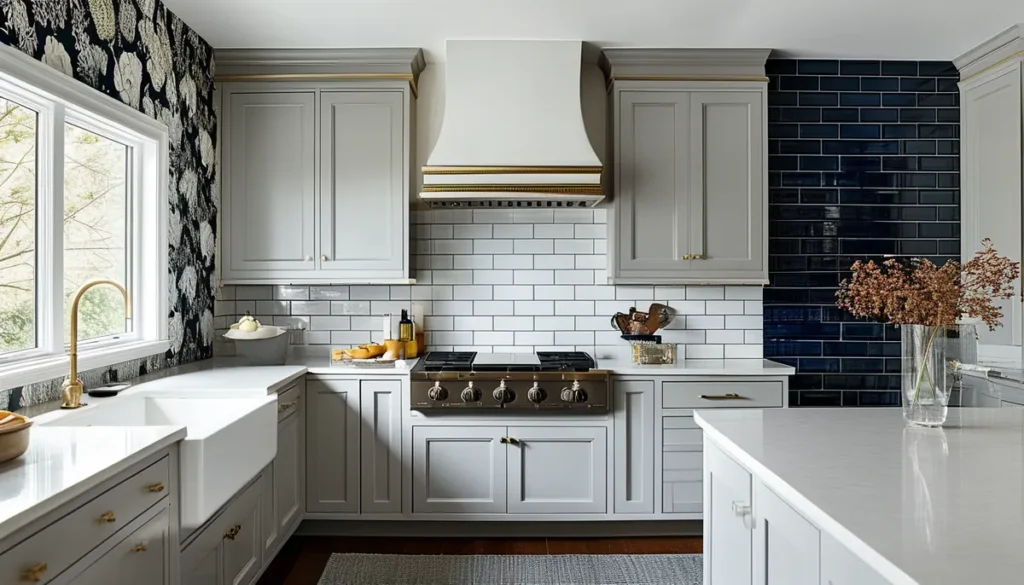
Painting kitchen furniture, particularly cabinets, is a popular way to update your kitchen without a full renovation. The success of this project hinges on selecting the right paint and applying it properly. You’re not just choosing a color; you’re choosing a finish that must withstand grease, moisture, and frequent cleaning.
Choosing the right paint for your cabinets
Not all paints are created equal for kitchen cabinets. The kitchen environment demands durability. You’ll want a paint that offers excellent adhesion, is resistant to moisture and staining, and can be scrubbed without damaging the finish. The primary choices boil down to:
- Alkyd (oil-based) enamels: These provide a hard, durable, and smooth finish. They level out well, meaning fewer brush marks. However, they have strong odors, require mineral spirits for cleanup, and can yellow over time, especially in darker shades. They also take longer to dry.
- Water-based (latex/acrylic) enamels: Modern water-based paints have improved significantly in durability. Look for acrylic enamels specifically formulated for cabinetry. They offer low VOCs, easy soap-and-water cleanup, and faster drying times. For kitchens, a high-quality acrylic enamel with good hardness is usually the best bet for DIYers.
- Paints with built-in primers: Some paints combine primer and paint in one. While convenient, for kitchen cabinets, a separate, high-quality primer is almost always recommended for superior adhesion and a smoother finish, especially if you’re painting over laminate or a glossy surface.
Primer: the essential first step
Never skip the primer, especially when painting kitchen furniture. A good primer is crucial for:
- Adhesion: It creates a surface that the topcoat can grip onto, preventing chipping and peeling.
- Blocking stains: It seals in tannins from wood (like oak or pine) and prevents grease or water stains from bleeding through your topcoat.
- Creating a uniform surface: It fills minor imperfections and provides an even base color for your paint.
For kitchen cabinets, a high-quality oil-based or shellac-based primer is often recommended for its superior stain-blocking and adhesion properties. Water-based bonding primers are also an option if you’ve thoroughly cleaned and degreased your cabinets.
Surface preparation: the key to a lasting finish
This is the most critical phase. Rushing preparation guarantees failure. Your cabinets will be clean, smooth, and ready for paint.
1. Empty and remove hardware: Take everything out of your cabinets and remove all doors, drawers, and hardware (knobs, pulls). Label doors and drawers so you know exactly where they go back.
2. Clean thoroughly: Use a degreaser specifically designed for kitchen surfaces or a solution of TSP (trisodium phosphate) substitute and water. Grease buildup is the enemy of adhesion. Rinse thoroughly with clean water and allow to dry completely.
3. Sanding: Lightly sand all surfaces to be painted. For wood or previously painted surfaces, use 100-150 grit sandpaper. For laminate or melamine, you might need a slightly coarser grit (around 80-100) to scuff the surface enough for the primer to adhere. If you’re using an orbital sander, be careful not to over-sand any one area. After sanding, wipe down all surfaces with a tack cloth or a damp microfiber cloth to remove all dust.
4. Repair imperfections: Fill any holes or gouges with a good quality wood filler. Let it dry completely, then sand smooth. Check for any loose trim or veneer and re-glue it.
Application techniques for a professional look
Once your surfaces are prepped and primed, it’s time for the topcoat. The method you choose will impact the final finish.
Spraying
Spraying offers the smoothest, most factory-like finish. You can rent or buy an HVLP (High Volume, Low Pressure) sprayer. This method requires:
- Practice: Especially with HVLP sprayers, it takes practice to achieve an even coat without runs.
- A dedicated space: You’ll need a well-ventilated area, ideally a spray booth or a garage with good airflow, to contain overspray.
- Masking: Extensive masking of surrounding areas (walls, floors, countertops) is essential.
Rolling and brushing
This is the more common DIY approach. Use high-quality tools for the best results.
- Foam rollers: These are excellent for applying thin, even coats on large, flat surfaces like cabinet doors and drawer fronts. Use a mini foam roller with a fine nap.
- High-quality synthetic brushes: For cutting in edges, corners, and detailed areas, use a good quality synthetic bristle brush (4-5 inches for larger areas, 1.5-2 inches for details).
Application tips:
- Apply thin, even coats. It’s better to apply three thin coats than two thick ones.
- For rolling, overlap your strokes slightly.
- For brushing, use long, smooth strokes in the direction of the wood grain. Avoid overworking the paint.
- Allow adequate drying time between coats as per the paint manufacturer’s instructions. This is critical for durability.
Drying and curing times
Understand the difference between drying and curing. Drying is when the paint is no longer wet to the touch. Curing is when the paint reaches its maximum hardness and durability. This can take anywhere from 7 to 30 days, depending on the paint type and environmental conditions (temperature, humidity).
Avoid heavy use and abrasive cleaning during the curing period. Be gentle with your newly painted cabinets. If you’re installing new hardware, wait at least a week or two after the paint has fully dried before drilling new holes, to minimize the risk of chipping.
Choosing colors and finishes
Color choice is subjective, but consider these points:
- Light colors: Make a kitchen feel larger and brighter. Whites, creams, light grays, and pastels are timeless.
- Dark colors: Navy blues, deep greens, charcoal, and black can create a dramatic and sophisticated look. Be aware that dark colors can show dust and smudges more readily.
- Two-tone kitchens: Painting the upper cabinets one color (often lighter) and the lower cabinets another (often darker) is a popular design trend.
Finishes:
- Satin or semi-gloss: These are the most common and recommended finishes for kitchen cabinets. They offer a balance of subtle sheen and durability, making them easier to clean than matte finishes.
- Matte or eggshell: These finishes are less reflective and can hide imperfections better but are generally less durable and harder to clean.
- High-gloss: Offers a very modern, sleek look but highlights every imperfection and can be prone to fingerprints.
Common mistakes to avoid
- Inadequate cleaning: Not removing all grease and grime is the #1 cause of paint failure.
- Skipping primer: You risk poor adhesion and stains bleeding through.
- Insufficient sanding: The paint won’t adhere properly to a slick surface.
- Applying thick coats: This leads to drips, runs, and a less durable finish.
- Not allowing proper drying/curing time: This severely compromises the paint’s longevity.
- Using the wrong tools: Cheap rollers and brushes leave marks.
- Painting in poor conditions: Extreme temperatures or high humidity can affect paint performance.
Durability considerations for painted furniture
When considering painted kitchen furniture, particularly if you’re buying new or refinishing older pieces, durability is paramount. High-quality acrylic or alkyd paints, applied over a well-primed and prepared surface, can last for many years. However, the finish will likely require touch-ups over time, especially in high-traffic areas like around the sink or oven. For a truly robust finish, especially for high-use items, some professionals opt for two-part conversion varnishes or lacquers, though these require professional spraying equipment and expertise.
For everyday maintenance, wipe down your painted cabinets regularly with a soft, damp cloth. For tougher spots, use a mild dish soap solution. Avoid abrasive cleaners or scouring pads, as they can damage the paint finish over time.