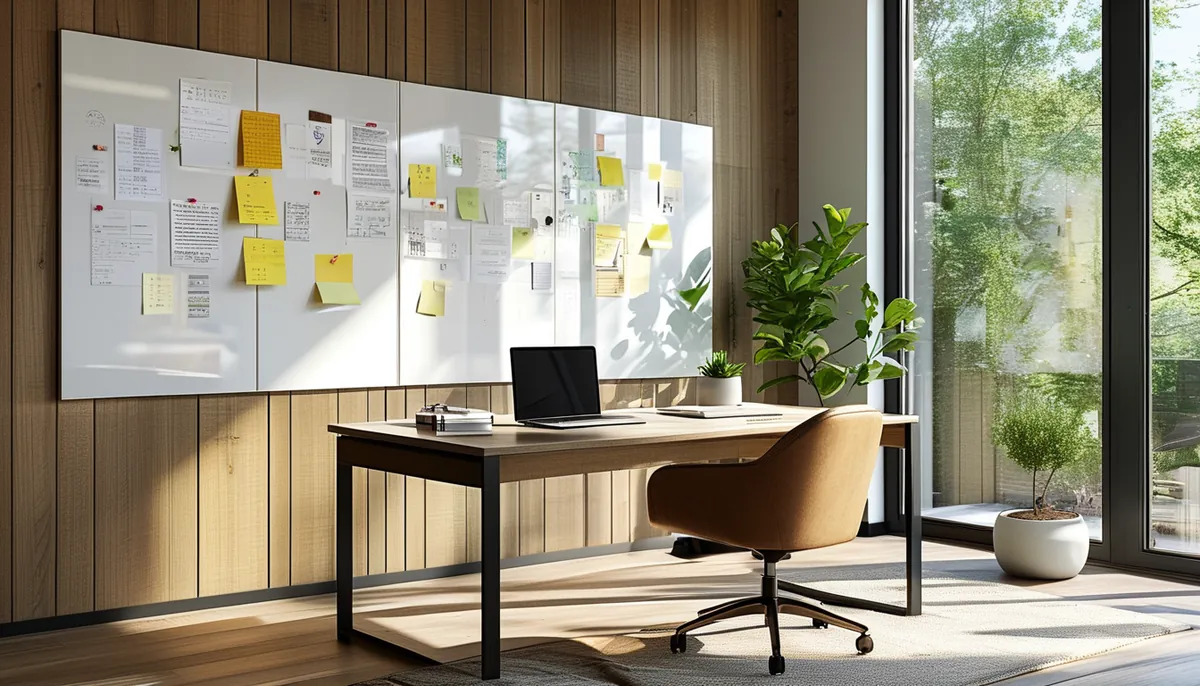
When you need a writing surface that’s flexible and easy to install, a peel and stick white board offers a practical solution. Unlike traditional whiteboards that require drilling and mounting, these come with an adhesive backing, allowing you to apply them directly to walls, doors, or even furniture. This guide helps you navigate the options and installation process.
Types of peel and stick white boards
Peel and stick white boards primarily differ in material and finish. Understanding these differences helps you choose the right product for your intended use and desired durability.
Vinyl white board surfaces
Most peel and stick white boards are made from vinyl. This material is durable, easy to clean, and can be applied to most smooth surfaces. Vinyl options often come in rolls, similar to wallpaper, and can be cut to size. They typically offer a smooth, glossy finish that erases well. The thickness can vary, with thicker vinyl generally offering better durability and a less prone-to-wrinkling application.
Specialty finishes and textures
Beyond standard glossy vinyl, you can find white boards with matte finishes or even subtle textures. Matte finishes can reduce glare, which is beneficial in brightly lit rooms, but they might require slightly more effort to clean completely. Textured versions can add a decorative element but may impact the smoothness of writing and erasing.
Clear or colored white board films
Some products are clear films that you apply over an existing painted surface, turning that area into a whiteboard. This is a good option if you want a large writing area without covering up existing decor entirely. Colored whiteboard films are also available, allowing you to create a functional writing surface that also acts as a design element, like a bold accent wall.
Choosing the right size and quantity
The amount of peel and stick white board you need depends on the space you want to cover. Measure the area carefully. Most products are sold in rolls with specified lengths and widths. For example, a common size might be 24 inches wide by 72 inches long. Always buy slightly more than you think you’ll need to account for trimming, potential mistakes, or future repairs. It’s better to have a little extra than to run short mid-project.
Installation: preparing your surface
Proper surface preparation is critical for a successful peel and stick installation. A smooth, clean, and dry surface is essential for the adhesive to bond correctly and for the whiteboard to function optimally.
Cleanliness is key
Start by thoroughly cleaning the wall. Use a mild detergent and water, or a cleaner specifically designed for painted walls. Ensure all dust, grease, and grime are removed. Any residue left behind can prevent the adhesive from sticking properly, leading to bubbles or the board peeling off over time. Rinse the wall with clean water and allow it to dry completely. Painting your wall with a satin or semi-gloss paint can provide a smoother surface than matte paint, which can sometimes be too porous and affect adhesion.
Smoothness matters
The surface must be as smooth as possible. If your wall has significant texture, bumps, or imperfections, the peel and stick whiteboard may not lie flat, and the texture will be visible and potentially impede writing. Minor imperfections can sometimes be covered, but significant ones will be problematic. Consider sanding down rough spots and filling any holes or cracks with spackle, then sanding smooth once dry. For very textured walls, you might consider applying a primer or a smoothing compound first, though this adds complexity.
Dry conditions
Ensure the wall is completely dry before you begin applying the whiteboard film. Moisture trapped behind the adhesive can lead to mold growth and poor adhesion.
Applying the peel and stick white board
The application process is similar to applying large-scale decals or wallpaper. Take your time to achieve the best results.
Measure and cut
Measure your designated area and carefully cut the peel and stick white board to size. Use a sharp utility knife or a craft knife and a straight edge or ruler for clean, straight cuts. It’s often easier to apply the material in sections if you have a very large area.
Peel and stick gradually
Start by peeling back a small section of the backing paper, about 6-12 inches. Align the top edge of the material with your starting point (usually a corner or edge of the area). Carefully press the exposed adhesive edge onto the surface.
Smooth as you go
Using a squeegee or a credit card wrapped in a soft cloth, gently smooth the applied section onto the surface, working from the center outwards. This helps to push out any air bubbles. As you smooth, gradually peel away more of the backing paper with your other hand, continuing to apply and smooth the material. Work slowly and deliberately to avoid wrinkles and air pockets. If you get a bubble, you can often lift the section carefully and reapply it, or sometimes prick the bubble with a fine needle and smooth it out.
Overlapping
If you are using multiple panels to cover a larger area, decide on your overlap strategy. Some manufacturers recommend butting the edges together for a seamless look, while others suggest a slight overlap. Check the manufacturer’s instructions. If overlapping, ensure the overlap is consistent and smooth it down firmly.
Maintaining your peel and stick white board
Proper maintenance ensures your whiteboard remains functional and looks good for a long time.
Erasing
Use high-quality dry-erase markers. For best results, erase the board regularly. If markings are left on for extended periods, they can become difficult to remove. Use a clean, soft cloth or a dedicated whiteboard eraser. Avoid abrasive materials that can scratch the surface.
Deep cleaning
For stubborn marks or ghosting (faint traces of erased writing), use a whiteboard cleaner spray or a solution of isopropyl alcohol and water. Apply the cleaner to a soft cloth, not directly to the board, and wipe the surface. Always test a small, inconspicuous area first if you’re unsure. Some vinyl surfaces can be damaged by harsh chemicals, so always follow manufacturer recommendations. For tough stains, a paste of baking soda and water can sometimes work, but use it gently.
Avoiding damage
Do not use permanent markers on your dry-erase surface. If you accidentally do, use an alcohol-based cleaner or even another dry-erase marker to cover the permanent ink and then erase immediately. Avoid placing anything sharp or abrasive directly against the surface. For temporary spaces, many peel and stick options offer good removability without damaging the underlying paint, but this can vary greatly by product quality and surface preparation.
Where to use your peel and stick white board
The versatility of peel and stick white boards makes them suitable for a wide range of applications in homes and offices.
Home office and study areas
Create an instant workspace. Jot down ideas, make to-do lists, or plan projects directly on the wall. This can be particularly useful in smaller spaces where a traditional whiteboard might take up too much room or be impractical to install.
Kitchen and command centers
Use it for family reminders, grocery lists, meal planning, or a message center. Having a central place for notes keeps everyone informed.
Kids’ rooms and play areas
Let children express their creativity. It’s a fun way for them to draw, practice letters, and learn without the mess of paper constantly accumulating. Ensure the height is accessible for children.
Classrooms and tutoring spaces
Supplement traditional teaching tools with an easily customizable writing area. Apply it to a portion of a wall for interactive lessons.
Creative studios and workshops
Brainstorming sessions, project planning, or keeping track of steps and progress become more dynamic. This can be a great addition to your creative process, much like how [easy peel and stick wallpaper](https://starhouseusa.online/peel-and-stick-wallpaper-guide/) can change the aesthetic of a room.
Considerations for renters
For renters, peel and stick white boards are an excellent choice because they are generally removable. Always test the removability in an inconspicuous spot first, especially if the wall has delicate paint or has been recently painted. It’s wise to check your lease agreement for any restrictions on wall applications. While many are designed to be residue-free, the quality of the adhesive and the condition of the paint are factors. If you’re looking for other ways to personalize a rental, explore options like [high-quality peel and stick wallpaper](https://starhouseusa.online/best-peel-stick-wallpaper/).
Common mistakes to avoid
Avoiding common pitfalls will ensure your peel and stick white board functions as expected and lasts longer.
Rushing the installation
Applying the material too quickly is a recipe for bubbles, wrinkles, and misaligned edges. Patience is key. Work slowly, smoothing as you go.
Poor surface preparation
As mentioned, a dirty, greasy, or textured surface will compromise adhesion and the writing surface. Don’t skip the cleaning and smoothing steps.
Using the wrong cleaning agents
Harsh chemicals or abrasive scrubbers can permanently damage the dry-erase coating. Always use recommended cleaners and soft cloths.
Expecting permanent marker compatibility
While some products are more forgiving, permanent markers are not meant for dry-erase surfaces and can lead to difficult-to-remove stains.
Not accounting for seams
If using multiple panels, pay attention to how seams will look and function. Poorly aligned or overlapping seams can catch markers or erasers.
By understanding the types of peel and stick white boards available and following proper installation and maintenance practices, you can create a functional and dynamic writing surface that suits your needs. Whether for home organization, a creative outlet, or a productive workspace, these solutions offer flexibility and ease.