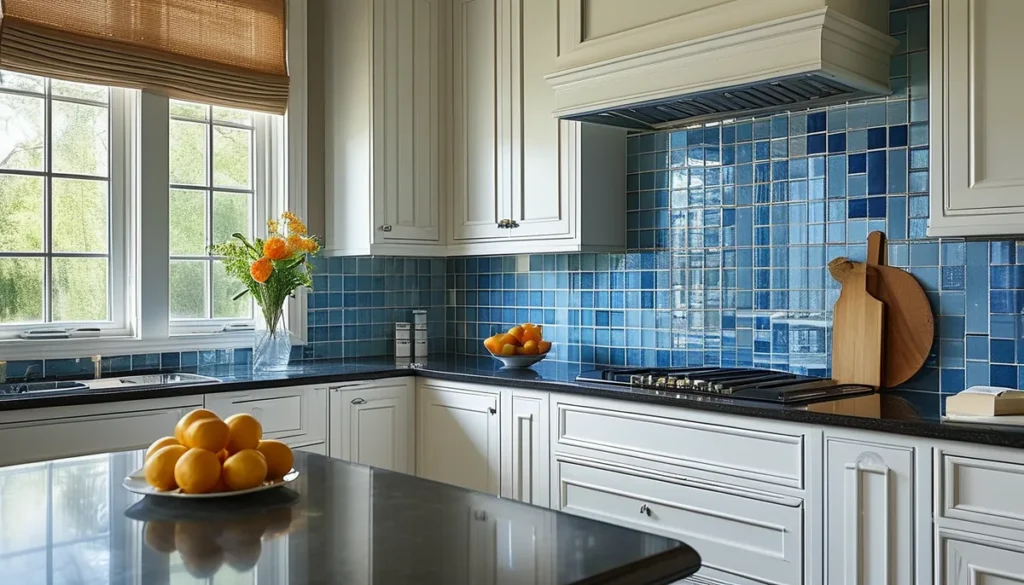
Peel and stick wall tiles provide a quick and affordable solution for refreshing spaces like kitchen backsplashes, bathroom walls, or accent walls. Unlike traditional tiles that require grout, adhesive, and specialized tools, these options adhere directly to your existing wall surface.
Understanding the different types of peel and stick tiles
The term ‘peel and stick wall tile’ encompasses a range of products, each with distinct materials and appearances. Knowing the differences helps you choose the best option for your needs and budget.
Vinyl (PVC) tiles
Often the most budget-friendly, vinyl peel and stick tiles are typically made from PVC. They come in a vast array of designs, mimicking the look of ceramic, stone, or even subway tiles. Thickness can vary significantly, from a thin sticker-like sheet to a slightly more substantial 3D effect. These are great for low-moisture areas or as a temporary update. For backsplashes, ensure they are heat-resistant if placed behind a stovetop without adequate ventilation or a heat shield.
Metal tiles
These feature a metal surface, often aluminum or stainless steel, backed by a strong adhesive. They offer a more premium look, great for modern or industrial aesthetics. Metal tiles can be more durable than vinyl and offer a genuine metallic sheen. They are generally suitable for backsplashes and accent walls but might be pricier than vinyl options. Check if the metal is brushed, polished, or has a specific finish like brushed nickel or copper.
Gel or Epoxy tiles
These are essentially vinyl tiles with a raised, clear gel or epoxy layer on top. This creates a genuine 3D effect, mimicking the look and texture of real glass or mosaic tiles. They offer excellent depth and a glossy finish, making them a popular choice for decorative backsplashes. The gel layer also adds a degree of scratch resistance and is easy to clean. These are often referred to as 3D peel and stick wall tiles or peel and stick 3D wall tiles.
Stone or Composite tiles
Some products incorporate real stone veneer or composite materials. These are generally heavier and more expensive than vinyl but offer a more authentic and high-end appearance. The adhesive backing needs to be robust to hold these materials. They are best suited for areas where a natural, luxurious look is desired and where the wall can support the weight.
Where to use peel and stick wall tiles
While versatile, certain locations are better suited for stick on tiles for walls than others. Consider the environment and moisture levels.
Kitchen backsplashes
This is the most popular application. Peel and stick backsplash tiles are perfect for adding style without the mess and cost of traditional tiling. They are easy to clean, resist grease splatters, and can be installed quickly. Ensure you choose tiles rated for kitchen use, especially if they will be exposed to heat from a stove.
Bathroom walls
Stick on wall tiles can update bathroom vanities, shower surrounds (in low-splash zones), or accent walls. For areas with high moisture, like directly behind a showerhead, opt for waterproof and mold-resistant options. While many are water-resistant, they aren’t typically designed for constant submersion or heavy water flow.
Accent walls
Transform a plain wall in your living room, bedroom, or entryway with a unique pattern or texture. This is a fantastic way to add personality without committing to a large renovation.
Rentals and temporary spaces
Their ease of removal makes them ideal for renters or anyone looking for a temporary design upgrade. You can often find posts detailing how to remove them without damaging the underlying surface, similar to how you’d approach removing peel and stick wallpaper.
Installation: A step-by-step approach
Installing stick tiles for walls is a DIY-friendly process, but proper preparation is key to a lasting finish.
1. Prepare your surface
This is the most critical step. Your wall must be clean, dry, and smooth. Remove any old wallpaper, grease, dust, or debris. If your wall has minor imperfections, a light sanding might be needed. For slightly textured walls, you may need to apply a primer or a smoothing compound first. Ensure the surface is completely dry before proceeding.
2. Measure and plan
Determine the area you want to cover and calculate how many sheets or tiles you’ll need. It’s wise to buy 10-15% extra to account for cuts, mistakes, or future repairs. Plan your layout, starting from a central point or a visible corner. For backsplashes, often starting at the edge of the counter or sink is best.
3. Cut your tiles (if necessary)
Most vinyl or gel tiles can be cut with a sharp utility knife or heavy-duty scissors. For thicker composite tiles, a utility knife and a straight edge, or even a jigsaw with a fine-tooth blade, might be necessary. Measure carefully and cut on the backside of the tile.
4. Apply the tiles
Peel off a small section of the backing paper. Align the tile with your starting point and carefully press it onto the wall. Work slowly, smoothing out any air bubbles as you go. You can use a squeegee or a credit card to press down firmly and ensure good adhesion. Continue peeling and applying, overlapping edges slightly if required by the manufacturer’s instructions.
5. Trim edges and outlets
Use your utility knife to carefully trim around outlets, switches, and any tricky corners. Ensure a tight fit against adjacent tiles for a seamless look.
6. Finishing touches
Once all tiles are applied, go over them again, pressing firmly, especially along the edges. Clean off any adhesive residue with a damp cloth.
Mistakes to avoid with peel and stick wall tiles
Even with a simple installation, common mistakes can lead to a poor-looking or short-lived result.
- Improper surface preparation: Applying tiles over dirt, grease, or uneven surfaces will prevent proper adhesion, leading to peeling and bubbling.
- Applying in high-moisture areas without proper checks: While many are water-resistant, they aren’t always waterproof for constant exposure. Check manufacturer specs for shower use.
- Skipping the test patch: Before committing to a whole wall, apply a single tile in an inconspicuous area to test adhesion and ensure it looks as expected.
- Overstretching or forcing tiles: This can distort the pattern or cause the adhesive to fail. Apply them smoothly.
- Not accounting for pattern repeat: If your chosen tile has a repeating pattern, ensure you align it correctly across tiles to avoid a disjointed look.
- Using in extreme heat: Some vinyl tiles can warp or melt if placed directly behind a stove without sufficient ventilation or a protective backsplash.
Peel and stick vs. traditional tiles
The main advantage of stick on wall tiles is their ease of installation and cost-effectiveness. You can achieve a dramatic visual change in a weekend. Traditional tiles, however, offer superior durability, water resistance, and a premium, permanent finish. They are also generally easier to clean and maintain over the long term and are more resistant to heat and scratches. For high-traffic, wet areas or where longevity is paramount, traditional tiling is usually the better choice. For cosmetic updates, rentals, or budget-conscious projects, high-quality peel and stick options can be excellent.
Maintaining your stick on tiles for walls
Cleaning is straightforward. Use a soft cloth with mild soap and water. Avoid abrasive cleaners or scouring pads, which can scratch the surface. For stubborn spots, a gentle degreaser might be needed, but always test in an inconspicuous area first. Regular dusting or wiping down will keep them looking their best.
When to consider wallpaper instead
For large wall areas where you want a design impact but don’t need the texture or grout lines of tiles, peel and stick wallpaper is an excellent alternative. It offers an even wider range of patterns and finishes, from subtle textures to bold graphics. Like tiles, it’s removable and DIY-friendly. Transforming a room with wallpaper can be just as impactful.