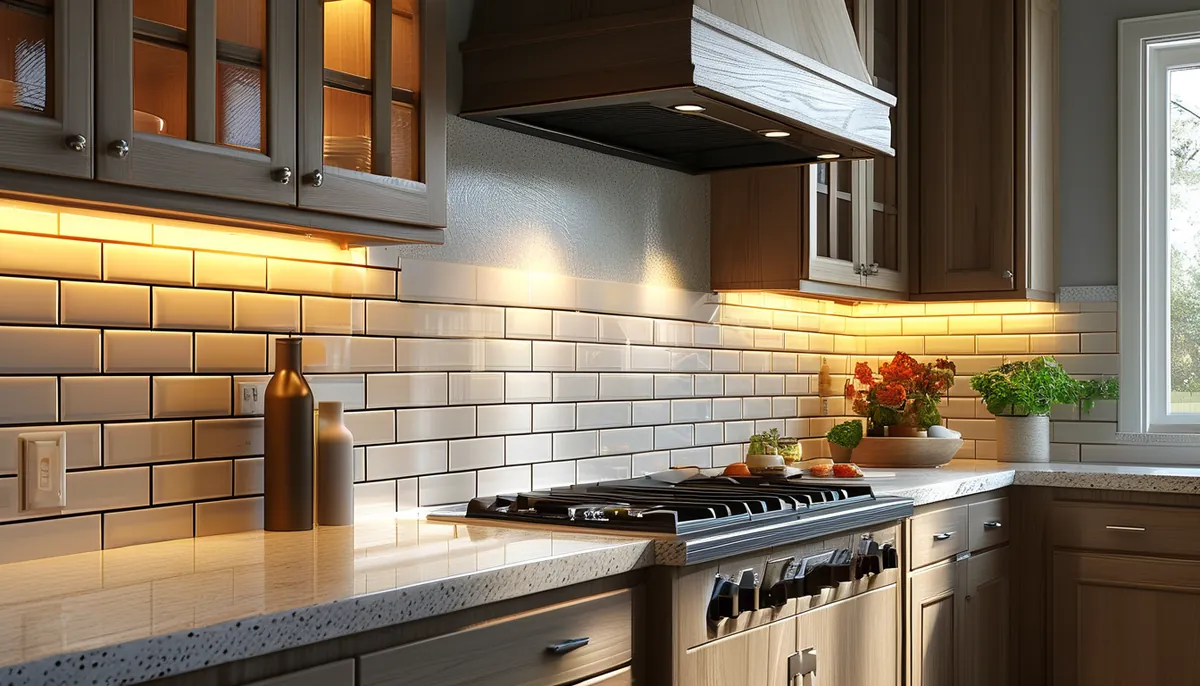
Adhesive-backed wall tile lives or dies on the surface behind it. Every failure mode traces back to a bond that never had a chance: a textured wall, a fresh coat of paint, a glossy surface nobody scuffed, or a spot that gets hotter than the adhesive can take. Get those right and the tile stays put for years. Get them wrong and it curls at the corners in six weeks.
The four types, and they are not interchangeable
Gel or resin tiles are a thick, flexible polymer sheet molded to look like tile with raised grout lines. They are the softest and most forgiving, they cut with scissors, and they conform to a slightly imperfect wall better than anything else in the category. They also read as plastic at close range and they scratch. Best for a rental backsplash you want to be reversible.
Vinyl film tiles are a printed flat sheet with a laminate face and an adhesive back. They are the thinnest and cheapest, they show every ripple in the wall behind them because there is no body to the material, and they are best used on a genuinely flat surface where you want pattern rather than dimension.
Composite and stone-resin tiles have real mineral content in a resin matrix, usually 1/8 to 1/4 inch thick, with a rigid body and a genuine textured face. These are the ones that pass for real tile at arm’s length. They need a cutting tool, they are heavier, and they demand a better bond because the weight works against the adhesive.
Metal tiles, typically aluminum or stainless faced, sit in a middle ground. They handle heat better than polymer products and they will not warp, but any wall irregularity shows as a visible reflection distortion.
Thin real stone and real ceramic mosaics with adhesive backing exist too. Treat those as ordinary tile with a convenient mounting method rather than as peel-and-stick, and expect to grout them.
Surfaces that work and surfaces that will not
The adhesive needs a smooth, clean, dry, non-porous, fully cured surface. Run through this list honestly before you buy.
- Painted drywall in eggshell or satin, fully cured. Works, and it is the ideal case. Cured means at least 30 days after painting, not 30 hours. Latex paint continues to harden for weeks, and adhesive applied to soft paint pulls it off the wall on removal.
- Existing ceramic tile with tight, level grout. Works if you clean the grease off first and the grout lines are narrow and flush. Wide, deeply recessed grout lines leave the tile unsupported and it will crack or dish over them.
- Glass and laminate. Works after degreasing and a light scuff with a fine abrasive pad.
- Flat paint. Marginal. Flat paint is porous and chalky, and the adhesive grabs the paint rather than the wall. Prime and repaint in eggshell first.
- Textured drywall, orange peel or knockdown. Does not work. The adhesive contacts only the high points, which is maybe 40 percent of the surface, and the tile lifts from the corners. Skim coat the wall or choose a different product.
- Bare or newly patched drywall. Does not work. Too porous, and removal tears the paper facing.
- Wallpaper. Does not work. You are bonding to the paper, and the paper will let go.
- Unsealed masonry, brick, or concrete block. Does not work.
Clean everything with a degreaser and then a plain water rinse. A kitchen wall carries a film of cooking oil that is invisible and completely defeats a pressure-sensitive adhesive. Let the wall dry fully, and work in a room between roughly 60 and 90 degrees F, because cold adhesive does not tack and hot adhesive over-flows before you can reposition.
The heat and moisture limits that catch people out
Behind a range is the hardest location in the house for this product. Most polymer tiles carry a service temperature cap somewhere in the range of 120 to 150 degrees F, and the wall directly behind a gas burner or a high-output electric element can exceed that. The failure looks like softening, sagging, discoloration or a permanent wave in the tile face. Check the manufacturer’s stated temperature limit and keep at least the clearance they specify above the cooktop. If the range has no hood and the wall runs hot, real tile is the answer.
Showers are the other hard limit. Adhesive wall tile is not a waterproofing system. Grout-look molded lines are decorative; there is no cementitious grout and no membrane behind them, so water that gets past an edge has nowhere to go but into the wall. Splash-zone use around a sink is fine when the edges are sealed with a bead of clear silicone. Continuous wetting in a shower enclosure is not a use case for this material, whatever the product photography suggests.
High-humidity rooms in general are a caution rather than a prohibition. A bathroom with a working exhaust fan is fine; a bathroom with no fan will loosen the edges within a year as the adhesive plasticizes in the steam.
Layout: plan it before you peel anything
Dry-lay the tiles on the counter or floor first and measure the field. Two decisions matter.
Where the cut tiles land. Center the layout on the visual focal point, usually the sink or the range, and let the cuts fall at the ends of the run. A cut narrower than about half a tile at an edge looks like a mistake, so shift the whole field over by half a tile to balance the two ends when it comes out that way.
Where the horizontal starts. Snap a level line for the first course rather than following the countertop. Counters are rarely level and following one puts a visible taper into every horizontal grout line as you go up the wall. Start the first course on your level line, then scribe the bottom tiles to the counter and hide the cut edge behind a silicone bead.
Most sheets are designed to interlock at overlapping edges so the joint disappears into the pattern. Work in one direction across the wall and keep the same overlap orientation throughout, or the seams start showing.
Cutting depends on the product: scissors or a utility knife with a straightedge for gel and vinyl, a fine-tooth saw or a score-and-snap for rigid composite, tin snips for metal. Cut face up and cut slightly generous, then trim, because you cannot add material back.
Around outlets, edges and corners
Turn off the circuit, remove the cover plate, and loosen the receptacle screws so the outlet can pull forward. Tile around the box, then reset the receptacle proud of the tile using the screw slots, and the cover plate sits flat against the new surface. Tiling up to the cover plate instead leaves a visible gap and looks like a shortcut, because it is one.
Outside corners need an edge treatment. Some product lines include a matching trim piece; otherwise a slim metal or PVC corner profile, bedded in a bead of construction adhesive, finishes the edge and protects it from being caught by a sleeve. A raw cut edge on an outside corner is the first place the tile will lift.
The top edge of a backsplash that stops mid-wall reads better with a trim strip, a small piece of molding, or the field turned so a factory edge is what shows. Seal every perimeter edge, around the counter, at the corners, at the top, with clear or color-matched silicone. That bead is what keeps water out from behind, and it is the difference between three years and thirty months.
Removal, and what it costs you
Heat and patience. Warm a corner with a hair dryer until the adhesive softens, lift the tile slowly at a shallow angle, and keep the heat moving just ahead of the peel. Pulling cold and fast is what tears drywall paper.
Adhesive residue comes off with a citrus-based remover or isopropyl alcohol and a plastic scraper. Expect residue on any installation older than a couple of years, and expect the wall to need a light sanding and a coat of primer before repainting regardless.
On a properly cured painted wall, removal usually leaves the paint intact. On flat paint, fresh paint, or bare drywall, it will not, and the repair is a skim coat. If reversibility is the entire reason you are choosing this product, spend the extra weekend priming and painting the wall properly first. It sounds backward to paint a wall you are about to cover, but it is the step that makes the covering removable.