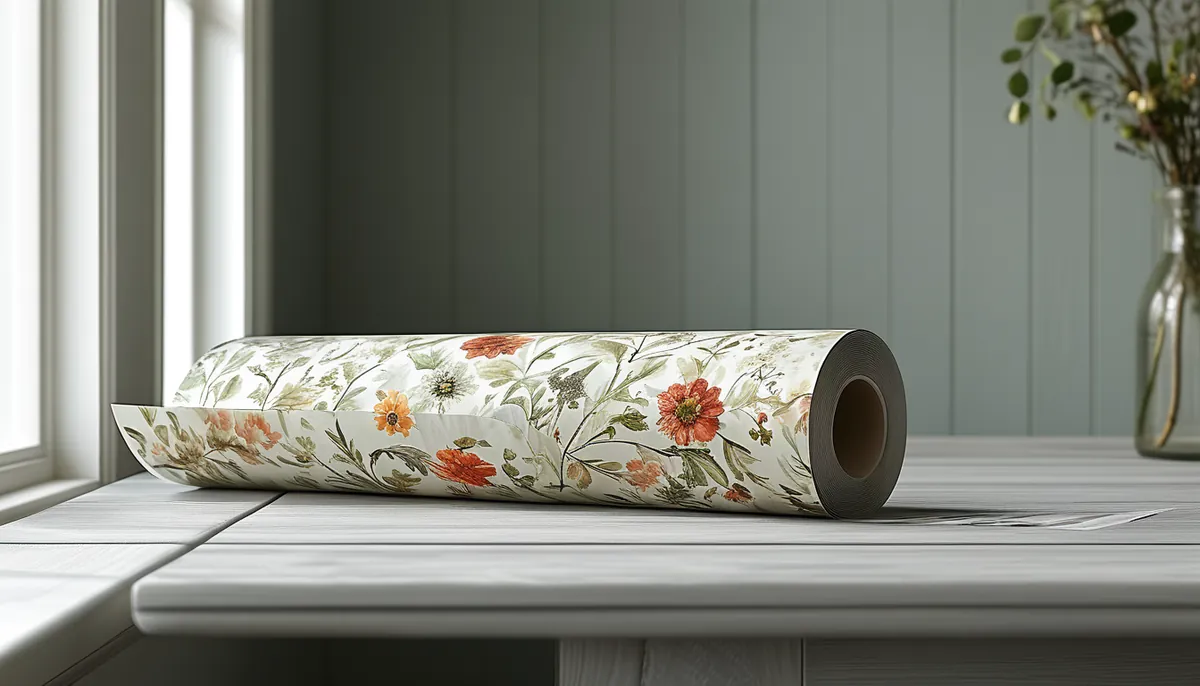
A wallpaper border sticker is a pre-cut strip of self-adhesive vinyl, usually 4 to 9 inches tall, sold in rolls of about 15 feet. The sticker part is the whole difference: the adhesive is already on the back under a release liner, so there is no paste tray, no soaking, no booking time. That convenience is also the weak point. Pressure-sensitive adhesive bonds only to what it can physically touch, which means the wall decides whether the border stays up, not the border.
What is actually in the roll
Three different products get sold off the same shelf, and they install nothing alike:
- Self-adhesive vinyl. A printed vinyl film, typically 4 to 6 mil thick, laminated to a paper liner. Peel and press. Most stay repositionable for the first 20 to 60 minutes before the adhesive fully grabs.
- Prepasted paper. Dry paste already on the back, activated in a water tray for 15 to 30 seconds. Thinner, less forgiving of a crooked start, and it will telegraph any bump in the wall.
- Unpasted paper. You brush on border adhesive yourself. Almost gone from retail, but still the strongest bond over painted woodwork and over an existing wallcovering.
Only the first one is a sticker in the ordinary sense. If the packaging tells you to wet the back, you bought a prepasted border and the install steps below change: you soak, you fold the strip paste to paste, and you wait the stated booking time before it goes up.
Finish matters more than people expect. A satin or low-sheen vinyl border wipes clean and survives a kid’s bedroom. A flat matte finish photographs better and picks up fingerprints and crayon in a way you cannot fully clean. In a bathroom, take the satin.
Measure the run before you buy anything
Buy by linear feet, not by rolls. Measure the perimeter of the run the border will follow, in feet, and write it down wall by wall. A 12 by 14 foot bedroom has a 52-foot perimeter. At roughly 15 feet of usable border per roll, that is four rolls with 8 feet left over, and you want that leftover.
Then adjust:
- Subtract full-height openings the border will not cross. A 36-inch doorway that runs to the ceiling takes 3 feet off the total if the border sits at ceiling height.
- Add 10 to 15 percent for pattern matching. A border with a 9-inch repeat can waste up to 9 inches at every seam and every corner.
- Add one extra length per inside corner. Wrapping a corner in one continuous piece almost always creases and lifts within a month, so plan to cut and start fresh.
Check that every roll carries the same run or batch number printed on the label. Two rolls printed months apart can differ enough in color that the seam shows under a window.
Height placement changes how the room reads
The same 6-inch border does three different jobs depending on where you land it.
At the ceiling line. Butt it tight to crown molding, or hold it 1/4 inch down from a bare ceiling so a wavy drywall corner does not fight you. This is the safest placement in an 8-foot room: it pulls the eye up and nobody inspects it from 6 inches away.
At chair rail height. 32 to 36 inches from the finished floor. Dining rooms take the higher end, kids’ rooms the lower. This placement visually shortens the wall, so it suits a 9- or 10-foot ceiling and makes an 8-foot room feel squat.
Above tile or a backsplash. In a bathroom, running the border directly on top of a 48- or 60-inch tile wainscot gives you a dead-straight reference line already built into the room. Leave a 1/8-inch reveal of paint above the bullnose rather than lapping onto the tile edge, which never holds.
Pick one height and hold it around the whole room. A border that steps around a window head at 80 inches and drops to 76 inches on the next wall reads as a mistake even to people who cannot say why.
Surfaces that hold the adhesive, and the ones that do not
Eggshell, satin, and semi-gloss latex on smooth drywall is the ideal substrate. Everything else needs a decision.
Flat and matte paint is the most common failure. That finish is deliberately porous and chalky, so the adhesive grabs the loose pigment layer instead of the wall, and six months later the border peels off carrying paint with it. If the wall is flat paint, either accept that the border is temporary or roll a coat of satin along the path first.
Fresh paint needs to cure, not just dry. Latex is dry to the touch in a few hours and fully cured in 3 to 4 weeks. Vinyl applied over uncured paint traps solvent and raises bubbles you cannot squeeze out.
Texture kills contact area. On knockdown or orange peel, a pressure-sensitive border touches maybe half the surface, and the top edge lifts first, usually within weeks. Skim-coat and sand the border path, or switch to a pasted product.
Glossy tile, glass, and laminate work well once degreased. Wipe with isopropyl alcohol, not a household spray that leaves a surfactant film. Never apply over bare drywall paper or unprimed joint compound, because removal will tear the paper face.
Wash the path with mild detergent, rinse with clean water, and give it 2 hours to dry. Keep the room between 60 and 75 degrees Fahrenheit during the install. Adhesive applied in a 55-degree room in February never reaches full tack.
Installing a border without lap marks
Snap a line first. Ceilings are not level and baseboards are not straight; a 4-inch border followed by eye across a 12-foot wall drifts half an inch. Use a laser level or a chalk line, mark the top edge, and follow the mark instead of the ceiling.
Start in the least visible corner, usually behind the door swing, because that is where the final seam lands and where the pattern will not match.
Peel 12 to 18 inches of liner at a time and leave the rest attached. Set the top edge to the line, then smooth downward and outward with a felt-edge squeegee held at roughly 45 degrees. Stripping the whole length off the liner at once guarantees a diagonal.
Bubbles get lifted, not pushed. Peel the strip back past the bubble and re-lay it. Chasing a bubble toward the edge stretches the vinyl and leaves a ripple that stays.
At inside corners, wrap 1/4 inch onto the adjacent wall, then start the next piece over that lap, right in the corner. At outside corners, wrap fully and carry at least 2 inches past the turn so the seam sits away from the impact point.
For seams mid-run, overlap the two pieces by 1 inch, match the pattern, then cut through both layers with a fresh blade against a straightedge and peel away the two waste strips. Change the blade every four or five cuts: a dull blade drags, and the seam gapes as the vinyl relaxes. Come back 20 minutes later and run a seam roller over every joint.
Taking it down later
Warm the vinyl with a hair dryer to roughly 100 to 120 degrees Fahrenheit, working 12 inches ahead of the peel. Lift a corner with a plastic scraper and pull the strip back against itself at a low angle, close to 180 degrees, about an inch every two seconds. Pulling straight out from the wall is what tears drywall paper.
Adhesive residue comes off with an adhesive remover or mineral spirits on a rag. Test either one on a hidden 2-inch patch first, because both will dull flat paint. If paint starts lifting with the border, stop pulling, score along the top edge, and plan on patching and repainting that band.
Mistakes that cost you a roll
- Buying three rolls because the room looks about 40 feet, then coming up 4 feet short on the last wall after the batch has sold out.
- Installing over flat paint and blaming the border when it curls at the top edge.
- Trusting the ceiling as a straightedge in a house that has settled.
- Lancing a trapped bubble with a pin after the adhesive has set, which leaves a visible pucker instead of a bubble.
- Running a paper border in a windowless bathroom with no exhaust fan. Steam gets behind the top edge and the paper goes wavy in one season.
- Cutting inside corners with the knife pressed into the drywall, which scores the corner and shows through the next repaint.
On the right surface, with a snapped line, a self-adhesive border is a two-hour job in an average bedroom and it comes off cleanly years later. On textured flat paint in a cold room, it is a two-hour job you will do twice.