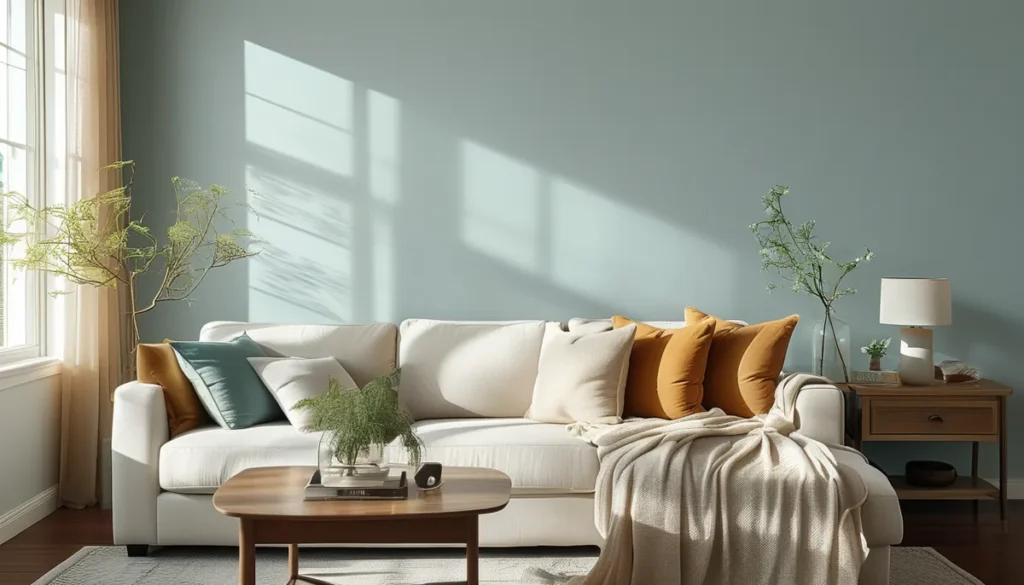
A woodland mural wallpaper can transform a room, bringing the serene beauty of nature indoors. Whether you envision a dense forest, a clearing with deer, or whimsical woodland creatures, the right mural sets a peaceful and enchanting tone. Choosing the best option involves understanding material types, design scale, and how it fits your space.
Understanding woodland mural materials
Most woodland murals come as either traditional wallpaper or peel-and-stick vinyl. The choice affects installation, durability, and cost.
Traditional wallpaper murals
These are typically made from paper or a vinyl-coated paper. They require wallpaper paste for application and are often more affordable upfront. However, installation is messier and more time-consuming, involving pasting the paper or the wall. Removal can also be challenging, potentially damaging drywall if not done carefully. They are less forgiving of mistakes during installation.
Peel-and-stick wallpaper murals
Made from vinyl, these murals have an adhesive backing. You simply peel off the backing and apply the mural directly to your wall. This DIY-friendly option is ideal for renters or anyone who likes to redecorate frequently, as it’s easy to remove without damaging the wall surface. They are generally more durable and easier to clean than traditional paper options. The adhesive is strong but repositionable during initial application, allowing for minor corrections. This is often the preferred method for applying large-format graphics like murals.
Choosing the right woodland mural design
The scale and style of your woodland mural should complement your room’s size and existing decor. Consider these factors:
Scale and detail
A mural with intricate details and many small elements might overwhelm a small room. Conversely, a simple, large-scale design could get lost in a vast space. For smaller rooms, opt for murals with a more open feel or a design that draws the eye upward. Larger rooms can handle more complex scenes with denser foliage or more prominent animal figures.
Color palette
Woodland murals often feature earthy tones: greens, browns, grays, and muted blues. Ensure the mural’s color scheme harmonizes with your furniture, flooring, and other wall colors. A mural with pops of color can serve as a focal point, while a more monochromatic design offers a subtle, calming effect.
Style
Woodland designs range from realistic forest scenes to whimsical, illustrated styles. Realistic murals create an immersive, natural atmosphere. Illustrated or stylized murals can add a playful or artistic touch, especially in a child’s room or a creative space. Consider the overall mood you want to achieve.
Preparing your walls for a woodland mural
Proper wall preparation is crucial for a seamless and long-lasting installation, regardless of the material you choose. This is where many DIY projects go wrong.
Clean the walls
Your walls must be clean, dry, and free of dust, grease, and soap residue. Wash them with a mild detergent and water, then rinse thoroughly. Allow them to dry completely, typically 24 hours.
Repair imperfections
Fill any holes or cracks with spackle or joint compound. Sand smooth once dry and wipe away dust. Smooth, even surfaces are essential for the adhesive to grip properly and for the mural to lie flat.
Prime if necessary
For traditional wallpaper, priming is often recommended to ensure proper adhesion and easier removal later. For most peel-and-stick murals, a clean, previously painted, matte or satin finish wall is sufficient. Avoid glossy or semi-gloss finishes, as the adhesive may not stick well. If your walls are textured, you might need a specialized primer or a different type of wallpaper.
Installing your woodland mural
The installation process varies slightly between traditional and peel-and-stick options, but the core principles remain the same: precision and patience.
Measure and plan
Carefully measure the wall where the mural will be applied. Compare these measurements to the mural’s dimensions. Most murals are designed to fit standard wall heights, but you may need to trim excess material from the top or bottom. Plan your starting point; usually, it’s best to start from the center of the wall or one edge, working your way across.
For peel-and-stick murals:
- Peel and stick: Starting at the top, peel back a few inches of the backing paper. Align the edge of the mural with your starting point (e.g., a corner or ceiling line).
- Apply and smooth: Carefully press the exposed adhesive edge to the wall. Use a smoothing tool (like a plastic squeegee or a credit card wrapped in a soft cloth) to press the mural onto the wall, working from the center outwards to eliminate air bubbles.
- Continue applying: Gradually peel back more of the backing as you smooth the mural down, working in vertical strips. Overlap seams if your mural comes in multiple panels, following the manufacturer’s instructions.
- Trim excess: Use a sharp utility knife to trim any excess material at the ceiling, baseboard, or around outlets and windows.
For traditional wallpaper murals:
- Apply paste: Follow the manufacturer’s instructions. Some papers are ‘paste the wall,’ others ‘paste the paper.’ Apply an even coat of wallpaper paste.
- Book the paper: If ‘paste the paper,’ fold the pasted sides together for a few minutes to allow it to soak in.
- Hang the first strip: Carefully position the first strip against the wall, ensuring it’s perfectly straight using a level.
- Smooth out bubbles: Use a wallpaper brush or smoothing tool to press the paper onto the wall, working from the center outwards.
- Hang subsequent strips: Butt the edges of each new strip tightly against the previous one. Avoid overlapping unless specifically instructed.
- Trim excess: Use a sharp knife and a straight edge to trim carefully around edges, windows, and outlets.
Common mistakes to avoid with woodland murals
Even with the best intentions, a few common pitfalls can derail your woodland mural project.
Incorrect wall preparation
As mentioned, dirty or damaged walls are the primary cause of mural failure. If the adhesive doesn’t stick or the surface isn’t smooth, the mural will look unprofessional and may peel prematurely.
Not using a level
Hanging wallpaper, especially a large mural, even slightly off-plumb will be very noticeable. Always use a level to ensure your first strip, and therefore all subsequent strips, are perfectly vertical.
Rushing the installation
Take your time. Rushing leads to mistakes like air bubbles, crooked panels, and tears. It’s better to work slowly and deliberately, especially when handling large pieces of wallpaper.
Not reading instructions
Every mural product is slightly different. Always read and follow the manufacturer’s specific instructions for application, spacing, and handling. This is particularly important for peel-and-stick products regarding temperature and surface requirements.
Integrating your woodland mural into your decor
Once installed, your woodland mural becomes the focal point. Design the rest of your room around it.
Complementary colors
Pull colors from the mural to use in accent pieces like throw pillows, rugs, or curtains. This creates a cohesive look and helps the mural feel integrated, rather than just stuck on the wall.
Natural materials
Incorporate wood furniture, natural fiber rugs (like jute or sisal), and plants to enhance the natural theme of the woodland mural. This reinforces the outdoor feel.
Lighting
Ensure adequate lighting to showcase the mural. Consider accent lighting that can highlight specific details of the design, especially in the evening.
A woodland mural wallpaper can be a stunning addition to any home, creating an immersive and calming atmosphere. By understanding the materials, planning your design, preparing your walls meticulously, and installing with care, you can successfully bring the magic of the forest into your living space. For more ideas on transforming your walls with impactful designs, explore options for wall mural wallpaper and discover how wall murals can impact your home.