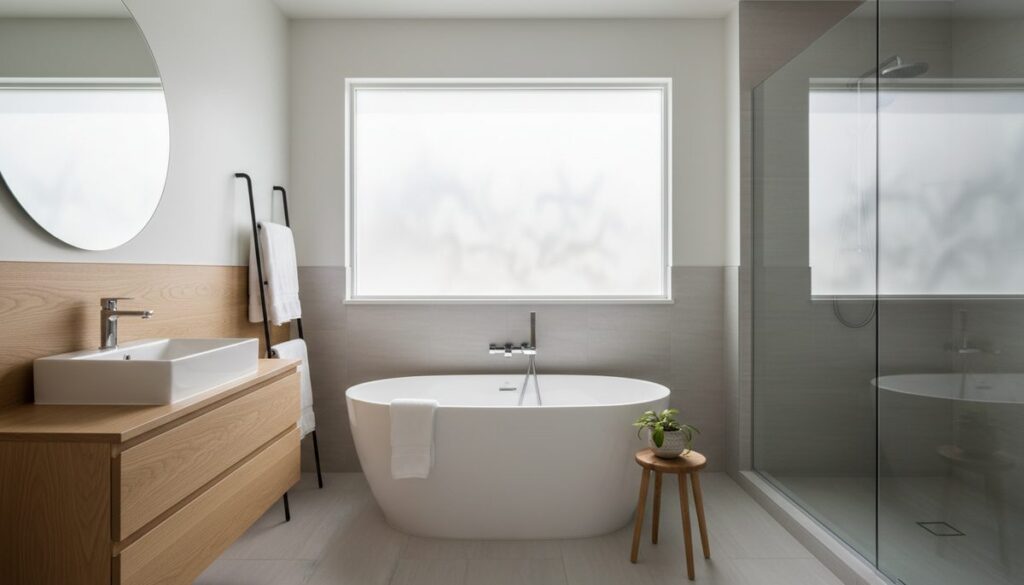
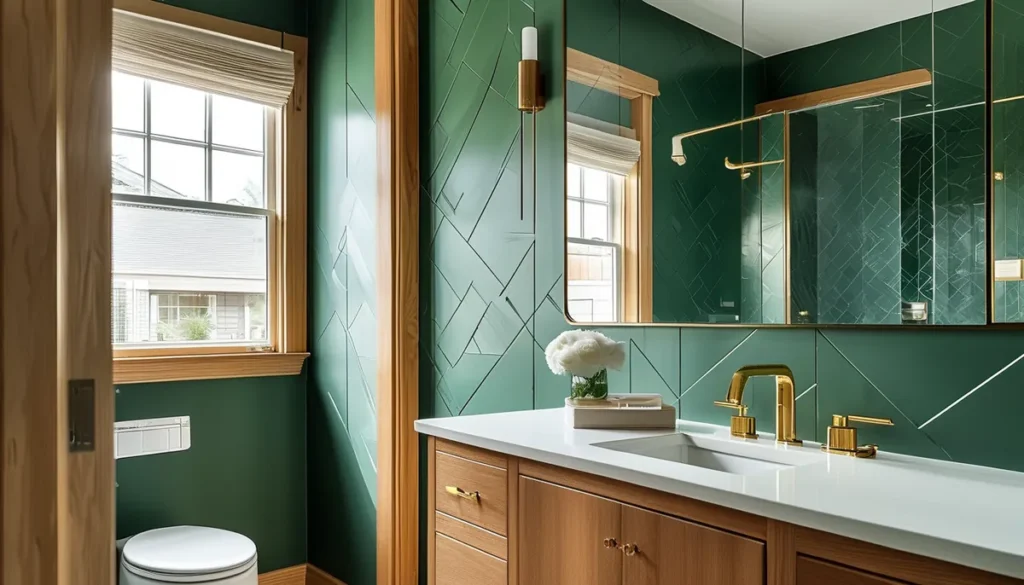
A custom wallpaper mural allows you to bring virtually any image, pattern, or design directly onto your walls, creating a focal point that’s entirely your own. Unlike off-the-shelf wallpaper, these are made to fit your specific wall dimensions, often printed on demand.
Before you even think about design, you need to measure your wall precisely. Use a metal tape measure and note down the width (from corner to corner) and the height (from baseboard to ceiling). Measure at multiple points, especially for width, as walls are rarely perfectly straight. Your mural will be printed based on these exact dimensions, so accuracy is crucial. Most services will ask for measurements in inches, but be prepared to convert to feet and inches if needed. For example, a wall that is 10 feet 6 inches wide should be entered as 10.5 feet or 126 inches.
Sizing your custom mural wallpaper
Custom mural wallpaper is typically sold by the square foot or square meter. You’ll provide your wall dimensions, and the provider calculates the total area. Some companies offer presets for common wall sizes, but for a true custom fit, inputting your precise measurements is best. Always add a small buffer, usually an inch or two on each side and at the top and bottom, to account for minor imperfections in your wall or ceiling and to ensure you have a little extra material for trimming during installation. Check with your supplier if they recommend this buffer or if their software accounts for it.
Material options for custom murals
The material your custom wallpaper mural is printed on significantly impacts its durability, appearance, and ease of installation. Understanding these differences will help you choose the best fit for your space and budget.
Peel-and-stick wallpaper
This is a popular choice for DIYers and renters. Peel-and-stick wallpaper has an adhesive backing that allows you to simply peel off the liner and apply it directly to the wall. It’s generally forgiving, allowing you to reposition pieces during installation if you make a mistake. Most peel-and-stick materials are vinyl-based. They are relatively durable, water-resistant, and can be cleaned with a damp cloth, making them suitable for high-traffic areas or even kitchens and bathrooms (though not in direct contact with water, like a shower stall).
- Pros: Easy to apply, repositionable, good for renters, generally removable without damaging the underlying paint.
- Cons: Can be more expensive than traditional paste-the-wall options, may not adhere well to heavily textured walls, some lower-quality versions can stretch and tear during application.
- Thickness: Typically ranges from 4 to 10 mils (0.004 to 0.010 inches). Thicker vinyl generally offers better opacity and durability.
Traditional paste-the-wall wallpaper
This type requires wallpaper paste, which you apply to the wall or the back of the paper (depending on the specific product). It’s often made from heavier-duty materials like vinyl-coated paper or even fabric-backed vinyl. Paste-the-wall options tend to be more durable and offer a more permanent solution. They can achieve a very seamless look and are often used for high-impact, long-term installations.
- Pros: Very durable, can hide minor wall imperfections better than peel-and-stick, often more affordable per square foot than high-end peel-and-stick, excellent for large-scale designs.
- Cons: Requires wallpaper paste and tools, less forgiving for mistakes, harder to remove and may require steaming or chemical strippers.
- Thickness: Varies widely but often starts around 6 mils and can go up to 20 mils or more for heavy-duty commercial-grade vinyl.
Fabric-backed vinyl
This is a premium option often found in commercial settings but increasingly available for residential custom murals. It features a vinyl print layer adhered to a fabric backing, providing exceptional durability, washability, and tear resistance. It’s ideal for areas with heavy foot traffic or where longevity is paramount.
- Pros: Extremely durable, scrubbable, resistant to tearing and scuffing, good for high-traffic areas.
- Cons: Usually the most expensive option, requires paste, can be heavier and harder to handle during installation.
- Thickness: Can be 15 mils or more.
Choosing the right design and finish
Your custom mural wallpaper can feature anything from a photorealistic landscape to an abstract pattern or a custom graphic. Consider the room’s existing decor, the mood you want to create, and the scale of the design.
Design considerations
- Scale: Ensure the elements in your design are appropriately sized for your wall. A tiny pattern might get lost on a large wall, while a huge motif might overwhelm a small space.
- Color Palette: Match or complement your existing furniture and decor. Consider how the colors will affect the room’s ambiance.
- Image Resolution: If you’re providing your own image, ensure it has a very high resolution (at least 300 DPI at the final print size) to avoid pixelation when enlarged. Most providers will check this for you.
Finish types
Murals come in various finishes, each affecting the look and feel:
- Matte: Absorbs light, providing a sophisticated, non-reflective finish. It’s excellent for hiding imperfections and works well with detailed or photographic designs.
- Satin/Eggshell: Offers a slight sheen, reflecting some light. It’s more durable and easier to clean than matte but can show imperfections more readily.
- Glossy: Highly reflective, making colors appear more vibrant. However, it can highlight every bump and imperfection on the wall, and glare can be an issue in brightly lit rooms.
Installation guide for custom wallpaper murals
Installing a custom mural wallpaper can be a rewarding DIY project, but it requires patience and precision. Whether you choose peel-and-stick or paste-the-wall, the principles are similar.
Preparation is key
The most critical step for a flawless finish is preparing your wall. Start by removing any old wallpaper or borders. Clean the walls thoroughly to remove dust, grease, and dirt. Use a mild detergent and water, then rinse and allow the walls to dry completely. Fill any holes or cracks with spackling compound, sand them smooth once dry, and wipe away the dust. For a professional finish, especially with lighter-colored murals or glossy finishes, consider priming the wall with a neutral-colored primer. This ensures a uniform surface and can help with adhesion.
Tools you’ll need
- Metal tape measure
- Level (laser or spirit level)
- Straight edge or ruler
- Sharp utility knife or razor blade
- Scraper or putty knife
- Smoother (plastic smoother, wallpaper brush, or squeegee)
- Bucket for paste (if applicable)
- Wallpaper paste (if applicable)
- Sponges
- Drop cloths to protect your floor
- Ladder or step stool
Applying the mural (Peel-and-Stick)
- Start at a corner: Identify the starting panel (often marked). Peel back a few inches of the backing paper from the top edge.
- Align the first panel: Carefully align the top edge of the panel with the ceiling or desired starting point, ensuring it is perfectly vertical using your level. If you have a slight overlap allowance, position it so the overlap will be covered by the next panel.
- Apply gradually: Slowly peel the backing paper down while simultaneously smoothing the wallpaper onto the wall with your smoother. Work from the center outwards to push out any air bubbles.
- Trim excess: Once a panel is in place, use your sharp knife and straight edge to carefully trim any excess material at the ceiling, baseboard, and corners.
- Repeat for subsequent panels: Overlap or butt the panels together according to the manufacturer’s instructions. Ensure each panel is level and smoothly applied, checking for bubbles and wrinkles as you go.
Applying the mural (Paste-the-Wall)
- Prepare paste: Mix the wallpaper paste according to the manufacturer’s instructions.
- Apply paste to wall: Using a roller or brush, apply an even layer of paste to the wall section where the first panel will go. Ensure you cover slightly more area than the panel itself.
- Position the first panel: Carefully position the first panel onto the pasted wall. Align the top edge and ensure it’s perfectly vertical with your level.
- Smooth and trim: Use your smoother to press the wallpaper firmly onto the wall, working from the center outwards to eliminate air bubbles and wrinkles. Trim excess material at the top and bottom with a sharp knife and straight edge.
- Apply subsequent panels: Continue pasting and applying panels, ensuring they butt up against each other perfectly without overlapping (unless specified) or leaving gaps. Check alignment and smoothness for each panel.
Common mistakes and how to avoid them
Even with the best intentions, installation can go awry. Being aware of potential pitfalls can save you a lot of frustration.
Mistake 1: Improper wall preparation
This is the number one cause of mural failure. Walls that are dirty, greasy, or uneven will prevent proper adhesion. Bubbles, peeling, or even the mural falling off can result. Always clean, sand, and repair your walls thoroughly before you start.
Mistake 2: Not using a level
It’s tempting to eyeball it, especially with large designs. However, if your first panel isn’t perfectly vertical, every subsequent panel will be misaligned, creating noticeable gaps or overlaps and a generally crooked appearance. Use a level for every single panel.
Mistake 3: Using a dull blade
A dull utility knife or razor blade will tear the wallpaper rather than cut it cleanly. This results in jagged edges that are difficult to hide and detract from the professional look. Always use a fresh, sharp blade for trimming.
Mistake 4: Over-handling peel-and-stick vinyl
While peel-and-stick is repositionable, repeated peeling and reapplication can stretch the material, especially if it’s thinner vinyl. This can lead to the pattern not lining up perfectly with the next panel. Try to get it right on the first or second attempt for each section.
Mistake 5: Rushing the process
Installing a mural takes time. Rushing through steps like smoothing out bubbles or making precise cuts will lead to a subpar finish. Allow ample time for the project and work methodically.
Mistake 6: Ignoring manufacturer instructions
Every mural and material is slightly different. Always read and follow the specific instructions provided by the manufacturer regarding paste type, application methods, and drying times. They know their product best.
When to call a professional
While many custom wallpaper murals are designed for DIY installation, there are times when hiring a professional is the better choice:
- Complex Designs or Large Spaces: If your mural is very large, has intricate details, or covers multiple walls, a professional installer has the experience and tools to handle it efficiently and accurately.
- Difficult Wall Surfaces: Textured walls, walls with many obstacles (like windows or doors), or high ceilings can be challenging for DIYers.
- Time Constraints: If you’re on a tight deadline or simply don’t have the time or patience for installation, a pro can get it done quickly.
- Desire for a Flawless Finish: Professionals are skilled at achieving a seamless, bubble-free, and perfectly aligned result that can be hard to achieve on your own.
Maintaining your custom mural wallpaper
Once installed, proper care will ensure your custom mural wallpaper remains vibrant and beautiful for years to come. For most vinyl or fabric-backed murals, regular dusting with a soft cloth or a vacuum cleaner brush attachment is sufficient. If cleaning is needed, use a slightly damp cloth or sponge with a mild soap solution. Avoid abrasive cleaners or excessive moisture, especially in areas prone to humidity. Always test any cleaning method on an inconspicuous area first.
Consider the long-term impact of direct sunlight, as prolonged exposure can cause colors to fade over time. If your mural is in a sunny spot, consider using window treatments to protect it.
Beyond the Wall: Custom Mural Applications
While walls are the most common application, custom murals can also be applied to other surfaces:
- Furniture: A custom mural can refresh the look of a dresser, cabinet doors, or even a tabletop. Ensure the surface is smooth and properly prepared.
- Ceilings: For a dramatic effect, consider a ceiling mural. This is often best left to professionals due to the working angle.
- Doors: Create an entryway statement by applying a mural to an interior or exterior door.
The value of a custom wallpaper mural
A custom wallpaper mural is an investment in your space. It offers unparalleled personalization, allowing you to express your unique style. Unlike paint or standard wallpaper, a well-chosen mural can become a conversation piece, define the character of a room, and significantly increase its visual appeal. While the initial cost might be higher than mass-produced options, the impact and bespoke nature of a custom mural provide a value that is hard to match. It’s a way to make your home truly one-of-a-kind.
For more ideas on transforming your space with impactful wall treatments, explore our guide to wall mural wallpaper.