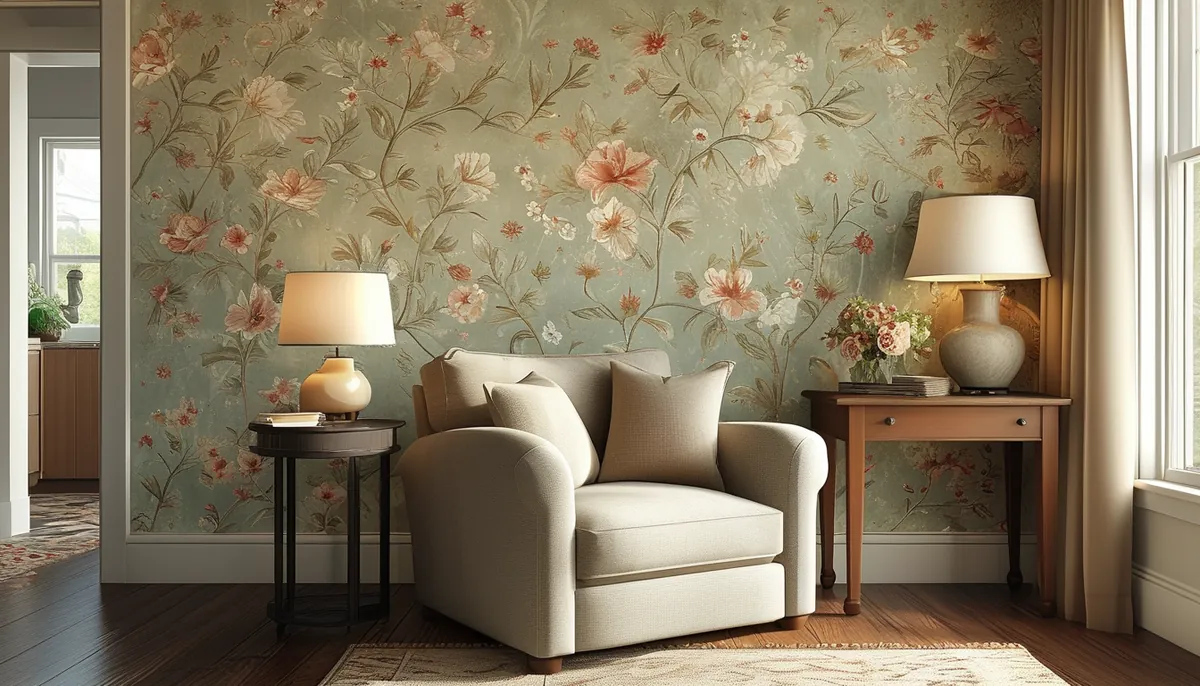
Deciding between different types of vintage wallpaper rolls often comes down to the pattern scale and how you plan to use it. For instance, a small, repeating floral pattern might work well in a powder room, while a large-scale scenic design might be better suited for a living room accent wall.
Understanding the roll dimensions is crucial. Standard US wallpaper rolls are typically 20.5 inches wide and 33 feet long, covering about 56 square feet. However, vintage rolls can vary significantly. Always check the manufacturer’s specifications for width, length, and the number of panels if it’s a scenic or mural-style wallpaper. This prevents you from running short or having excessive waste.
Understanding wallpaper types and their suitability
Most vintage wallpaper rolls fall into a few key categories based on their material and how they’re applied. The type of material impacts durability, ease of cleaning, and installation.
Pasted-in-place (PIP) papers
These are the most common type for authentic vintage looks. They require a separate wallpaper paste applied to the back of the paper or directly to the wall. PIP papers often offer richer textures and more intricate designs than modern peel-and-stick options, but they demand more preparation and a careful installation process. You’ll need tools like a paste brush, a smoothing tool, and a seam roller. For the best results, consider reading up on vintage wallpaper brushes: your guide to the right tools.
Pre-pasted papers
These vintage wallpaper rolls come with a dry adhesive on the back. You activate the paste by soaking the paper in water according to the manufacturer’s instructions. They are generally easier to hang than PIP papers, reducing the mess associated with applying paste. However, the adhesive might not be as strong as traditional paste, which can be a concern in high-humidity areas.
Vinyl-coated papers
Some vintage reproductions or actual vintage papers may have a vinyl coating. This makes them more durable and easier to clean with a damp cloth, which is a significant advantage, especially in kitchens or bathrooms. The vinyl coating can sometimes make the paper less breathable, but for most residential applications, this is not a major issue. Check if the vinyl coating affects the paper’s ability to absorb paste if you’re using traditional methods.
Grasscloth and natural fibers
While less common in mass-produced vintage wallpaper rolls, authentic grasscloth and other natural fiber wallpapers offer unparalleled texture and a sophisticated, organic feel. These are typically PIP and require careful handling as they can be more fragile and may show imperfections or color variations, which are part of their charm. They are not easily cleaned and are best suited for low-traffic, dry areas.
Prep work is non-negotiable for vintage wallpaper rolls
Skipping or rushing wall preparation is the fastest way to ruin the look of your vintage wallpaper. Proper prep ensures adhesion, a smooth finish, and makes future removal easier.
Cleaning and repairing walls
Start by thoroughly cleaning your walls. Remove any old wallpaper adhesive, grease, dirt, or mildew. Use a TSP (trisodium phosphate) substitute or a good degreaser. For stubborn residue, a wallpaper scoring tool can help break down the old adhesive. Inspect walls for any cracks, holes, or imperfections. Fill small holes and cracks with spackling compound, sand smooth once dry, and wipe away dust. For larger damage, use drywall joint compound and repair tape as needed. Ensure the surface is completely dry before proceeding.
Priming the walls
Applying a quality primer is essential, especially if you’re covering dark paint colors or have patched areas. A good primer seals the wall surface, creating a uniform base for the wallpaper adhesive to grip. It also prevents the porous drywall from absorbing too much moisture from the paste, which can lead to bubbling or peeling. For traditional PIP papers, a wallpaper primer or a high-quality latex primer (ensure it’s compatible with wallpaper adhesive) is recommended. Allow the primer to dry completely, usually 24 hours, before hanging wallpaper.
Measuring and cutting your vintage wallpaper rolls
Measure the height of your wall from the ceiling to the baseboard, adding 4 to 6 inches for trimming at the top and bottom. This extra length accounts for any unevenness in your ceiling or baseboard. Cut your first strip, then use it as a guide for subsequent strips, ensuring you match any patterns. For pattern matching, you’ll need to overlap strips slightly or butt them up against each other, depending on the wallpaper design. Always cut strips slightly longer than needed to give yourself room for error during the hanging process. For complex patterns, you might need to cut more length to ensure a seamless match.
Hanging your vintage wallpaper rolls like a pro
The hanging process requires patience and precision. Working in good light and having a helper can make a big difference.
Applying paste (for PIP papers)
If you’re using PIP vintage wallpaper rolls, mix the wallpaper paste according to the manufacturer’s instructions. It’s usually best to use a paste specifically designed for the type of wallpaper you have. Apply an even layer of paste to the back of the wallpaper strip using a paste brush or roller. Ensure you cover the entire surface, paying special attention to the edges. Fold the pasted strip (booking) by bringing the pasted edges together, letting it rest for the time recommended by the manufacturer (usually 5-10 minutes). This allows the paste to penetrate the paper and makes it more pliable.
Hanging the first strip
Start in a corner or at a prominent focal point. Use a plumb line or a level to draw a perfectly vertical guideline on the wall. Your first strip must be perfectly straight, as it will serve as a guide for all subsequent strips. Unfold the pasted strip and carefully position the top edge against the ceiling, allowing for the extra length you cut. Smooth the paper onto the wall using a wallpaper smoothing tool or a clean, damp cloth, working from the center outwards to push out air bubbles and excess paste. Ensure the edge is aligned with your vertical guideline.
Hanging subsequent strips
Hang the next strip butting its edge tightly against the previous strip. Avoid overlapping unless the wallpaper design specifically calls for it. Use a seam roller to gently press down on the seams for a secure bond. Wipe away any excess paste immediately with a damp sponge or cloth. For patterns, ensure the design flows continuously from one strip to the next. This often requires careful alignment and sometimes trimming excess paper from the edge of one strip to match the pattern on the next.
Trimming excess wallpaper
Once a strip is smoothed and the seam is secure, use a sharp utility knife or a razor blade and a straight edge (like a metal ruler or a wide putty knife) to trim the excess wallpaper at the ceiling and baseboard. Make clean, continuous cuts. It’s often easier to make relief cuts at the corners or around obstacles like outlets and light switches before making the final trim.
Common mistakes to avoid with vintage wallpaper rolls
Even experienced DIYers can make mistakes. Being aware of these pitfalls can save you time, money, and frustration.
- Not enough paste or dry paste: Insufficient paste leads to poor adhesion and peeling edges. Ensure paste is applied evenly and the paper is properly booked.
- Mismatched patterns: Failing to align patterns carefully results in a choppy, unprofessional look. Take your time and use extra paper if needed for seamless transitions.
- Air bubbles and wrinkles: These are often caused by rushing the smoothing process or applying paste unevenly. Always smooth from the center outwards.
- Cutting corners on prep: Uncleaned or unprepared walls will compromise the wallpaper’s longevity and appearance.
- Using the wrong tools: A dull blade can tear the paper, and the wrong type of paste can fail to adhere. Invest in good quality tools and materials.
- Hanging in humid conditions: For pre-pasted or traditional paste wallpapers, high humidity can interfere with drying and adhesion.
When considering unique and timeless decor, vintage wallpaper rolls offer an unparalleled way to add character and style to your home. Whether you’re aiming for a specific era or just love the aesthetic, understanding the types, preparation, and installation will ensure beautiful, lasting results. If you’re looking for inspiration for specific rooms, you might find choosing vintage nursery wallpaper for a timeless look or choosing the right vintage tropical wallpaper helpful starting points.