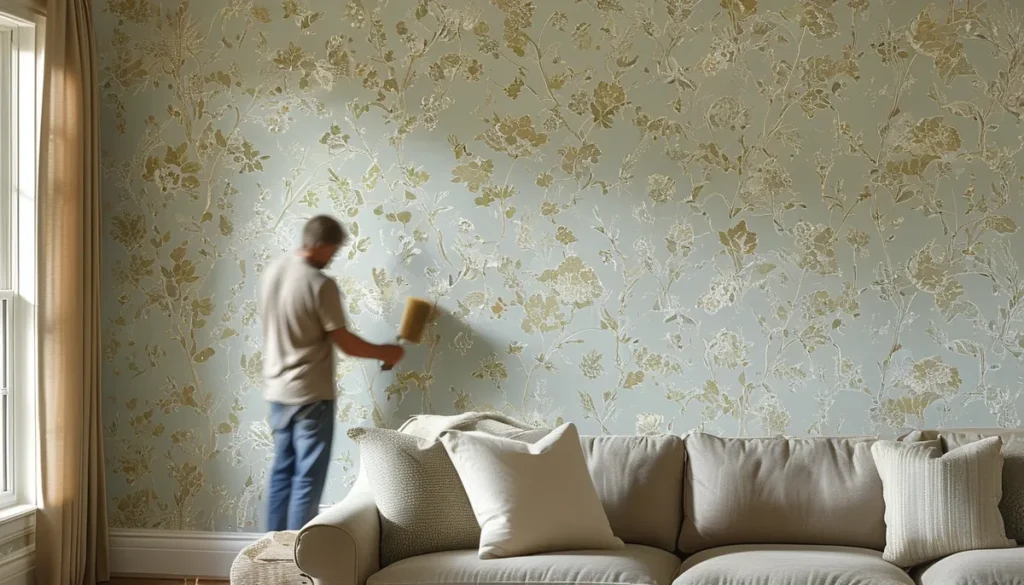
A wallpaper border isn’t just a strip of paper; it’s a design element that can visually break up a wall, highlight architectural features, or add a finishing touch to a room’s theme. Unlike full wallpaper installations, borders offer a more targeted and often less intimidating approach to adding pattern and color. You can use them to define the top of a wall, frame a window, or create a chair rail effect.
choosing the right wallpaper border
The effectiveness of a wallpaper border hinges on its design, scale, and how it complements the surrounding walls and decor. Consider the room’s purpose and existing style. For instance, a busy pattern might overwhelm a small space, while a subtle stripe could get lost in a room with a lot of existing visual activity.
Patterns and motifs: Borders come in endless patterns – florals, geometrics, stripes, damasks, and even themed designs. A classic floral border can add a touch of traditional charm, while a geometric pattern can bring a modern edge. For children’s rooms, playful characters or simple shapes work well. If you’re looking for a nautical vibe, explore our stunning nautical wallpaper collection for complementary ideas.
Color coordination: The border’s colors should either harmonize with the main wall color or provide a deliberate contrast. A border in a slightly darker or lighter shade of the wall color offers a subtle definition. A bold contrasting color can create a strong statement, drawing the eye and adding a pop of personality. Ensure the colors align with your overall color palette to maintain a cohesive look.
Scale and proportion: The width and pattern scale of the border are crucial. A very wide border might look heavy on a wall with low ceilings, while a narrow one might be unnoticeable in a large room. Generally, a border that’s 4 to 6 inches wide is a good starting point for most rooms. The pattern repeat should also be considered; a large-scale pattern on a border might compete with other decor elements.
Material: Most wallpaper borders are made from paper, vinyl, or non-woven materials. Vinyl-coated borders are more durable and easier to clean, making them suitable for kitchens and bathrooms. Non-woven borders are often peelable and easier to remove. High-quality paper borders can offer intricate designs but may be less forgiving to moisture.
popular wallpaper border design applications
Wallpaper borders are versatile and can be used in numerous ways to enhance different areas of your home. Their application goes beyond simply running them along the ceiling line.
defining wall sections
One of the most common uses for a wallpaper border is to create a visual separation on a wall. Placing a border horizontally at chair-rail height can mimic the look of wainscoting or simply break up a large expanse of solid color. This technique is particularly effective in dining rooms or hallways.
accenting architectural features
Borders can draw attention to specific architectural elements. Running a border around a window frame, a door frame, or even a mirror can add a decorative flourish and make these features stand out. This is a great way to add detail without covering an entire wall.
creating ceiling interest
Applying a border just below the ceiling line is a traditional method. It can make a room feel more finished and visually lower a high ceiling, making it feel cozier. Consider a subtle pattern here if you have elaborate crown molding, or a more prominent design if the ceiling line needs a focal point. For a sophisticated look, you might explore designer wallpaper options that offer unique border patterns.
adding a thematic touch
Themed borders are perfect for specific rooms or interests. For a child’s bedroom, you might choose a border with cartoon characters or jungle animals. For a hobby room, a border reflecting that interest, like musical notes or sports equipment, can personalize the space. If you’re aiming for a specific aesthetic like the stunning landscapes of Yellowstone, consider Yellowstone wallpaper designs for a cohesive theme.
framing artwork or mirrors
Instead of a traditional frame, a wallpaper border can create a unique, integrated frame around a large mirror or a gallery wall. This adds a decorative element that is part of the wall itself, offering a seamless and intentional look.
installation tips for wallpaper borders
Proper installation is key to achieving a professional and long-lasting result with your wallpaper border. While simpler than full wallpapering, attention to detail is still important.
Preparation is crucial: Ensure the wall surface is clean, dry, and smooth. Remove any old wallpaper, fill holes, and sand any imperfections. For best adhesion, prime the wall, especially if you are applying the border over a painted surface. The primer should be compatible with your border’s adhesive.
Measure and cut: Measure the length of the wall section where the border will be applied. Use a metal tape measure for accuracy. When cutting, allow for a slight overlap at the seams, usually about 1/2 inch, so you can trim it precisely after application. For inside and outside corners, make relief cuts to help the border lie flat. Plan your cuts to minimize waste and ensure pattern matching if your border has a distinct repeat.
Applying the border: Most modern borders are pre-pasted and require soaking in water. Follow the manufacturer’s instructions carefully regarding soaking time. If your border is unpasted, you’ll need to apply wallpaper paste according to the product’s directions. Starting at an inconspicuous corner or a point determined by your pattern, carefully position the border. Use a smoothing tool (like a plastic smoother or a clean cloth) to press the border onto the wall, working from the center outwards to remove air bubbles and excess paste.
Trimming and finishing: Once the border is in place and smoothed, use a sharp utility knife or a craft knife with a fresh blade to trim the excess at the ceiling, baseboard, or corners. For a clean edge, you can use a metal ruler or a straight edge as a guide. Ensure you press firmly when trimming to avoid tearing the border.
Seam management: Overlap seams slightly and trim them with a double-cut technique (cutting through both layers of the overlap simultaneously) for a near-invisible seam. Alternatively, if your border’s pattern allows, you can butt the edges together. Use a seam roller carefully if recommended by the manufacturer to ensure good adhesion without damaging the border.
common mistakes to avoid
Even with a simple border, a few common mistakes can detract from the final look.
- Uneven application: Not using a level can result in a crooked border that looks unprofessional. Always use a level to ensure the border is straight.
- Air bubbles and wrinkles: Not smoothing the border properly as you apply it can trap air or create wrinkles. Work from the center outwards with your smoothing tool.
- Forgetting to clean the wall: Applying a border over dirt or grease will prevent proper adhesion and can lead to peeling.
- Using a dull blade for trimming: A dull blade will tear the border rather than cutting it cleanly, leaving a ragged edge. Always use a sharp blade.
- Incorrect seam treatment: Improperly handled seams can lift or look messy. Take care to overlap and trim correctly or butt the edges cleanly.
Incorporating a wallpaper border design into your home decor is a straightforward yet effective way to add personality and polish. Whether you’re aiming for a subtle enhancement or a bold statement, careful selection and installation will ensure your chosen border truly transforms your space.