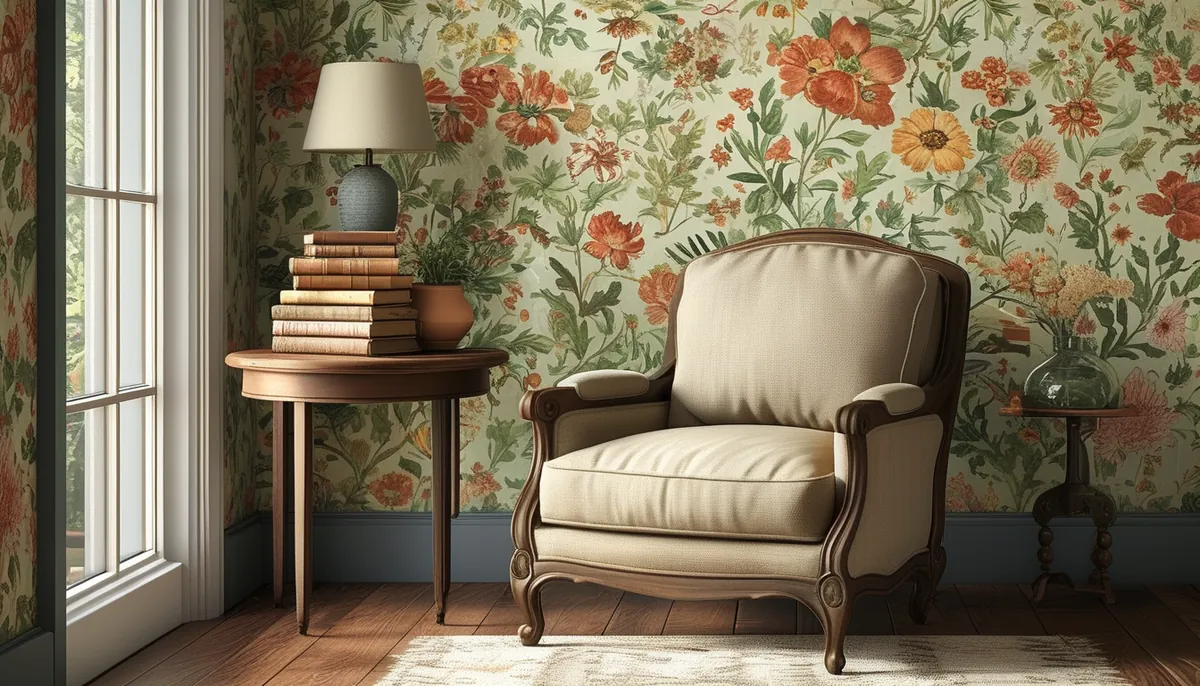
An antique wallpaper border is a decorative strip that runs along the top of a wall, usually just below the ceiling. It’s a classic design element used to add visual interest, define spaces, or complement a room’s overall theme. Unlike full wallpapering, borders offer a more subtle yet impactful way to incorporate patterns and colors, making them ideal for accentuating architectural features or simply adding a touch of vintage flair.
Understanding different antique wallpaper border styles
Antique wallpaper borders come in a vast array of styles, each evoking a different era and aesthetic. When selecting a border, consider the room’s existing decor and the mood you want to create.
Floral and botanical designs
These are perennial favorites, featuring intricate depictions of flowers, leaves, and vines. Look for delicate rose patterns for a Victorian feel, or bolder, stylized botanicals for a more Art Nouveau or Arts and Crafts influence. These work exceptionally well in dining rooms, bedrooms, and sunrooms, bringing a touch of nature indoors. For inspiration on floral patterns, explore stunning flower designs on wallpaper.
Geometric and Art Deco patterns
If your decor leans towards the streamlined elegance of the 1920s and 1930s, geometric borders are your best bet. Think repeating squares, chevrons, sunbursts, or fan shapes in muted or bold color palettes. These borders are perfect for adding a graphic punch to hallways, living rooms, or even kitchens, offering a sophisticated and modern-vintage vibe.
Scenic and landscape motifs
Some antique borders feature miniature scenes, landscapes, or pastoral elements. These can range from charming village views to elaborate chinoiserie scenes. They add a narrative quality to a room and are particularly suited for libraries, studies, or formal living areas where you want to create a sense of depth and storytelling.
Classical and damask patterns
Inspired by classical architecture and traditional textiles, these borders often incorporate motifs like scrolls, acanthus leaves, or intricate damask weaves. They lend an air of formality and timeless elegance, making them suitable for formal dining rooms, entryways, or bedrooms aiming for a more traditional aesthetic.
Stripes and plaids
Simple yet effective, striped and plaid borders can add structure and definition. Antique stripes might be subtle, featuring nuanced color variations, or bold and graphic. Plaids offer a cozy, rustic, or collegiate feel. These are versatile and can be used in almost any room, from a child’s bedroom to a den.
Materials and durability: what to look for
The material of your antique wallpaper border significantly impacts its appearance, durability, and ease of installation. Most modern reproductions of antique borders are made from paper or vinyl, with some specialty options available.
Paper borders
Traditional paper borders are often the most affordable and come in a wide variety of historical designs. However, they are generally less durable than vinyl. They can be susceptible to moisture, fading, and tearing, making them best suited for low-traffic areas like adult bedrooms or formal living rooms where they won’t be subjected to frequent touch or potential damage. They require careful handling during installation.
Vinyl-coated paper borders
These offer a good balance between aesthetics and practicality. The paper base provides the design, while a vinyl coating adds a layer of protection. This makes them more resistant to moisture, easier to clean (often just a damp cloth is needed), and more durable than solid paper borders. They are a great choice for kitchens, bathrooms, or hallways.
Solid vinyl borders
The most durable option, solid vinyl borders are highly resistant to moisture, stains, and wear and tear. They are ideal for high-traffic areas, kitchens, bathrooms, and children’s rooms. While they offer excellent longevity, ensure the design you choose still captures the antique aesthetic you desire.
Peel and stick options
While not always strictly adhering to antique manufacturing methods, peel and stick wallpaper borders offer a modern convenience that can mimic vintage styles. These are typically made from a vinyl material with a strong adhesive backing. Their primary advantage is ease of installation and removal, making them perfect for renters or those who enjoy changing their decor frequently. They are generally water-resistant and easy to wipe clean. For more on this convenient option, check out our guide to easy peel and stick wallpaper and discover the best high-quality peel and stick wallpaper for your home.
Preparing your walls for an antique wallpaper border
Proper wall preparation is crucial for a professional-looking and long-lasting installation. Skipping these steps can lead to bubbles, peeling, or an uneven finish.
Cleaning the surface
Start by thoroughly cleaning your walls. Remove any dust, dirt, grease, or old adhesive residue. A mild detergent and water solution usually suffices. For stubborn marks or glossy paint, you might need a degreaser or a light sanding. Ensure the walls are completely dry before proceeding.
Repairing imperfections
Fill any holes, cracks, or dents with spackling paste. Once dry, sand the patched areas smooth and flush with the wall. This ensures a uniform surface that won’t show through the border.
Priming the walls
Applying a primer is highly recommended, especially over dark paint colors or glossy finishes. A good quality primer seals the surface, improves adhesion of the border, and prevents the wall color from bleeding through. Allow the primer to dry completely according to the manufacturer’s instructions.
Measuring and cutting your antique wallpaper border
Accurate measurements and cuts are key to a seamless installation. Take your time with this step to avoid waste and ensure a perfect fit.
Calculating the total length needed
Measure the perimeter of the room where you intend to install the border. Add up the lengths of all walls. For a more precise calculation, measure each wall section and sum them. It’s always wise to purchase at least 10-15% extra to account for pattern matching, mistakes, or future repairs.
Planning for corners and obstacles
When measuring, pay close attention to corners, windows, doors, and any other architectural features. You’ll need to decide how you want to handle these areas. For inside corners, you can butt the border against itself. For outside corners, you’ll typically wrap the border around, making a clean diagonal cut. Carefully measure around windows and doors, planning where your cuts will land to avoid awkward breaks in the pattern.
Cutting the border strips
Unroll your border and measure the required length. Use a sharp utility knife and a straight edge (like a metal ruler or T-square) for clean, precise cuts. If your border has a repeating pattern, ensure you align the pattern correctly before cutting subsequent strips. Cut slightly longer than needed initially, as you can trim excess later.
The installation process: step-by-step
With your walls prepped and your border cut, you’re ready for installation. Work methodically and patiently for the best results.
Applying adhesive (if not pre-pasted or peel-and-stick)
If your border is not pre-pasted or peel-and-stick, you’ll need to apply wallpaper adhesive. Use a roller or brush to apply an even coat to the back of the border strip. Follow the adhesive manufacturer’s instructions regarding booking time – the period the adhesive needs to sit to allow it to penetrate the paper, making it more pliable and ensuring better adhesion. For pre-pasted borders, follow the soaking instructions carefully.
Positioning the first strip
Start in an inconspicuous area, such as behind a door or in a corner. Use a level to draw a faint pencil line on the wall, marking the top edge of where the border should go. This ensures a perfectly straight installation. Carefully align the top edge of the border with your guideline and press it gently onto the wall.
Smoothing out bubbles and wrinkles
Use a smoothing tool (like a plastic smoother or a clean, dry cloth) to gently press the border onto the wall, working from the center outwards. This action pushes out any air bubbles or wrinkles. Be careful not to stretch the border, especially if it’s paper-based, as this can distort the pattern or cause tearing.
Handling seams and corners
Overlap seams slightly (usually about 1/8 inch) and make a single cut through both layers with a sharp knife and a straight edge for a clean, professional seam. For inside corners, cut the border at a 45-degree angle and butt the edges together. For outside corners, wrap the border around and cut at a 45-degree angle. Trim any excess material carefully.
Cleaning excess adhesive
As you work, use a damp sponge or cloth to immediately wipe away any excess adhesive that squeezes out at the seams or edges. Doing this while the adhesive is still wet prevents it from drying and becoming difficult to remove, which can leave visible marks.
Maintaining your antique wallpaper border
Proper care will ensure your antique wallpaper border remains a beautiful feature of your room for years to come.
Regular dusting
A soft brush or a dry microfiber cloth can be used for regular dusting. This prevents the buildup of grime that can dull the appearance of the border over time.
Spot cleaning
For minor marks or smudges, test a small, inconspicuous area first. Use a slightly damp sponge with a mild soap solution. Gently wipe the affected area, being careful not to saturate the paper. Always dry the area immediately with a clean, soft cloth.
Avoiding moisture and direct sunlight
Keep the border away from direct, prolonged sunlight, which can cause fading. Also, avoid areas with high humidity or direct water exposure, especially if your border is paper-based. For bathrooms or kitchens, vinyl or vinyl-coated borders are a much more practical choice due to their moisture resistance.
Common mistakes to avoid when installing antique wallpaper borders
Even with the best intentions, certain pitfalls can lead to a less-than-perfect result. Being aware of these common errors can save you time, money, and frustration.
Using old or dried-out adhesive
If your border requires separate adhesive, ensure it’s fresh and properly mixed. Old or improperly mixed adhesive may not provide adequate tack, leading to peeling edges or seams that won’t stick.
Cutting corners too tightly
When cutting for corners, allow a little extra material. Trying to make a perfect fit with no excess can lead to the border pulling away from the wall as it dries or shifts. It’s better to have a slight overlap that can be trimmed precisely than a gap.
Not using a level
Attempting to eyeball the placement of a wallpaper border is a recipe for disaster. Even a slight tilt will be noticeable and detract from the overall aesthetic. Always use a level to ensure your initial guideline is perfectly horizontal.
Rushing the process
Wallpapering, even just a border, requires patience. Rushing through cleaning, measuring, cutting, or smoothing will inevitably lead to mistakes. Take breaks if needed, but ensure each step is completed carefully and methodically.
Ignoring manufacturer instructions
Different borders have specific requirements for adhesive, soaking time, and application. Always read and follow the manufacturer’s instructions for the best results. What works for one type of border might not work for another.
Where to use antique wallpaper borders
Antique wallpaper borders can add a touch of elegance and personality to almost any room. Their versatility allows them to enhance various design schemes.
Bedrooms
A floral or damask border can add a romantic and sophisticated touch to a bedroom. Consider a classic stripe for a more tailored look. For those who love charming patterns, explore beautiful Rifle Paper Co. wallpaper which often features designs that pair wonderfully with vintage-inspired borders.
Living rooms and dining rooms
These spaces benefit from borders that add character without overwhelming the room. Geometric patterns can provide a stylish accent, while scenic or classical designs can create a focal point. A well-chosen border can enhance the ambiance of gatherings and meals.
Hallways and entryways
Borders can guide the eye and add visual interest to these transitional spaces. A bold geometric pattern can make a hallway feel more dynamic, while a classic motif can create a welcoming and elegant entrance.
Children’s rooms and playrooms
While many antique designs lean towards sophistication, some patterns can be adapted for children’s spaces. Consider simpler motifs or borders with playful characters if available in an antique style. However, ensure the material is durable and easy to clean for these active areas.
Kitchens and bathrooms
For areas prone to moisture and frequent cleaning, opt for vinyl or vinyl-coated borders. A simple stripe or a subtle damask pattern can add a decorative element without sacrificing practicality. Ensure good ventilation in these rooms.
Home offices
An antique border can add a distinguished and inspiring touch to a home office. Consider designs that promote focus and creativity, such as subtle classical motifs or elegant stripes. A well-decorated workspace can boost productivity and morale.