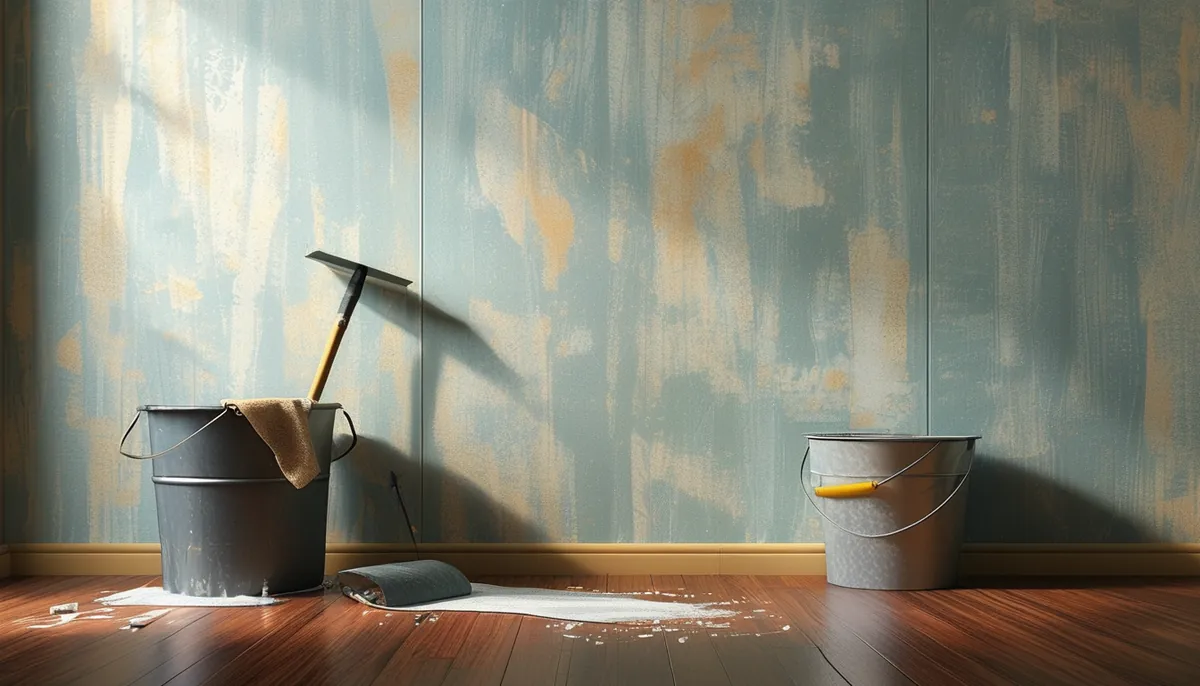
You’ve decided to update your walls, and that means dealing with the old wallpaper. Whether it’s a classic floral pattern or a bold modern design, removing it correctly is key to a smooth renovation. Don’t just start spraying water; different wallpaper types and adhesives require specific approaches to avoid damaging the drywall underneath.
gather your supplies
Before you begin, collect everything you need. This will save you trips to the hardware store mid-project. You’ll need:
- Wallpaper scoring tool: This creates tiny perforations in the wallpaper so water or stripper can penetrate.
- Putty knife or scraper: A 4-inch wide flexible metal scraper is ideal for lifting edges and scraping away residue.
- Spray bottle or garden sprayer: For applying water or wallpaper stripper solution.
- Wallpaper stripper solution: Commercial strippers are effective, or you can use a mix of hot water and fabric softener (1 part softener to 2 parts water) or hot water and dish soap. For stubborn vinyl or Mylar papers, look for enzyme-based strippers.
- Bucket: For mixing solutions and rinsing tools.
- Sponges and rags: For wiping down walls and cleaning up.
- Drop cloths or plastic sheeting: To protect your floors and furniture from water and debris.
- Ladder or step stool: For reaching high areas.
- Protective eyewear and gloves: To shield yourself from splashes.
- Drywall joint compound and putty knife: For patching any gouges or imperfections after removal.
- Sandpaper (medium and fine grit): For smoothing patches.
prepare the room
Proper preparation is crucial for a clean and efficient removal process. Protect your surroundings before you start wetting down walls.
Clear the room of all furniture, or move it to the center and cover it completely with plastic sheeting or drop cloths. Cover the floor along the baseboards with plastic or canvas drop cloths. Ensure you have good ventilation; open windows if possible. Turn off the power to any outlets or light switches in the room you’re working on to avoid electrical hazards.
identify your wallpaper type
The best removal method depends on the type of wallpaper you have.
- Strippable wallpaper: This is the easiest to remove. It often peels off in large sheets without needing water. If the edges lift, try peeling it from a corner.
- Peel and stick wallpaper: This type is designed for easy removal. Start at a corner and peel it away. If it’s difficult, a little warm water or a mild soap solution can help. You can learn more in our easy peel and stick wallpaper guide.
- Vinyl, foil, or Mylar wallpaper: These have a plastic or metallic coating that prevents water penetration. You’ll need to score them thoroughly first.
- Traditional paper wallpaper: This can often be removed with water or a stripper solution after scoring.
- Fabric-backed wallpaper: The fabric layer might need to be separated from the backing after the paper layer is removed.
start the removal process
Once you’ve prepped the room and identified your wallpaper, it’s time to get started. For most non-strippable wallpapers, scoring is the first step.
scoring the wallpaper
Use your wallpaper scoring tool to create a pattern of small holes all over the surface of the wallpaper. Don’t press too hard, or you’ll risk damaging the drywall. Focus on covering the entire area. This allows your chosen solution to penetrate the wallpaper layers effectively.
applying the solution
Mix your wallpaper stripper solution according to the manufacturer’s instructions, or prepare your DIY mixture. If using hot water and fabric softener or soap, make sure the water is hot but not boiling. Using a spray bottle or garden sprayer, apply the solution generously to a manageable section of the wall, about 3-4 feet wide. Let it soak for the time recommended on the product label, typically 10-20 minutes. For stubborn papers, you might need multiple applications or a longer soaking time. Don’t let the solution dry out on the wall; reapply if necessary.
peeling and scraping
Once the solution has had time to work, use your putty knife or scraper to lift an edge of the wallpaper. If it comes off easily, continue pulling it away from the wall. Work in sections, applying solution and then scraping. For areas where the wallpaper is stubborn, apply more solution and let it soak longer. Scrape gently to avoid gouging the drywall. If you encounter a seam, try to lift it with the scraper and peel from there. For fabric-backed papers, you may need to remove the paper layer first, then score and strip the remaining fabric backing.
dealing with stubborn adhesive
Even after the wallpaper is gone, you’ll likely have adhesive residue left on the walls. This needs to be completely removed before you can paint or apply new wallpaper. Some people try to paint over adhesive, but this almost always leads to peeling paint and a failed finish.
Scrub the walls with a sponge and clean warm water, or a mild solution of dish soap and water. Rinse the walls thoroughly with clean water and a sponge, changing the water frequently. Make sure to get into corners and around trim. Allow the walls to dry completely. You might need to repeat the scrubbing and rinsing process for particularly sticky residue.
cleaning up and final checks
Once the walls are clean and dry, it’s time for the final cleanup and inspection.
Carefully fold up the drop cloths, containing the debris. Dispose of the old wallpaper and cleaning materials properly. Inspect the walls for any remaining adhesive, gouges, or imperfections. Fill any holes or gouges with joint compound using a putty knife. Let the compound dry completely, then sand it smooth with medium-grit sandpaper, followed by fine-grit sandpaper for a smooth finish. Wipe away the dust with a damp cloth.
when to call a professional
While removing wallpaper is a manageable DIY project for many, there are times when calling a professional is the best course of action. If the wallpaper is very old, extensively damaged, or has been painted over multiple times, removal can be extremely difficult and time-consuming. Also, if you’re concerned about damaging your drywall or plaster walls, a professional has the experience and tools to handle the job cleanly and efficiently. For those looking to redecorate with new designs, exploring options like Rifle Paper Co. wallpaper or Yellowstone wallpaper can be a great next step after your walls are prepped.
For further detailed instructions on preparing your walls for a new look, check out our comprehensive guide on how to remove wallpaper like a pro.