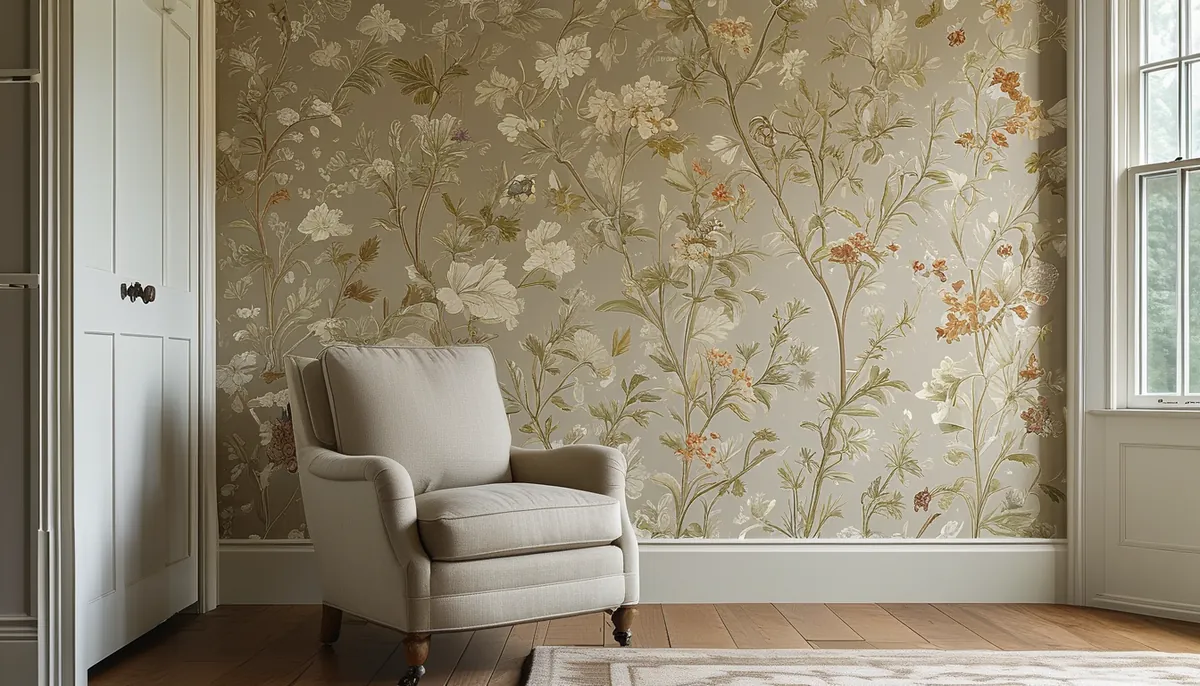
Before you even unroll your Laura Ashley border wallpaper, clear the area. Remove all outlet and switch plates. Use painter’s tape to protect baseboards, window frames, and door frames. The wall surface needs to be clean, dry, and smooth. Any imperfections will show through, especially with lighter patterns. Fill any holes or cracks with spackle and sand them smooth once dry. For existing wallpaper, decide if you’re stripping it or applying the border over it. Most borders adhere best to a primed, painted surface. If you’re not sure about the adhesion of your current wallpaper, it’s safer to remove it entirely.
Measuring and cutting your Laura Ashley border
Measure the length of the wall or area where you plan to hang the border. Use a tape measure and add about 4-6 inches to your measurement. This extra allows for trimming and adjustments, preventing a gap at the end of a run. If your border has a specific pattern repeat, ensure you account for this when cutting. Lay the border flat on a clean, large surface, like a table or the floor. Use a metal ruler and a sharp craft knife or razor blade to make your cuts. A straight edge is crucial for clean, straight lines. If you’re cutting around corners or obstacles, dry-fit the piece first to ensure the pattern aligns before making precise cuts.
Applying adhesive to your border
Many Laura Ashley border wallpapers are ‘paste the wall’ or ‘paste the paper’ types. If it’s ‘paste the paper,’ you’ll need a high-quality wallpaper adhesive. Use a paste brush or roller to apply an even, consistent layer of paste to the back of the border. Avoid getting paste on the front of the wallpaper, as it can stain or damage the design. If it’s a ‘paste the wall’ type, you’ll apply the adhesive directly to the wall. For pre-pasted borders, follow the manufacturer’s instructions for re-activating the adhesive, typically involving soaking the strip in water for a specific time.
Don’t apply too much paste; it will squeeze out excessively and make a mess. Too little paste will result in poor adhesion and peeling. For the best results, ensure the paste covers the entire surface of the border, especially the edges. For ‘paste the wall’ applications, work in manageable sections, applying paste only to the area you can cover with the border within the adhesive’s ‘open time’ – the period it remains sticky and workable.
Hanging the border strip
Start hanging the border at a point that’s easy to reach, often in an inconspicuous area like behind a door or in a corner. For horizontal application, start at a corner, positioning the top edge of the border just below the ceiling or the desired line. If your border has a pattern, align it carefully. If it’s a repeating pattern, ensure the design flows seamlessly from one strip to the next. Use a plumb bob or a level to ensure the first strip is perfectly vertical or horizontal, as this will guide the rest of your installation. Gently press the border onto the wall, starting from the center and working outwards to push out air bubbles. Use a smoothing tool or a clean, dry cloth to smooth the surface, working from the center towards the edges. Be firm but gentle to avoid stretching or tearing the paper.
Trimming excess wallpaper
As you reach the end of a wall or an inside/outside corner, carefully trim the excess border. Use a sharp craft knife and a straight edge (like a metal ruler or a specialized wallpaper trimming guide) to make clean cuts. For inside corners, trim the border so it slightly overlaps the adjacent wall, then make a relief cut at a 45-degree angle at the corner point. For outside corners, wrap the border around the corner by about an inch and then make a vertical cut from the edge down to the corner point. Overlapping the border at the corner is often more forgiving than a butt joint.
Dealing with obstacles and patterns
Obstacles like windows and doors require careful cutting. For windows, you’ll likely need to make relief cuts to allow the border to conform to the frame. For doors, trim the border flush with the door frame, or wrap it slightly if the design allows and you’ve planned for it. When working with patterned Laura Ashley border wallpaper, paying attention to the pattern repeat is paramount. If you have a large floral motif, you don’t want it cut in half at a corner or awkwardly placed. Measure and cut subsequent strips to ensure the pattern continues logically. This might mean using more wallpaper than a simple linear measurement would suggest, but the visual result is worth the extra material.
Consider using easy peel and stick wallpaper for simpler projects or if you’re concerned about adhesive messes. However, traditional pasted borders often offer a wider range of intricate designs, including the classic Laura Ashley styles.
Common mistakes and how to avoid them
One of the most common mistakes is inadequate wall preparation. Hanging wallpaper on a dirty, uneven, or glossy surface will lead to poor adhesion and an unprofessional finish. Always clean and sand your walls. Another mistake is using too much or too little paste, or not pasteing the edges sufficiently. This can cause bubbling, lifting, or tearing. Rushing the process is also a recipe for disaster. Take your time, measure twice, cut once, and allow for proper drying and adhesion. Forgetting to account for the pattern repeat can result in a disjointed look, especially with busy designs. Finally, using a dull blade for cutting will result in ragged edges that are difficult to conceal.
If you’re looking for a different aesthetic, explore options like Rifle Paper Co. wallpaper or designs featuring beautiful flowers on wallpaper. For a nature-inspired theme, consider stunning Yellowstone wallpaper designs.
When to call a professional
While hanging Laura Ashley border wallpaper can be a rewarding DIY project, there are situations where hiring a professional is advisable. If you have complex wall features like arches, extensive crown molding, or unusually shaped rooms, a professional has the experience and tools to handle them seamlessly. If your budget allows and you want a guaranteed flawless finish, especially with delicate or expensive wallpaper, professional installation is a good investment. Also, if you’ve attempted wallpapering before and had a negative experience, or if you’re simply not confident in your abilities, a pro can save you time, frustration, and potential material waste. For those seeking the highest quality finish, especially with intricate patterns like those found in high-quality peel and stick wallpaper collections, professional services ensure perfection.