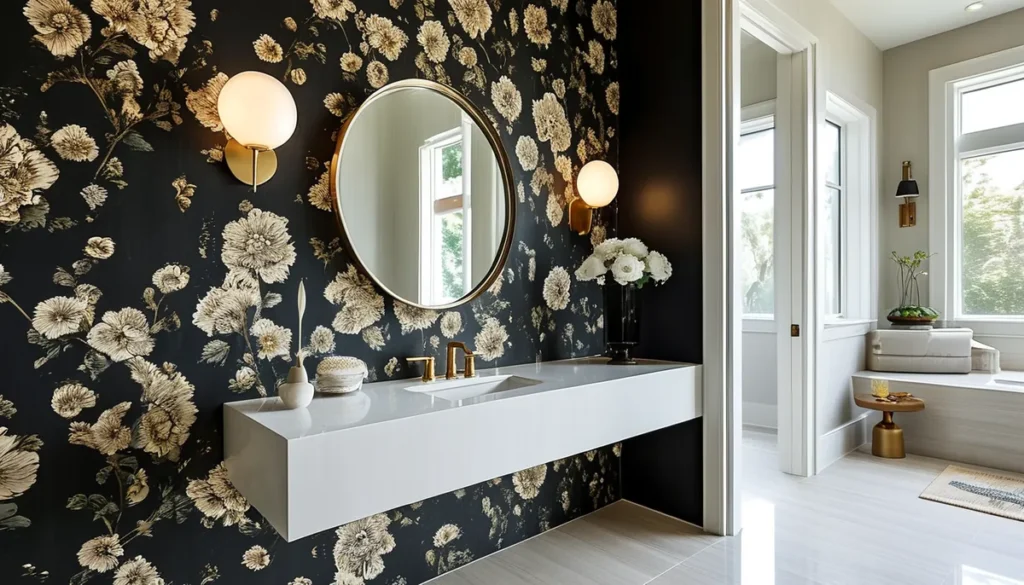
When selecting wall blush wallpaper, the first decision is the material. Vinyl wallpapers are a solid choice for high-moisture areas like bathrooms or kitchens because they resist water and are easy to clean. Look for options with a heavier vinyl coating, often labeled as Type II commercial grade, for maximum durability, even if you’re not in a commercial setting. Standard vinyl wallpaper typically comes in rolls that are 20.5 inches wide and 33 feet long, covering about 56.4 square feet.
PVC (polyvinyl chloride) is a common type of vinyl. If you’re concerned about emissions, seek out PVC wallpapers that are certified low-VOC (Volatile Organic Compounds). These offer excellent scrubbability and are ideal for high-traffic areas or homes with children and pets. The thickness of the PVC layer matters; a thicker application means better resistance to scuffs and tears.
For DIY enthusiasts, peel-and-stick wallpaper is a highly convenient option. Made from materials like PVC or fabric composites, these wallpapers have an adhesive backing. You simply peel off the protective liner and stick the paper directly to your wall. No paste required. This makes installation and removal incredibly easy, perfect for renters or those who like to redecorate frequently. Most peel-and-stick wallpapers are also washable, though you should avoid abrasive cleaners.
Understanding wallpaper construction
Beyond the surface material, the wallpaper’s construction impacts its performance. Most modern wallpapers, including those with a blush aesthetic, are multi-layered.
The base layer
This can be paper or non-woven (a blend of synthetic fibers and paper). Non-woven bases are generally more durable, easier to hang, and less prone to tearing than traditional paper bases. They also allow for better breathability, which can be important in certain climates to prevent moisture buildup behind the paper.
The decorative layer
This is the layer that carries the design – your blush pattern. It’s often printed using methods like rotogravure or digital printing. For blush wallpapers, digital printing offers high detail and the ability to achieve subtle color gradients or intricate floral designs. Blush floral wallpaper, for instance, often benefits from the precision of digital printing to render delicate petals and leaves.
The protective coating
Vinyl wallpapers have an additional clear vinyl coating on top. This enhances durability, makes the wallpaper water-resistant, and allows for easy cleaning. The thickness and quality of this coating directly affect how well the wallpaper holds up to everyday wear and tear. A good quality blush wallpaper will have a robust coating that prevents fading and resists minor scratches.
Choosing the right blush tone and pattern
Blush isn’t a single color; it’s a spectrum. You’ll find everything from soft, almost neutral blushes to deeper, more vibrant rose tones. Consider the natural light in your room and the existing decor when making your choice. A lighter blush can make a small room feel larger and airier, while a deeper shade can add warmth and intimacy.
The pattern plays a crucial role too. For a subtle effect, consider a solid blush or a textured blush wallpaper that mimics linen or grasscloth. If you want a statement piece, intricate floral patterns, geometric designs, or even abstract art in blush tones can be stunning. For inspiration on how to integrate these into your home, discover the serene charm of blush wallpaper for your home.
Installation considerations
Proper installation is key to achieving a professional look and ensuring your blush wallpaper lasts. For traditional paste-applied wallpapers, you’ll need wallpaper paste, a paste brush or roller, a smoothing tool, a sharp utility knife, and a level.
Measuring and cutting
Always measure your walls carefully and buy slightly more wallpaper than you calculate to account for pattern matching and mistakes. Most standard rolls are 20.5 inches wide. For a repeating pattern, you’ll need to ‘match’ the design between strips. This means you might have to cut away a portion of the pattern from the top of one strip to align it with the next. This is where buying extra becomes critical. For example, if your pattern repeat is 21 inches, and your wall is 8 feet tall, you’ll be cutting off nearly a full repeat from each strip after the first one on each wall, potentially wasting a lot of material.
Applying paste
If using paste-the-wall wallpaper (common with non-woven bases), you apply the paste directly to the wall. For paste-the-paper types, you’ll apply paste to the back of the wallpaper strip, often letting it ‘book’ (sit folded) for a few minutes according to the manufacturer’s instructions. This allows the paste to activate and the paper to expand evenly, preventing bubbles.
Hanging the strips
Start at a corner or a prominent visual line (like next to a doorframe) and use a level to ensure your first strip is perfectly vertical. Overlap the edges slightly with the previous strip, then use a smoothing tool to press out any air bubbles towards the edge. Trim excess paper at the ceiling and baseboard with your utility knife. For patterned wallpapers like floral designs, ensuring the pattern matches across seams is paramount. An incorrect match can make the wallpaper look unprofessional, no matter how well it’s hung. If you’re considering bold floral designs, learning about flowers on wallpaper can offer valuable insights.
Peel-and-stick installation
Peel-and-stick is far simpler. Clean your wall thoroughly, ensuring it’s smooth and free of dust or grease. Start by peeling back a few inches of the backing paper at the top. Align the edge of the wallpaper with your starting point (a corner or a vertical line). Carefully press the exposed adhesive section to the wall. Then, slowly peel the backing down while simultaneously smoothing the wallpaper onto the wall with your hands or a squeegee. Work from the center outwards to avoid trapping air bubbles. If you make a mistake, you can usually peel the wallpaper back and reposition it, especially within the first few hours. Trim excess at the ceiling and baseboard with a sharp blade. For a specific brand known for its distinct style, you might look into Transform Your Home with Beautiful Rifle Paper Co. Wallpaper, which often offers peel-and-stick options.
Maintaining your blush wallpaper
Regular maintenance ensures your wall blush wallpaper remains beautiful. For vinyl and PVC wallpapers, a damp cloth or sponge with a mild soap solution is usually sufficient for cleaning. Avoid harsh chemicals or abrasive scrubbers, which can damage the surface or fade the color. For peel-and-stick, check the manufacturer’s instructions, but generally, a gentle wipe is best. Don’t saturate the paper, as excess moisture can weaken the adhesive over time.
Textured wallpapers, including some blush options that mimic natural materials, might require a soft brush or a vacuum cleaner with a brush attachment to remove dust. For delicate patterns, like those found in some Yellowstone wallpaper designs that incorporate blush tones, be extra careful during cleaning to avoid snagging or smudging the print.
Common mistakes to avoid
One of the most common mistakes is not preparing the wall surface adequately. Walls should be clean, dry, and smooth. Any imperfections, such as bumps, holes, or old peeling paint, will show through the wallpaper and can compromise its adhesion. Fill holes, sand down bumps, and prime the wall if necessary, especially if you’re applying wallpaper over a dark color or a glossy paint finish.
Another pitfall is not buying enough wallpaper. Always factor in pattern repeat and potential mistakes. It’s better to have a little extra than to run out and be unable to find an exact match later, as dye lots can vary between batches.
For peel-and-stick, avoid applying it to freshly painted walls. Wait at least a week or two after painting to allow the paint to cure fully; otherwise, the adhesive may not stick properly, or it could pull the paint off when you try to remove the wallpaper later.
Finally, rushing the installation is a recipe for disaster. Take your time, especially when matching patterns and smoothing out air bubbles. Patience will result in a much more professional and satisfying finish.