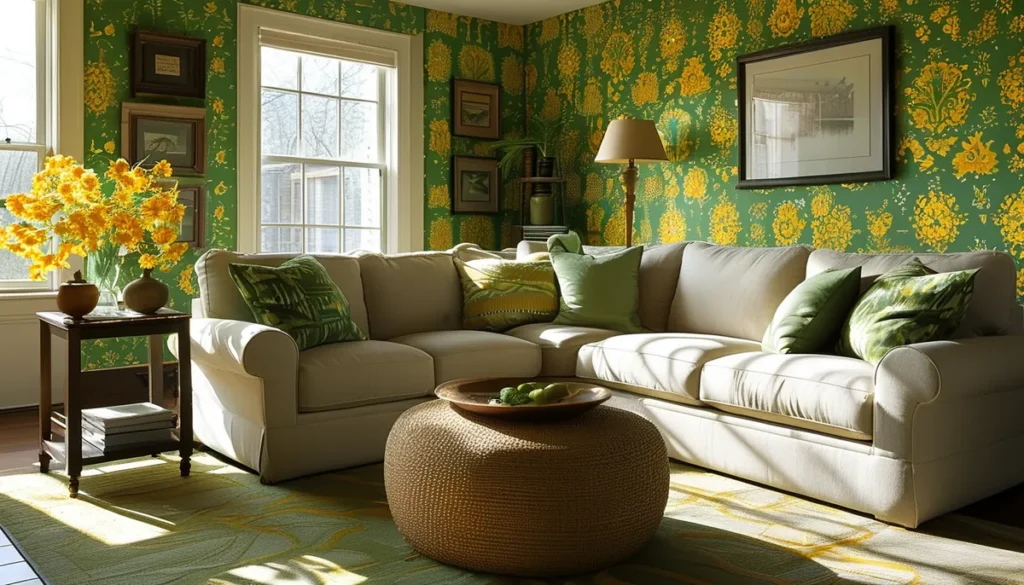
If you’re looking for a straightforward way to update your walls, prepasted wallpaper is a strong contender. Unlike traditional wallpaper that requires separate pasting, prepasted varieties come with a dry adhesive on the back. You activate it with water, making the process less messy and more manageable, especially for DIYers. This guide breaks down what you need to know to make an informed decision.
Understanding prepasted wallpaper types
Prepasted wallpaper simplifies the application process significantly. The adhesive is already on the back of the paper, usually in a thin, dry film. When you submerge the wallpaper in water, the adhesive rehydrates and becomes sticky, ready to adhere to your wall. This eliminates the need for a separate paste bucket, reducing mess and potential application errors.
Within prepasted wallpaper, you’ll find variations primarily based on the material and any additional features:
Vinyl-coated prepasted wallpaper
This is a popular choice for its durability and washability. The vinyl coating protects the paper from moisture and allows for easy cleaning with a damp cloth. It’s a good option for high-traffic areas or rooms where occasional cleaning is necessary, like hallways or family rooms. However, the vinyl coating can make it less breathable than other types, which might be a consideration for older homes or specific wall conditions.
Solid vinyl prepasted wallpaper
A more robust version, solid vinyl wallpaper has a thicker vinyl layer, making it highly durable, scrubbable, and often suitable for kitchens and bathrooms where moisture and grease can be factors. It can withstand repeated cleaning without damage. The thickness also provides a bit more opacity, which can help cover minor imperfections on the wall surface.
Textured prepasted wallpaper
These wallpapers incorporate textures, such as fabric weaves, embossed patterns, or raised designs. The prepasted adhesive works the same way, but the texture adds a tactile and visual dimension to your walls. Textured options can be excellent for hiding minor wall flaws, as the irregularities in the surface draw the eye away from imperfections. They offer a more sophisticated or cozy feel depending on the pattern.
Removable prepasted wallpaper
This category often overlaps with peel-and-stick, but some manufacturers offer prepasted options that are specifically designed for easier removal. While not as simple as true peel-and-stick (which has its own adhesive), these can be removed in larger pieces without excessive damage to the underlying drywall, especially if applied correctly. Check manufacturer instructions carefully for removal details.
Breathable prepasted wallpaper (e.g., paper or natural fiber)
For a more natural look and feel, wallpapers made from paper or natural fibers like grasscloth or bamboo are available in prepasted formats. These are generally more breathable, which can be beneficial for wall health. However, they may be less durable and harder to clean than vinyl options, making them better suited for low-traffic areas like bedrooms or formal living rooms.
Prepasted wallpaper installation: a step-by-step guide
Installing prepasted wallpaper is designed to be a DIY-friendly project. The key is careful preparation and following the water activation steps correctly. You’ll need a few tools to get started:
- A straight edge or large ruler
- A sharp utility knife or razor blade
- A smoothing tool (like a plastic smoother or a wallpaper brush)
- A water tray or large bucket
- A sponge and clean water
- A stepladder
- A tape measure
- A pencil
- A seam roller (optional, for crisper seams)
- Drop cloths to protect your floor
1. Prepare your walls
This is the most critical step for any wallpaper installation, including prepasted types. Your walls must be clean, dry, and smooth. Remove any old wallpaper, paint chips, or loose debris. Wash the walls to remove grease, dirt, and any residue. If you have textured walls, consider applying a primer-sealant. New, unprimed drywall should also be primed to ensure proper adhesion and easier removal later. Check that your walls are sound; significant cracks or holes will need to be repaired and sanded smooth.
2. Measure and cut your wallpaper
Measure the height of your wall from the ceiling to the baseboard. Add at least 4 to 6 inches to this measurement for trimming at the ceiling and baseboard. This extra length allows for adjustments and ensures you have enough to work with. Unroll your wallpaper and carefully measure and cut the strips. If your wallpaper has a pattern, ensure you match it across adjoining strips. It’s best to cut a few strips at a time and number them sequentially to keep track, especially if you have a complex pattern.
3. Prepare the water tray and activate the adhesive
Fill a large bucket or tray with clean, lukewarm water. Do not use hot water, as it can damage some adhesives or papers. Follow the manufacturer’s instructions precisely regarding water temperature and soaking time. Usually, you will fully submerge the cut strip of wallpaper, ensuring it’s saturated. Gently unfold the paper in the water and let it soak for the recommended time, typically 30 seconds to 2 minutes. Over-soaking can make the paper too soft and difficult to handle, while under-soaking may not fully activate the adhesive.
4. Book the wallpaper
Once the wallpaper has soaked, carefully remove it from the water. Let excess water drip off briefly. Then, fold the damp wallpaper onto itself, sticky side to sticky side. This is called ‘booking.’ Fold the top third down and the bottom third up, or fold each end towards the middle. This allows the adhesive to fully activate and the paper to relax, reducing the chance of bubbles or wrinkles during application. Let it sit, booked, for the time specified by the manufacturer (often 5-10 minutes).
5. Apply the wallpaper to the wall
Take your booked strip and unfold one half, then the other. Position the top edge of the wallpaper against the ceiling, leaving a slight overlap (about 1-2 inches) to trim later. Carefully press the wallpaper onto the wall, starting from the center and working outwards. Use your smoothing tool to gently push out any air bubbles or wrinkles towards the edges. Work systematically, ensuring the strip is straight and aligned with your vertical guide marks (if you’ve used them). For the next strip, ensure you butt the edges together tightly without overlapping the paper itself, unless the pattern specifically requires it. Maintain consistent spacing between strips, matching the pattern if applicable.
6. Trim the excess
Once a strip is in place and smoothed, use your utility knife and straight edge to carefully trim the excess wallpaper at the ceiling and baseboard. Make sure your blade is sharp for a clean cut. A dull blade can tear the paper. For corners, carefully cut the wallpaper so it lies flat against both walls, ensuring a neat finish.
7. Clean up
Use a damp sponge and clean water to wipe away any excess adhesive that may have squeezed out at the seams or edges. This is important for achieving a professional look and preventing seams from lifting later. Rinse your sponge frequently.
8. Repeat for subsequent strips
Continue the process for each subsequent strip, paying close attention to pattern matching and seam alignment. Work your way around the room, measuring, cutting, soaking, booking, applying, and trimming.
Common mistakes to avoid with prepasted wallpaper
Even with the simplified process, there are pitfalls to watch out for:
- Improper wall preparation: This is the number one cause of wallpaper failure. Walls must be clean, dry, and smooth. Any grease, dust, or loose paint will prevent the wallpaper from adhering properly.
- Over-soaking or under-soaking: Too much time in the water can make the paper disintegrate, while too little may not activate the adhesive sufficiently. Always follow the manufacturer’s instructions.
- Not booking the paper: Skipping the booking step means the adhesive won’t fully activate, and the paper won’t relax, leading to potential issues during application.
- Stretching the paper: When smoothing, be gentle. If you pull or stretch the wet paper too hard, it can distort the pattern or tear.
- Overlapping strips: Unless the pattern explicitly dictates it, butt seams together. Overlapping can create visible lines and potential peeling points.
- Using a dull blade for trimming: A dull knife will tear the paper, leaving a ragged edge that detracts from the finished look.
- Not cleaning excess paste: Dried paste can become a visible residue or cause seams to lift over time. Wipe away any excess promptly with a damp sponge.
- Ignoring manufacturer instructions: Every wallpaper is slightly different. Always refer to the specific instructions provided by the manufacturer for best results.
Comparing prepasted to other wallpaper types
Understanding how prepasted wallpaper stacks up against other common types helps in choosing the best fit for your project.
Prepasted vs. Peel-and-Stick
Prepasted: Requires water to activate a dry adhesive. Generally offers a more traditional paper feel and a wider range of designs. Removal can sometimes leave residue or require more effort than peel-and-stick.
Peel-and-Stick: Has its own strong adhesive backing. Very easy to apply and reposition. It’s excellent for renters or temporary applications. However, the adhesive can be very strong, potentially damaging drywall upon removal, and the selection of designs might be more limited than traditional or prepasted papers. Some peel-and-stick options can also be thicker, making seams more noticeable.
Prepasted vs. Unpasted (Requires separate paste)
Prepasted: Adhesive is already on the paper, activated by water. Simpler and less messy than unpasted.
Unpasted: Requires applying wallpaper paste to the back of the paper or directly to the wall. Offers the widest variety of materials and textures, including delicate natural fibers that might not work well with a pre-applied adhesive. However, this method is messier and requires more skill and specific tools (like a paste table and roller).
For many DIYers, prepasted wallpaper hits a sweet spot between ease of use and design selection. It offers a noticeable improvement in installation simplicity over unpasted paper without some of the potential adhesion and removal concerns sometimes associated with peel-and-stick.
When to choose prepasted wallpaper
Prepasted wallpaper is an excellent choice for:
- Beginner DIYers: The water-activation process is intuitive and less messy than traditional pasting.
- Rental properties (with caution): Some removable prepasted options can work, but always check the removal specifications and test in an inconspicuous area first.
- Adding temporary decorative touches: For accent walls or seasonal changes, where ease of application and removal are key.
- Rooms with moderate traffic: Its durability, especially in vinyl-coated forms, makes it suitable for living rooms, dining rooms, and hallways.
- Those seeking a wide design selection: Prepasted options come in a vast array of patterns, colors, and styles, including popular brands like Rifle Paper Co. wallpaper. You can find designs ranging from beautiful floral patterns to unique themes like Yellowstone designs.
If you’re considering a bathroom or high-moisture area, ensure you select a wallpaper specifically rated for such environments. For instance, vinyl-coated or solid vinyl prepasted wallpapers are often recommended. You can learn more about prepasted wallpaper for bathrooms here.
Where to find prepasted wallpaper
You can find a wide selection of prepasted wallpaper from various retailers:
- Online home decor stores: Websites specializing in wallpaper often have extensive collections from different brands and designers.
- Big box home improvement stores: These stores carry a range of common patterns and brands, often good for standard choices.
- Specialty wallpaper retailers: For unique designs, high-end brands, or specific materials, dedicated wallpaper shops (both online and brick-and-mortar) are your best bet. Look for brands that offer the style you desire, whether it’s the charming aesthetics of Rifle Paper Co. or other curated collections.
When purchasing, always check the product description for whether it is indeed prepasted and follow the specific instructions on the roll or packaging.
Conclusion: making the right choice for your walls
Prepasted wallpaper offers a practical and accessible solution for anyone looking to enhance their home’s aesthetic. By understanding the different types available and committing to proper preparation and installation techniques, you can achieve professional-looking results without the need for extensive experience or specialized tools. Whether you’re covering a single accent wall or redecorating an entire room, prepasted wallpaper provides a user-friendly path to a refreshed and stylish space.