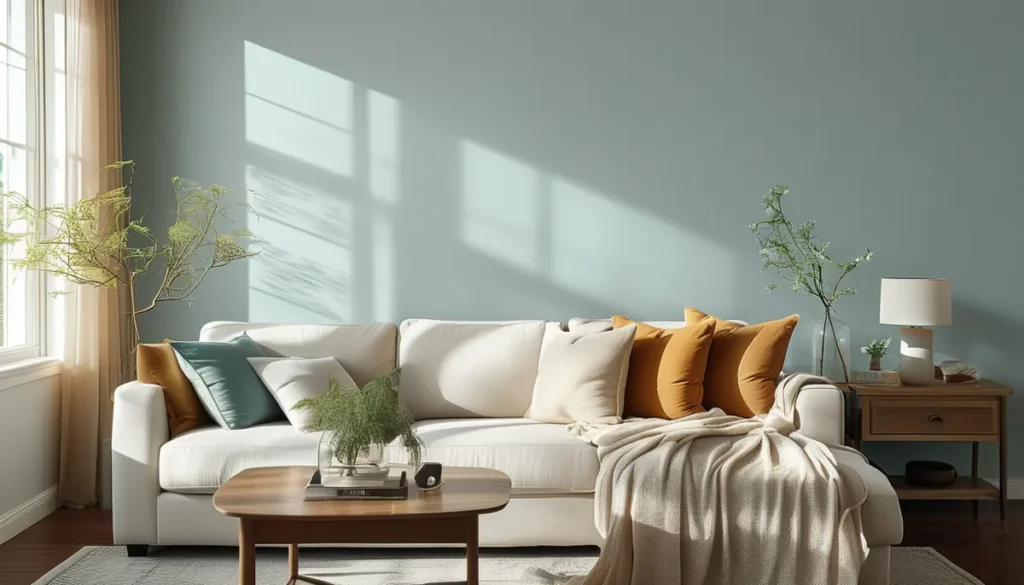
Choosing a photo wallpaper for your wall is a decision that can dramatically alter the feel of a room. Before you even think about patterns, consider the scale and what you want the mural to convey. A busy cityscape might energize a living room, while a serene forest scene could be perfect for a bedroom or office.
Understanding photo wallpaper types
Photo wallpaper, often called wall murals or photomurals, isn’t a single product. It’s a broad category encompassing designs printed onto various materials, each with different durability, application methods, and price points. You’ll encounter options ranging from traditional paste-the-wall papers to modern peel-and-stick vinyls.
Traditional paste-the-wall photo murals
These are akin to traditional wallpaper but are typically printed on heavier, more robust paper or vinyl. The process involves applying wallpaper paste directly to the wall surface before hanging each strip of the mural. This method requires careful alignment of panels and can be messier than other options, but it often offers a seamless, high-quality finish. The paper thickness can vary, generally ranging from 6 to 10 mil (0.15 to 0.25 mm). Thicker papers are more forgiving during installation and offer better opacity, hiding minor wall imperfections.
Peel-and-stick photo wallpaper
This is the most popular choice for DIY enthusiasts and renters. Peel-and-stick photo wallpaper is essentially a large vinyl decal. It comes with a strong adhesive backing; you peel off the protective liner and apply it directly to the wall. The key advantages are ease of installation and removal, with minimal damage to the underlying wall. Most peel-and-stick murals are made from PVC vinyl, typically 6 to 8 mil (0.15 to 0.20 mm) thick. They are also often more durable and washable than traditional paper options, making them suitable for high-traffic areas or children’s rooms. For more on this type, check out our guide to easy peel and stick wallpaper.
Fabric-backed vinyl photo murals
These offer a premium option. They feature a thick vinyl print with a fabric backing, providing enhanced durability and a more textured feel. The fabric backing adds stability, making them less prone to tearing during installation and offering better sound dampening properties than standard vinyl. These are often used in commercial settings or for high-end residential projects. Thickness can range from 10 to 15 mil (0.25 to 0.38 mm).
Removable vs. Reusable
While many peel-and-stick options are labeled ‘removable,’ true ‘reusable’ photo wallpaper is less common. Removable means it can be taken down without damaging the paint. Reusable implies you can reposition it multiple times. Always check the manufacturer’s specifications. If repositioning is crucial, look for products specifically marketed as reusable.
Key considerations when choosing your photo wallpaper
Selecting the right photo wallpaper involves more than just picking a pretty picture. You need to consider the material, size, and the specific requirements of your wall.
Material and durability
For high-moisture areas like bathrooms or kitchens (though not recommended directly behind a stove or sink without protection), choose a washable vinyl. For living rooms or bedrooms where durability is less critical, a high-quality paper might suffice. If you have kids or pets, a robust, scuff-resistant vinyl or fabric-backed option is best. Consider how easy it will be to clean. Most vinyls can be wiped down with a damp cloth and mild soap.
Size and scale
Photo wallpapers come in standard sizes, but custom dimensions are increasingly common. Measure your wall accurately, including height and width, and add a few inches to each measurement for trimming. This ensures a perfect fit. The scale of the image is also crucial. A large, intricate design might overwhelm a small room, while a smaller, simpler image could get lost on a vast wall. Consider the focal point of the room and how the mural will interact with furniture placement.
Wall surface preparation
The condition of your wall is paramount. For paste-the-wall types, the wall must be smooth, clean, and dry. Any bumps, holes, or uneven textures will show through and compromise the finish. For peel-and-stick, a slightly textured wall might be acceptable, but peeling paint or significant imperfections must be addressed. Always prime the wall, especially if it’s a new drywall installation, to ensure proper adhesion and easier removal later. A good quality primer seals the surface and provides a uniform base.
Installation method
Are you a seasoned DIYer, or do you prefer to hire a professional? Peel-and-stick is generally the easiest for DIY. Paste-the-wall requires more precision. If you’re investing in a high-end, custom mural, professional installation is often recommended to ensure a flawless result. A poorly installed mural can be worse than no mural at all.
Installation steps for photo wallpaper
Proper installation is key to achieving a professional look and ensuring your photo wallpaper lasts. The process can vary slightly depending on the material, but here’s a general guideline.
Preparation is crucial
Start by clearing the wall. Remove all outlet covers, switch plates, and any wall hangings. Clean the wall thoroughly with a mild detergent and water, then let it dry completely. If you are using paste-the-wall paper, you’ll need to prime the wall with a suitable wallpaper primer. For peel-and-stick, ensure the wall is smooth and free of dust. Lightly sanding any glossy paint can improve adhesion.
Measuring and cutting
If your mural comes in panels, lay them out on a clean floor in the correct order. Check for any printing errors or damage. Measure your wall and compare it to the mural dimensions. Trim any excess paper from the top and bottom edges to leave about 2-4 inches extra for trimming after application. This allows for adjustments and a cleaner finish.
Applying paste-the-wall murals
Mix the wallpaper paste according to the manufacturer’s instructions. Apply an even layer of paste to the wall using a roller or brush, covering an area slightly larger than one panel. Start at a corner or edge, aligning the first panel vertically using a level. Smooth out any air bubbles or wrinkles by working from the center outwards with a wallpaper brush or smoother. Overlap the edges slightly with the next panel, ensuring the image aligns perfectly. Trim the excess paper at the ceiling, baseboard, and corners using a sharp utility knife and a straight edge.
Applying peel-and-stick photo wallpaper
Start by peeling back a few inches of the protective liner from the top of the mural. Align the top edge of the mural with the ceiling or starting point, ensuring it’s perfectly straight. Slowly pull down the liner while simultaneously pressing the wallpaper onto the wall with your hands or a felt-edged squeegee. Work from the center outwards to push out any air bubbles. If you make a mistake, carefully peel back the section and reapply. For corners or around outlets, make relief cuts and smooth down. Trim excess at the bottom with a sharp blade.
Finishing touches
Once the mural is applied, go over it one last time with a smoother to ensure all edges are firmly adhered. Wipe away any excess paste with a damp sponge. Allow the mural to dry completely before reattaching outlet covers. If you encounter stubborn bubbles, you can try pricking them with a fine needle and gently smoothing them down.
Common mistakes and how to avoid them
Installing photo wallpaper can be a rewarding DIY project, but a few common pitfalls can lead to frustration and a less-than-perfect finish.
Ignoring wall preparation
This is the most frequent mistake. Applying wallpaper over dirty, uneven, or damaged walls will result in a poor finish. Bubbles, peeling, and visible imperfections are almost guaranteed. Always clean, sand, and prime your walls as needed. For paste-the-wall, a primer is non-negotiable. For peel-and-stick, a smooth, clean surface is vital.
Incorrectly measuring or cutting
Cutting too short or not leaving enough overlap can lead to gaps between panels or an inability to cover the entire wall. Always measure twice and cut once, leaving a little extra material for trimming. If your mural comes in numbered panels, ensure you are hanging them in the correct sequence.
Rushing the installation
Patience is a virtue when hanging wallpaper. Trying to rush through the process, especially when aligning panels or smoothing out bubbles, will likely lead to errors. Take your time, work methodically, and don’t be afraid to reposition sections if needed (especially with peel-and-stick).
Using the wrong tools
A sharp utility knife or a specialized wallpaper cutter is essential for clean trims. A good quality smoother or squeegee is needed to remove air bubbles. Using a dull blade or inadequate smoothing tools will result in torn paper, visible seams, or trapped air pockets.
Not testing adhesion (for peel-and-stick)
Before committing to the entire mural, it’s wise to test a small, inconspicuous area. This helps you understand how well the adhesive works on your specific wall paint and surface. It also allows you to see how easily it removes without damage.
Where to use photo wallpaper
Photo wallpapers are incredibly versatile and can be used in almost any room to create a dramatic impact.
Living rooms
A large landscape, abstract art, or a bold geometric pattern can serve as a stunning focal point in a living room. Consider the existing decor; the wallpaper should complement, not clash, with your furniture and color scheme. Explore designs that evoke a sense of calm or excitement, depending on the ambiance you want to create. For inspiration on decorative elements, see our post on Rifle Paper Co. wallpaper, which often features artistic prints that can lend a similar vibe.
Bedrooms
Softer, more serene images often work best here. Think of tranquil nature scenes, subtle artistic renderings, or even personalized photos. A well-chosen bedroom mural can turn a simple space into a personal sanctuary. For those who love floral motifs, a garden scene could be ideal; see our guide on flowers on wallpaper for related ideas.
Home offices
A professional and inspiring environment is key for productivity. Murals depicting cityscapes, abstract art, or motivational imagery can set the right tone. A calm, natural scene can also help reduce stress during long work hours.
Children’s rooms
This is where you can really let your imagination run wild. From cartoon characters and fantasy landscapes to educational maps, children’s rooms are perfect for vibrant and engaging photo wallpapers. Ensure the material is durable and washable, as these spaces tend to see more wear and tear. If your child loves the outdoors, consider designs from our Yellowstone wallpaper designs collection for adventurous themes.
Dining rooms
Create an elegant or dramatic atmosphere for dining. A sophisticated pattern, a vintage map, or even a mural depicting a scene from a favorite historical period can enhance the dining experience.
Hallways and entryways
Make a memorable first impression. A striking image in a hallway can guide guests through your home and set the tone for the rest of the interior design.
Maintaining your photo wallpaper
Once your photo wallpaper is installed, a little care will keep it looking its best for years to come.
Cleaning
For most vinyl and fabric-backed wallpapers, a soft, damp cloth is sufficient for regular cleaning. For stubborn marks, use a mild, non-abrasive soap mixed with water. Always test any cleaning solution on a small, inconspicuous area first. Avoid harsh chemicals, abrasive scrubbers, or excessive water, which can damage the print or the adhesive.
Avoiding damage
Be cautious with sharp objects, furniture placement, and direct sunlight. Direct, prolonged exposure to sunlight can cause colors to fade over time. Ensure furniture is not placed too close to the wall, allowing for air circulation and preventing accidental scuffs or tears.
Repairs
Minor tears or peeling can sometimes be repaired. For paste-the-wall, you might be able to reapply adhesive to a loose edge. For peel-and-stick, if a section is damaged, you may be able to carefully remove and replace that panel if you have a spare piece or can order a replacement section. However, significant damage often means replacement is the best option.
The future of photo wallpaper
The technology behind photo wallpaper is constantly evolving. Expect to see more eco-friendly materials, advanced printing techniques offering higher resolution and color accuracy, and even smart wallpapers with integrated lighting or interactive features. The trend towards personalization will continue, with an increasing demand for custom-designed murals that perfectly match individual tastes and spaces. The ease of application for peel-and-stick varieties will further democratize their use, allowing more people to experiment with bold wall treatments. For a taste of innovation in wall coverings, explore the variety of high-quality peel and stick wallpaper options available.