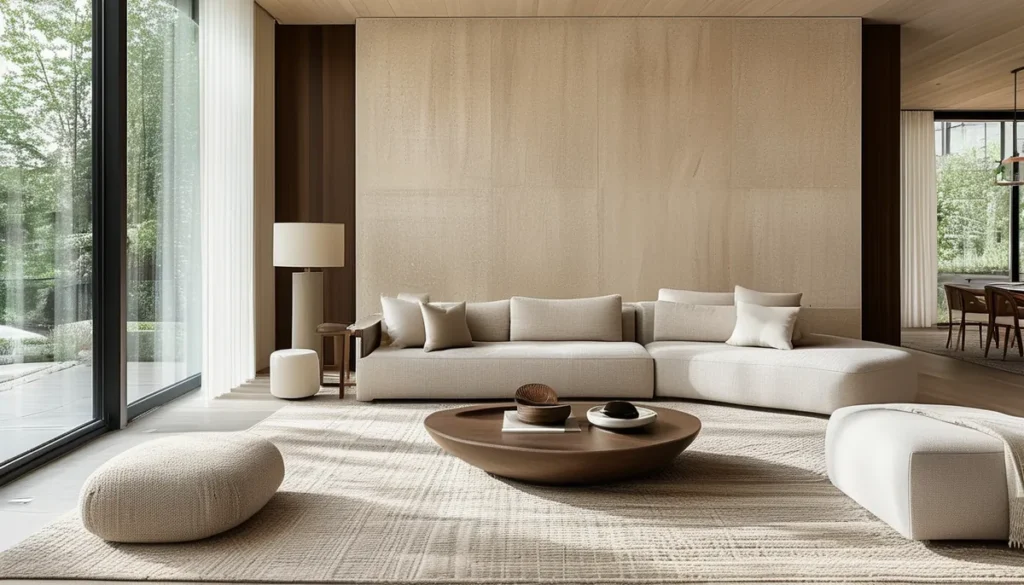
Choosing a retro wallpaper mural means committing to a specific aesthetic. Unlike contemporary patterns, 60s and 70s designs are bold, often geometric, or feature nature-inspired motifs with a distinct psychedelic or groovy flair. You’ll find a spectrum of colors, from earthy tones and muted pastels to electric blues and fiery oranges. Consider the size of your room and the existing furniture. A large, complex pattern might overwhelm a small space, while a simpler design could get lost in a large room.
Understand the material options for vintage looks
Retro wallpaper murals are typically printed on non-woven or vinyl-backed paper. Non-woven (or ‘paste-the-wall’) is generally easier to install and remove. Vinyl-backed offers more durability and is easier to clean, making it suitable for high-traffic areas or rooms prone to moisture, though it’s less common for the ultra-authentic retro feel. Some modern options offer peel-and-stick vinyl, which is very DIY-friendly for temporary applications or renters. Ensure the material thickness is adequate; thin paper can tear easily during installation.
When selecting a retro wallpaper mural, check the print quality. Faded or pixelated images will detract from the intended vintage appeal. Look for clear, crisp lines and saturated colors that match the era’s printing capabilities. Manufacturers often specify the type of ink used; water-based inks are common and generally safe, but some high-quality murals might use more durable options.
Picking the right 60s or 70s design
The 1960s saw a rise in abstract geometric patterns, op-art influences, and bold floral designs. Think Mondrian-inspired squares, swirling paisley, and large, stylized daisies. The 1970s leaned into more organic shapes, psychedelic swirls, and nature-inspired scenes like forests or mountains, often with a muted or earthy color palette. You might also encounter Art Nouveau revivals or early forms of maximalist design.
Consider the scale of the pattern. Small, repeating patterns can make a room feel larger, while large, statement murals create a focal point. If you’re unsure, order a sample. This allows you to see the true colors and texture in your home’s lighting before committing to a large purchase. A sample also helps you test adhesion if you plan on a DIY installation.
Popular color palettes and motifs
60s: Bright yellows, oranges, reds, stark whites, and blacks. Psychedelic swirls, checkerboards, atomic starbursts, bold floral prints, and abstract geometric shapes were prevalent.
70s: Earth tones dominated, including browns, beiges, olives, rusts, and muted oranges. Motifs included nature scenes (forests, mountains, rivers), paisley, floral patterns with a more organic feel, and groovy, flowing lines.
When choosing, think about how the mural will interact with your furniture and decor. A busy mural might clash with patterned upholstery. A minimalist approach often works best with a bold mural as the central feature. You can explore wall mural wallpaper to see how different styles can be integrated.
Installation considerations for your retro mural
Most non-woven retro wallpaper murals require ‘paste-the-wall’ application. This means you apply the adhesive directly to the wall, not the paper. This method is generally easier and reduces the risk of the paper becoming oversaturated and tearing. Ensure you have the right type of wallpaper adhesive; a heavy-duty or extra-strength paste is recommended for larger murals and murals intended for long-term installation.
Preparation is key. The wall must be clean, dry, and smooth. Any imperfections, like bumps or holes, will be magnified by the wallpaper. Sand down any rough spots and fill any holes with spackle, then sand smooth once dry. Use a primer specifically designed for wallpaper to ensure good adhesion and easy removal later. Allow the primer to dry completely according to the manufacturer’s instructions.
Step-by-step installation tips
- Measure and cut: Carefully measure your wall and cut the mural panels according to the instructions, allowing for a slight overlap or trim margin as recommended.
- Apply adhesive: Apply a generous, even coat of wallpaper paste to the wall section for the first panel. Don’t over-paste, as excess can ooze out and be difficult to clean.
- Hang the panel: Align the first panel carefully with a plumb line or the edge of the wall. Gently press it onto the paste, smoothing out air bubbles with a wallpaper brush or roller from the center outwards.
- Trim excess: Once the panel is in place, use a sharp utility knife to trim any excess wallpaper at the ceiling, baseboard, and corners.
- Repeat: Continue with subsequent panels, matching the pattern precisely at the seams. For some designs, the seams will be designed to be almost invisible.
If you are using peel-and-stick options, the process is simpler: clean the wall, peel the backing, and apply, smoothing as you go. This type of mural is excellent for renters or those who like to change their decor frequently. For more complex installations or if you’re dealing with intricate patterns, consider professional help. Errors in installation, especially with pattern matching or air bubbles, are hard to correct and can be costly.
Maintaining your retro wallpaper mural
For non-woven and vinyl-backed murals, gentle cleaning is usually sufficient. Use a damp cloth or sponge with mild soap and water to wipe away smudges or dirt. Avoid abrasive cleaners or excessive moisture, which can damage the print or the paper. For vinyl-backed murals, a slightly more robust cleaning is possible, but always test in an inconspicuous area first.
Sunlight can cause colors to fade over time, especially in older printing technologies. If your mural is in a high-sun area, consider using curtains or blinds to protect it. If you’re looking for lasting impact, exploring different mural wallpaper guides can offer insights into durable and beautiful options for your home.
Where to find authentic retro designs
Online retailers specializing in wallpaper and home decor are your best bet. Websites dedicated to vintage or retro styles often carry extensive collections. Look for sites that offer detailed product descriptions, high-resolution images, and customer reviews. Some independent artists also create retro-inspired murals on platforms like Etsy. When comparing prices, factor in the material quality and the overall design. Remember, a cheaper option might mean lower print quality or less durable material.
For a touch of exotic charm, you might also consider chinoiserie mural wallpaper, which, while different in theme, shares the characteristic of being a large-scale, statement-making wall covering that can dramatically alter a room’s ambiance, much like a bold retro mural.
Common mistakes to avoid
Rushing the installation is a common pitfall. Not preparing the wall properly, not allowing paste to activate, or not aligning panels carefully leads to bubbles, wrinkles, and misaligned patterns. Another mistake is choosing a design that clashes with the room’s existing style or scale. A mural should complement, not compete with, your decor.
Purchasing from an unreliable source is also a risk. You might end up with a low-quality print, inaccurate colors, or a material that’s difficult to work with and doesn’t last. Always check return policies and read reviews before buying. If you’re aiming for a complete room makeover, remember that wallpaper murals can transform space, so choose wisely.
Finally, don’t underestimate the impact of lighting. The colors and patterns of a retro wallpaper mural can look very different under incandescent, fluorescent, or natural light. If possible, view samples in the intended room. This careful consideration will help you achieve the desired groovy aesthetic for your home.