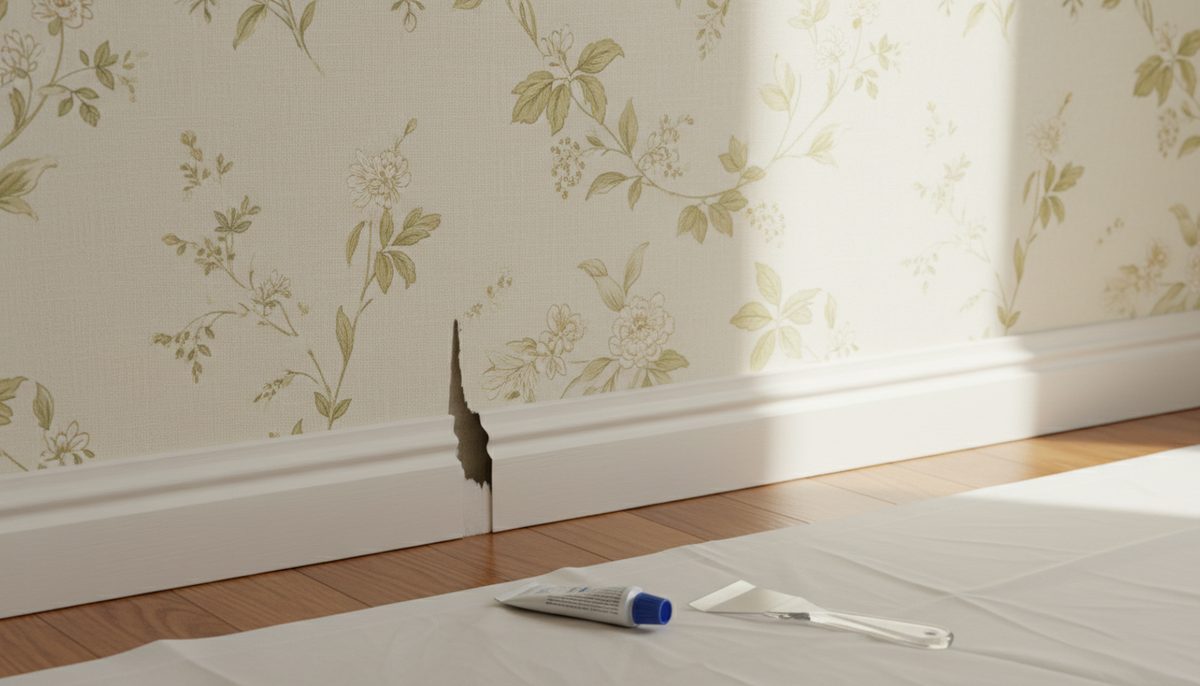
Small rips, lifting edges, or annoying bubbles can appear on your wallpaper over time. Before you consider a full replacement, understand that most minor damage is fixable with wallpaper repair paste. This product is designed to re-adhere loose wallpaper sections without leaving noticeable marks, restoring the integrity of your wall covering.
Choosing the right wallpaper repair paste
Wallpaper repair pastes are generally water-based and dry clear or slightly translucent, making them ideal for most wallpaper types, including vinyl, paper, and even some fabric-backed options. When selecting a paste, consider these factors:
- Type of Wallpaper: For standard vinyl or paper wallpapers, a general-purpose wallpaper adhesive or a specialized repair paste works well. For more delicate or textured wallpapers, look for a paste specifically formulated to be gentle and non-staining.
- Drying Time: Most pastes dry within a few hours, but some may take up to 24 hours for a full cure. If you need a quick fix, opt for a faster-drying formula.
- Ease of Application: Some pastes come in small tubes with applicator tips, perfect for precise application into small tears or under bubbles. Others come in larger tubs requiring a brush or spatula. For small repairs, a tube applicator is usually more convenient.
- Non-Staining Formula: This is crucial. Ensure the paste explicitly states it is non-staining and non-yellowing, especially if you have light-colored wallpaper.
Avoid using general-purpose glues like white craft glue or super glue. These can dry too rigidly, become discolored, or damage the wallpaper’s surface, making the repair more obvious than the original damage.
Tools you’ll need for wallpaper repair
Gathering the right tools beforehand will make the repair process smoother and more effective. You will need:
- Wallpaper repair paste
- A putty knife or a thin, flexible plastic scraper (a credit card can work in a pinch)
- A clean, damp cloth
- A clean, dry cloth or paper towels
- A seam roller (optional, for smoothing edges)
- A craft knife or utility knife (only if trimming excess paste or loose paper)
- A stepladder if the damage is high up
How to repair tears and rips in wallpaper
Tears are often caused by accidental bumps, furniture scraping, or snagging with clothing. Here’s how to fix them:
- Clean the Area: Gently wipe the torn area and surrounding wallpaper with a slightly damp cloth to remove any dust or debris. Let it dry completely.
- Lift the Torn Edge: Carefully use the putty knife or plastic scraper to lift the loose edge of the torn wallpaper. Be gentle to avoid further tearing.
- Apply the Paste: Squeeze a small amount of wallpaper repair paste onto a clean surface or directly from the applicator tip onto the back of the torn flap. You want just enough to coat the area that needs adhering, not so much that it oozes out excessively.
- Smooth the Flap: Carefully press the torn flap back into place. Use the putty knife or scraper to gently smooth it down from the center outwards, ensuring full contact with the wall underneath. Try to remove any trapped air.
- Wipe Away Excess Paste: Immediately use a clean, damp cloth to wipe away any paste that squeezed out. Work from the edges of the repair inwards to avoid smearing the paste.
- Allow to Dry: Let the repaired area dry completely according to the paste manufacturer’s instructions. Avoid touching it during the drying process.
- Optional: Roll the Seam: Once dry, you can use a seam roller to gently press down the edges of the repair, especially if it feels slightly raised. Use light pressure to avoid damaging the wallpaper.
Fixing bubbles and lifting edges
Bubbles and lifting edges are common issues, especially in humid environments or with older wallpaper installations. Here’s how to tackle them:
Dealing with bubbles
Small bubbles can often be smoothed out, but larger ones might require a small incision.
- Attempt to Smooth: For very small, minor bubbles, try gently pressing them down with your fingers or a clean, dry cloth, working from the edges of the bubble towards the center. Sometimes, this is enough to push out trapped air.
- Inject Paste (if smoothing fails): If smoothing doesn’t work, you’ll need to inject paste. Use a craft knife to carefully make a small, discreet slit in the center of the bubble. The slit should be just large enough to insert the applicator tip of your wallpaper repair paste.
- Apply Paste: Insert the applicator tip into the slit and gently squeeze a small amount of paste underneath the wallpaper.
- Smooth the Bubble: Immediately use your putty knife or plastic scraper to smooth the wallpaper down, pushing the paste and trapped air out through the slit. Work from the center of the bubble outwards.
- Wipe Excess: Clean up any excess paste that escapes with a damp cloth.
- Allow to Dry: Let the area dry completely.
Addressing lifting edges
Loose edges are straightforward to fix:
- Clean the Edge: Ensure the edge and the wall surface beneath it are clean and dry.
- Apply Paste: Carefully slide the applicator tip of the wallpaper repair paste under the lifting edge, applying a thin, even layer to the back of the wallpaper and/or the wall surface.
- Press Down: Firmly press the edge back onto the wall. Use your putty knife or scraper to smooth it down from the edge towards the center, ensuring good adhesion and removing air pockets.
- Wipe Excess: Clean up any visible paste with a damp cloth.
- Weight it Down (Optional but Recommended): For stubborn lifting edges, after smoothing, you can place a piece of wax paper over the seam and then apply gentle, even pressure. You can achieve this by placing a flat object (like a book wrapped in plastic) on top of the wax paper overnight. This helps the adhesive bond securely.
- Allow to Dry: Let the area dry fully.
When to call a professional
While wallpaper repair paste is excellent for minor fixes, some situations are best left to the experts:
- Extensive Damage: If you have large tears, multiple ripped sections, or widespread bubbling and peeling, a full re-wallpapering might be necessary. Trying to patch too much can look messy and unprofessional.
- Delicate or Expensive Wallpaper: If you’re working with silk, grasscloth, or very expensive designer wallpapers (like some Rifle Paper Co. wallpaper), mistakes can be costly. Professionals have the experience and specialized tools to handle these materials without causing damage.
- Water Damage: If the wallpaper damage is due to a leak or significant water exposure, the underlying drywall or plaster may also be compromised. This requires addressing the water source and potentially repairing the wall structure before re-applying wallpaper.
- Mold or Mildew: Any sign of mold or mildew behind the wallpaper means you need to address the moisture issue and clean or replace the affected sections thoroughly. This is a health hazard that requires professional attention.
- Unfamiliarity with the Process: If you’re uncomfortable with DIY projects or unsure about the repair process, hiring a professional ensures a clean, seamless finish. They can also advise on the best type of wallpaper for your space, whether it’s easy peel and stick or traditional pasted varieties.
Maintenance tips to prevent future damage
Proactive maintenance can significantly extend the life of your wallpaper and prevent the need for frequent repairs:
- Gentle Cleaning: Always use a soft cloth and mild cleaning solutions specifically designed for wallpaper. Avoid abrasive materials or harsh chemicals. Start with dusting and move to damp wiping only if necessary.
- Avoid Excessive Moisture: Keep bathrooms and kitchens, areas prone to humidity, well-ventilated. Ensure exhaust fans are working correctly. If you notice condensation on walls, address the ventilation issue immediately.
- Protect from Physical Damage: Be mindful of furniture placement to avoid bumping into walls. Use furniture pads to prevent scratches when moving items. Be cautious with pets, as their claws can snag wallpaper.
- Regular Inspection: Periodically walk around your rooms and check for any small signs of lifting or tearing, especially near seams, corners, or high-traffic areas. Addressing issues when they are small is much easier and more effective.
- Proper Installation: If you’re installing new wallpaper, ensure the walls are properly prepared, primed, and that you use the correct adhesive for the wallpaper type. This is critical for longevity, whether you’re using traditional paper or modern high-quality peel and stick wallpaper.
Wallpaper repair paste is an invaluable tool for any homeowner with wallpaper. It allows you to maintain the beauty of your walls and address minor imperfections quickly and efficiently, saving you time and money compared to full replacements. Whether you’re fixing a small tear on a floral pattern or a lifting seam on a bold Yellowstone design, the right paste and a little care can keep your wallpaper looking its best.